Red Sea Monster 2000L, projeto bem detalhado
Enviado: 27 Ago 2011, 13:59
Index for the first tank build - the one that starts below:
Red Sea Monster 1420 System Index (Former Tank)
1. Cabinet sketches, building and Placement | DT Sketches and Building
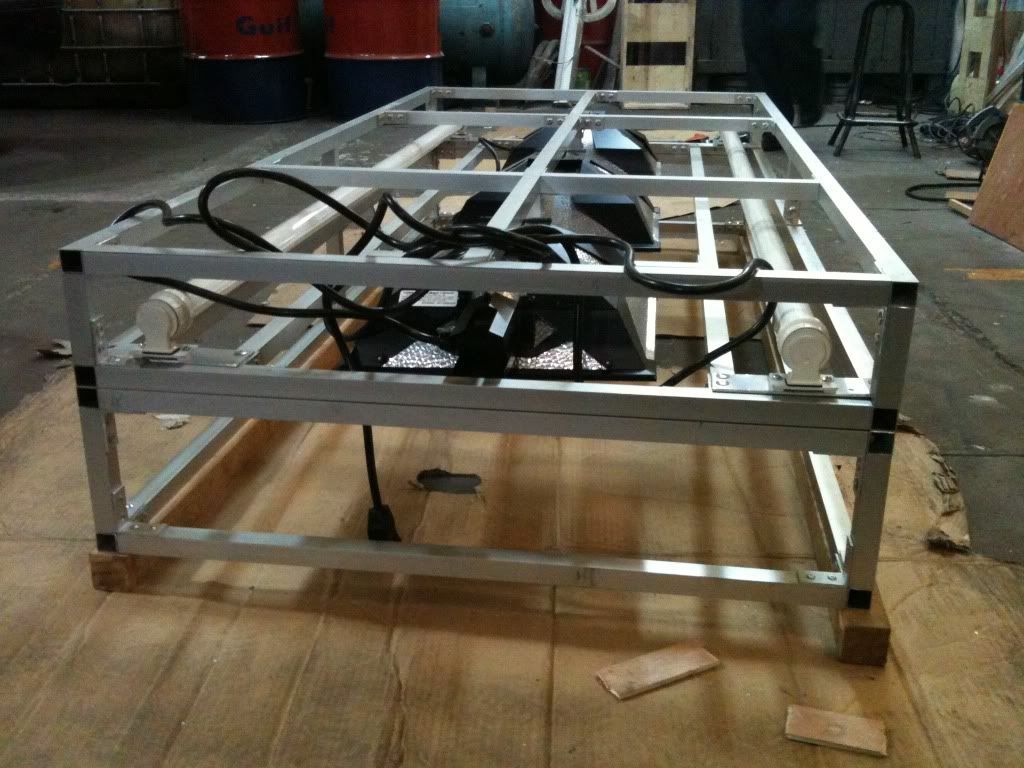
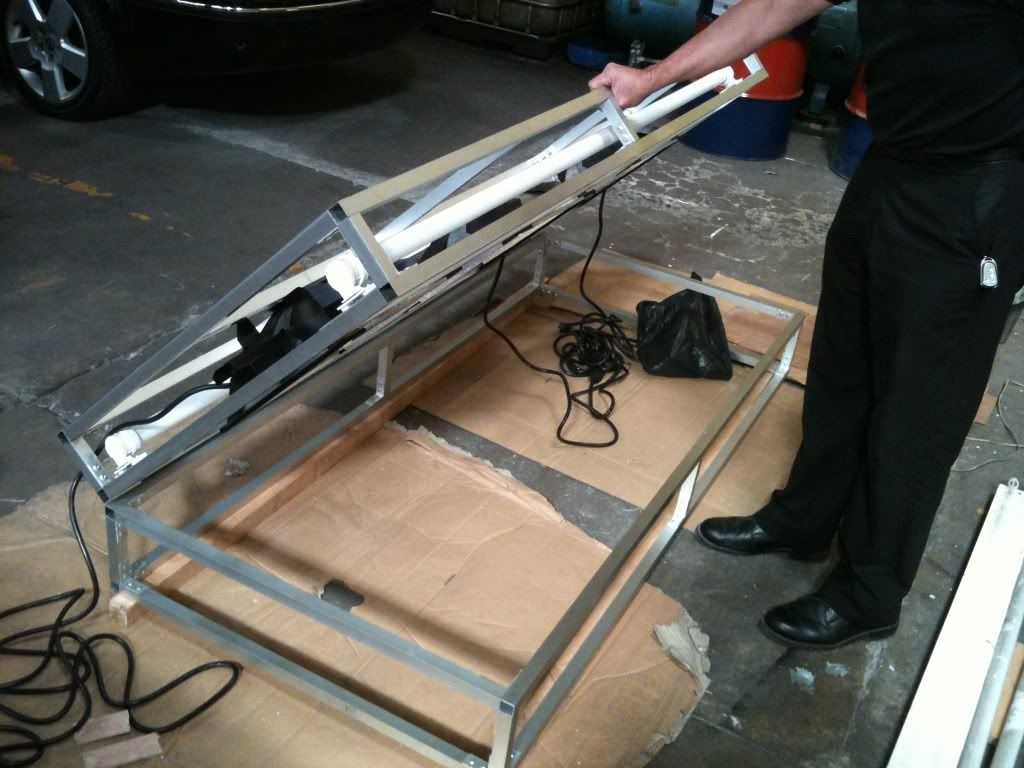
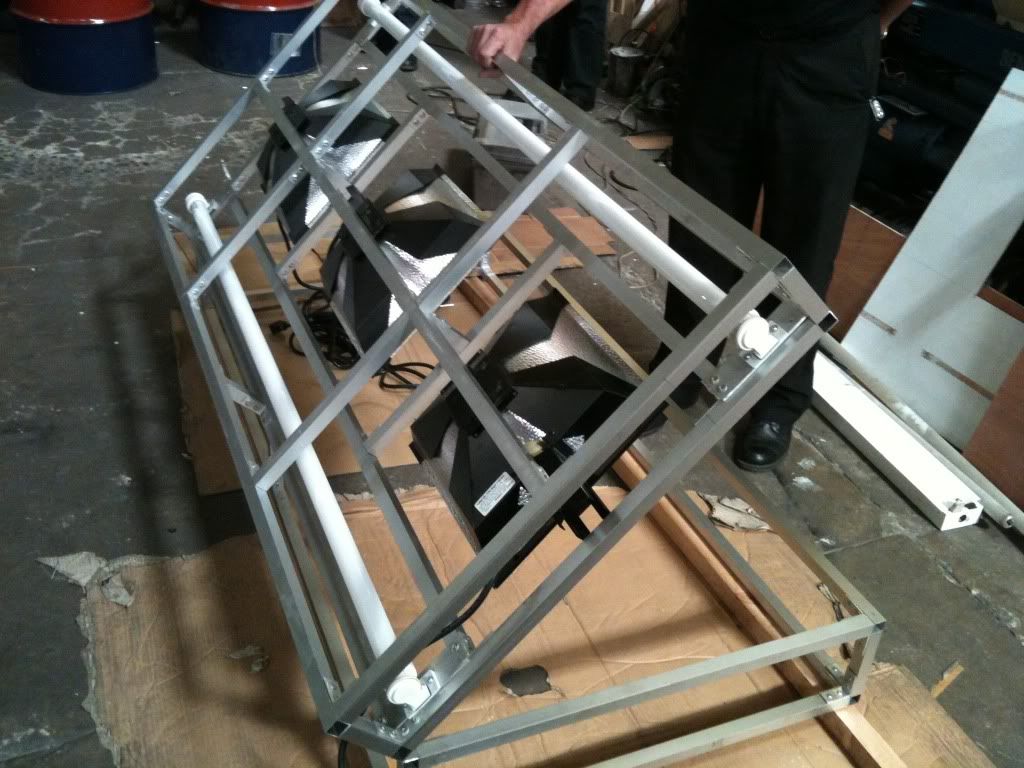
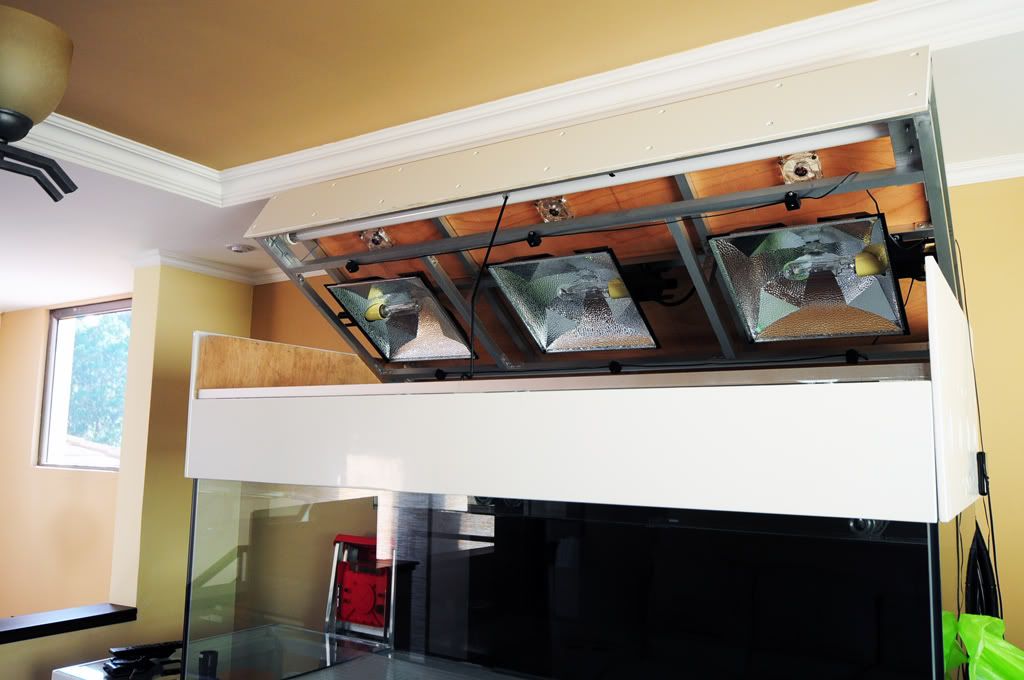
2. DT Placement | Light Fixture Sketches | Light Fixture Building Part 1 |
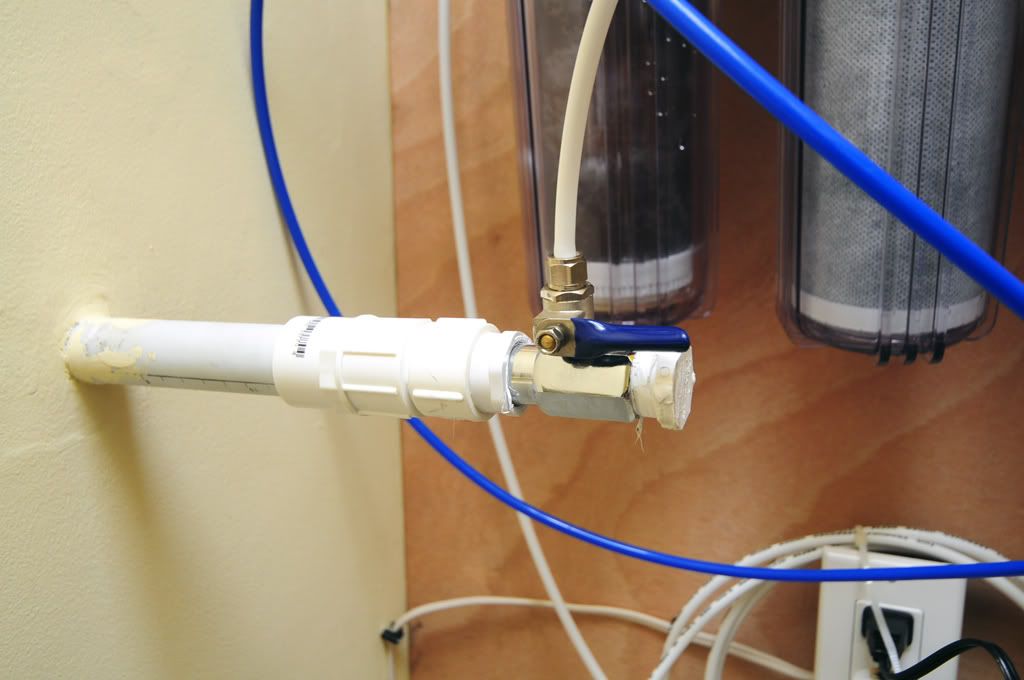
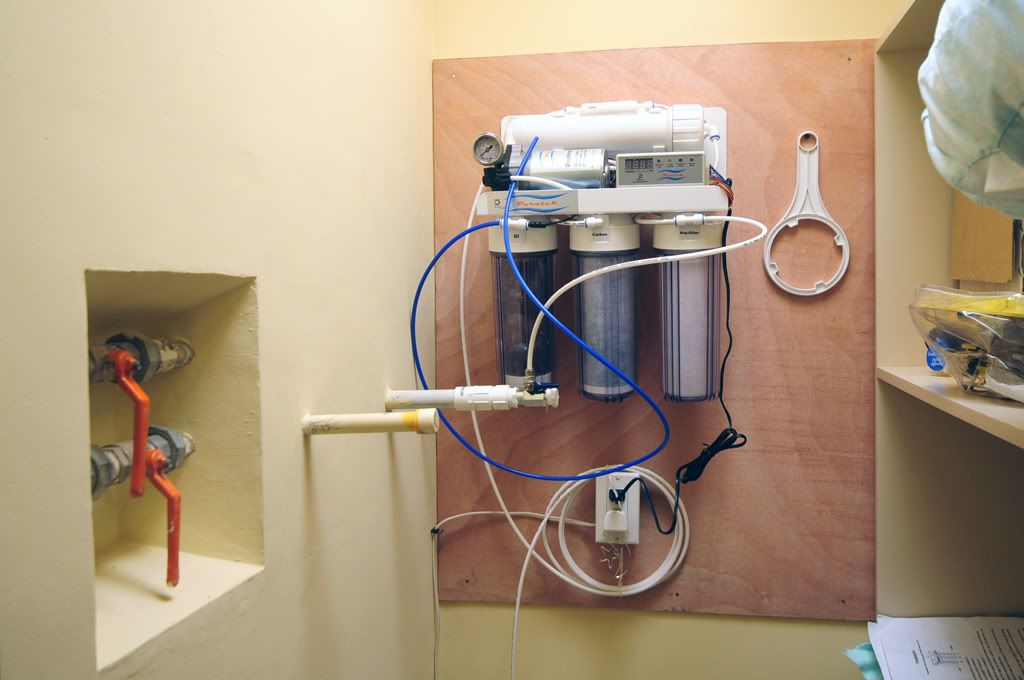
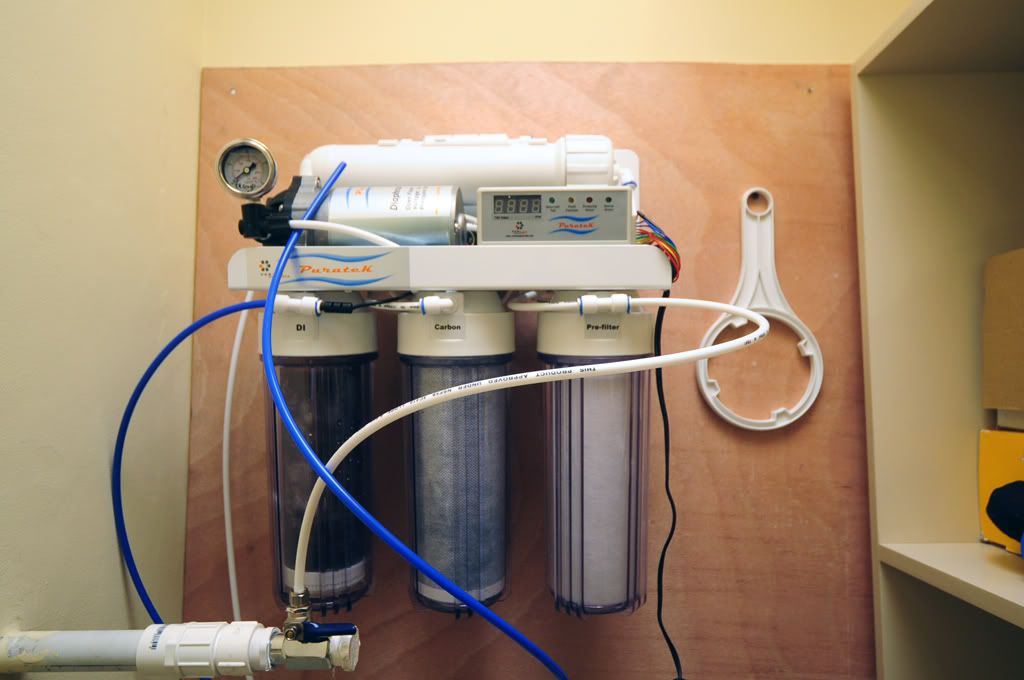
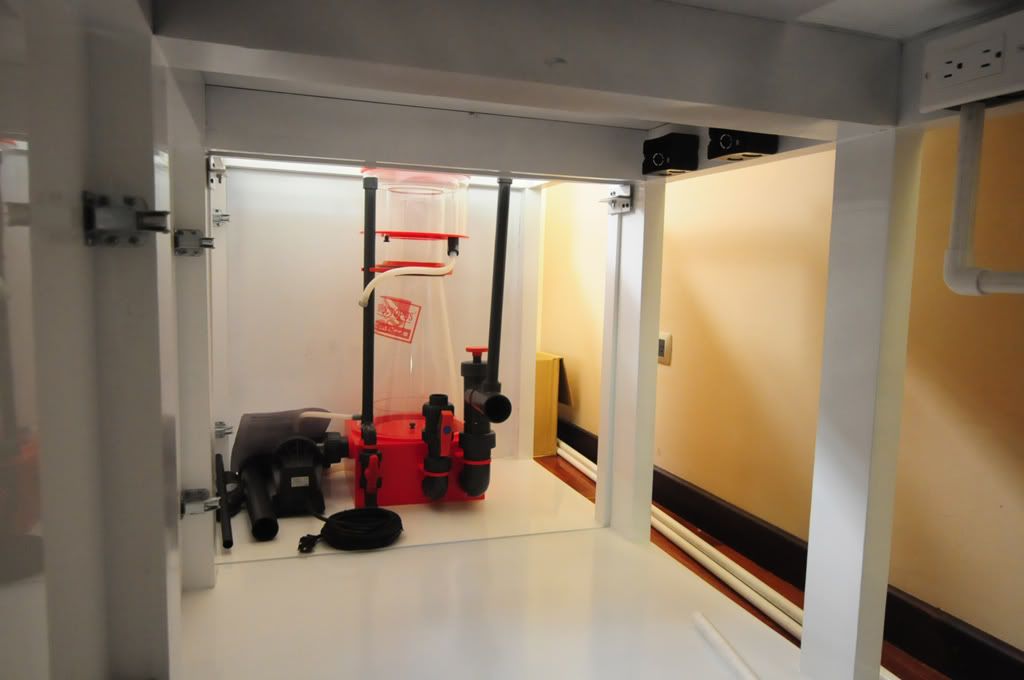
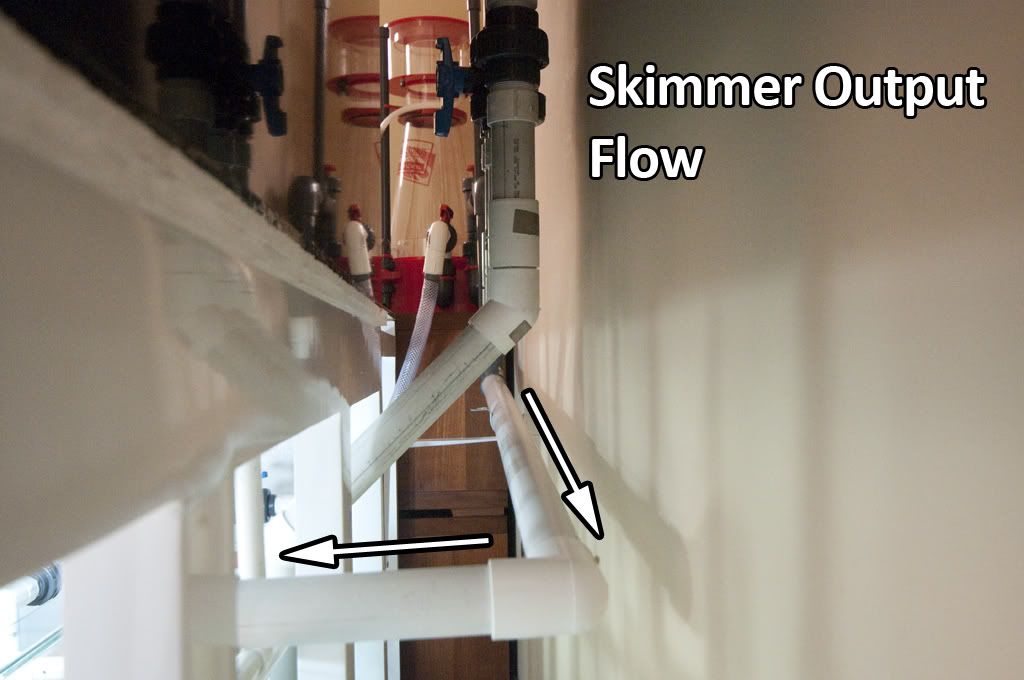
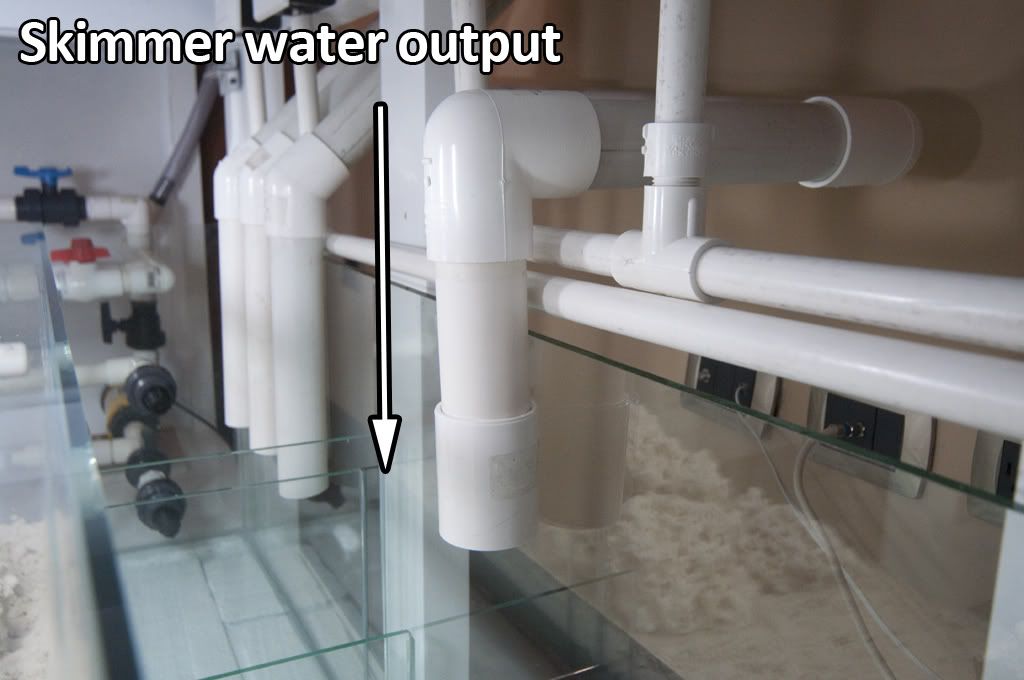
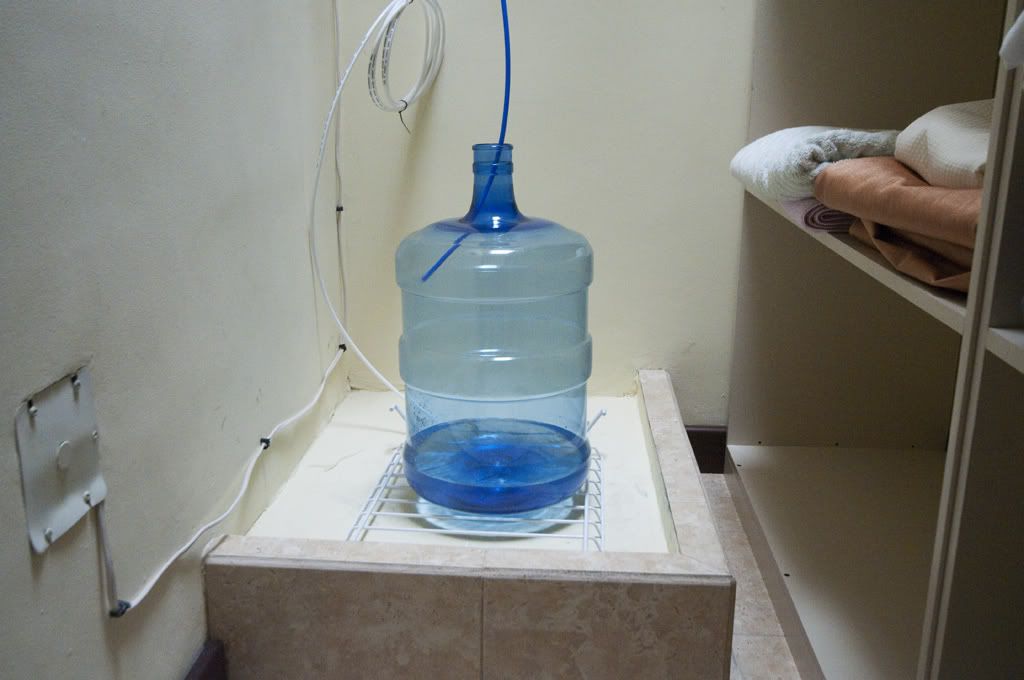
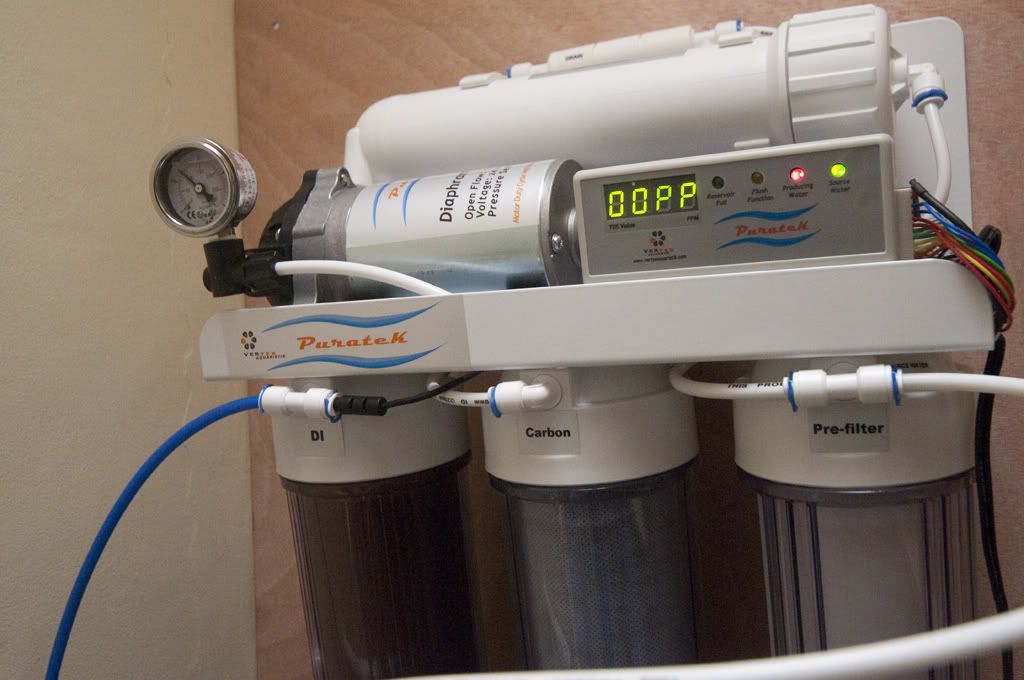
3. Light Fixture Building Part 2 | Complete sections in place | RO/DI Install | Skimmer Positioning
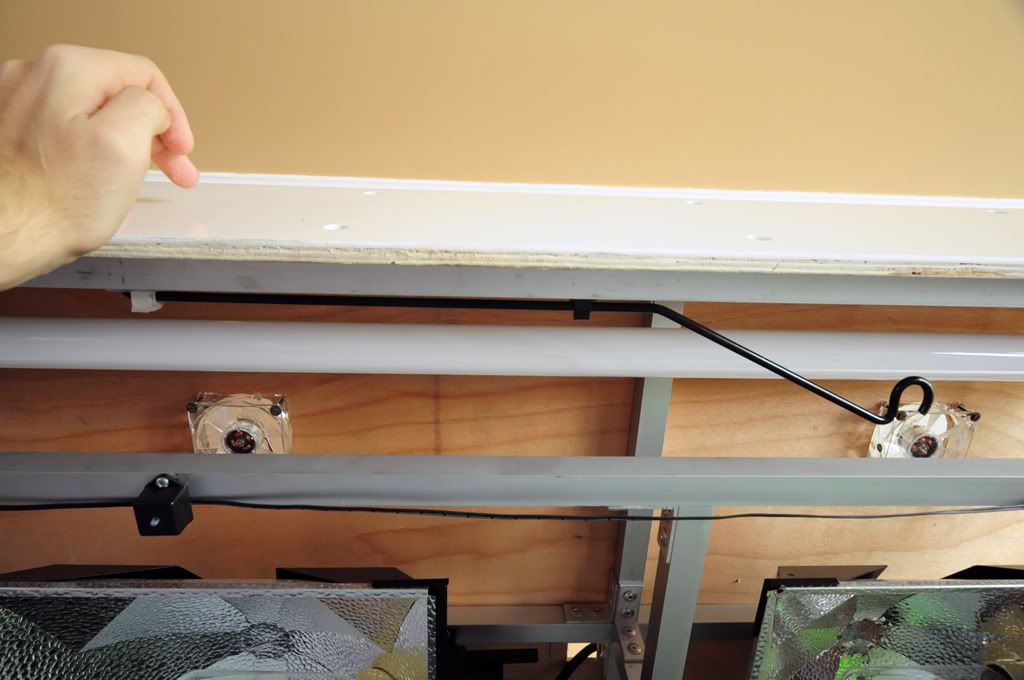
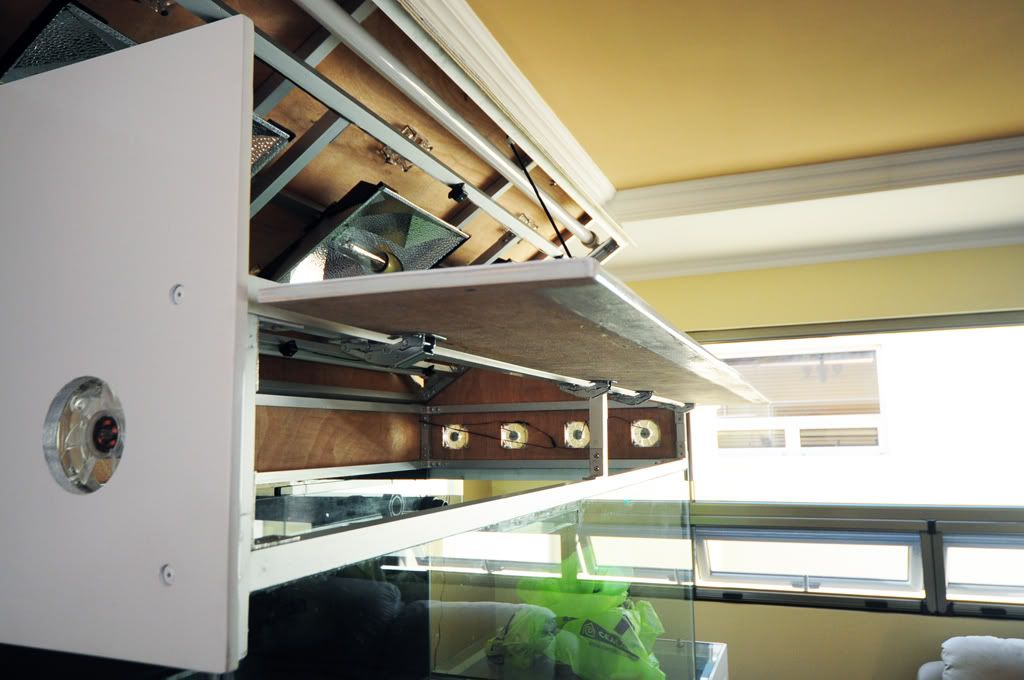
4. Light fixture testing | Rockscape Part 1
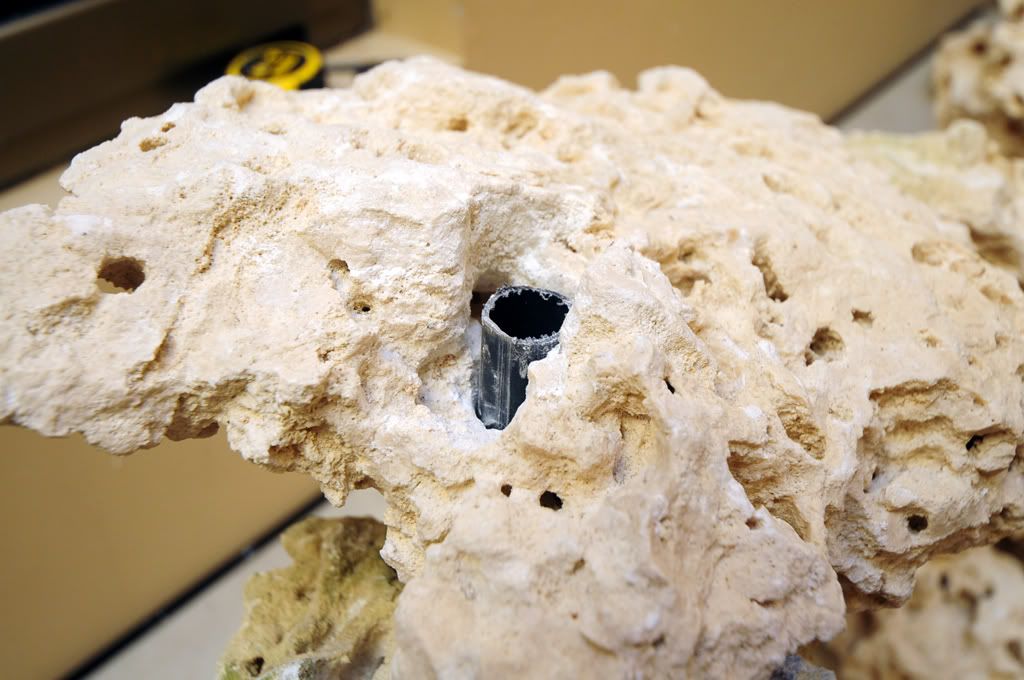
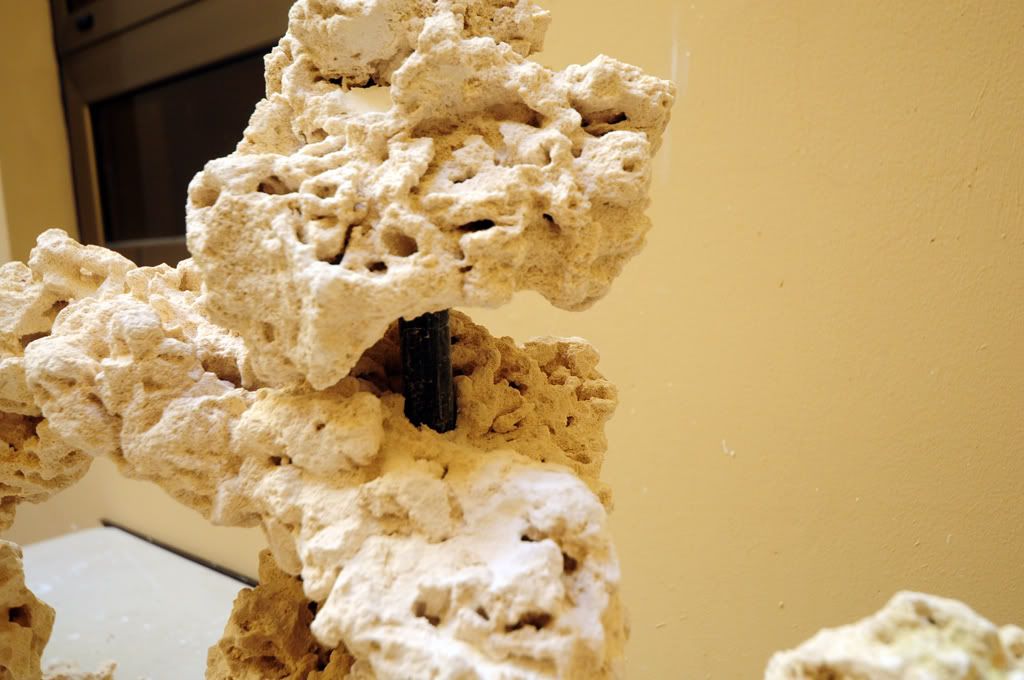
5. Rockscape Part 2
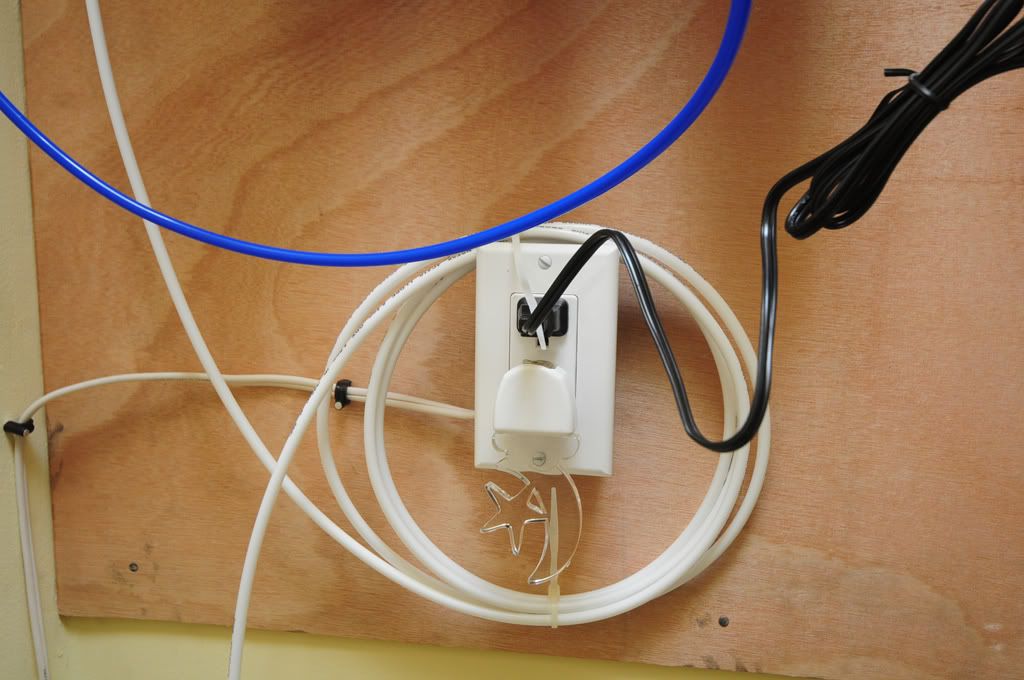
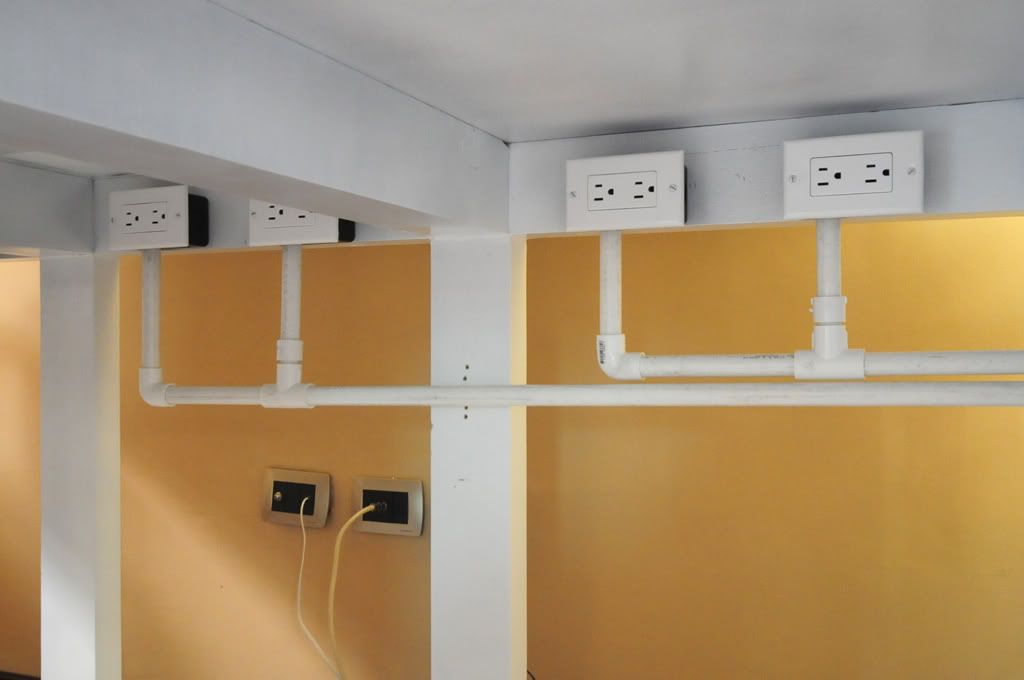
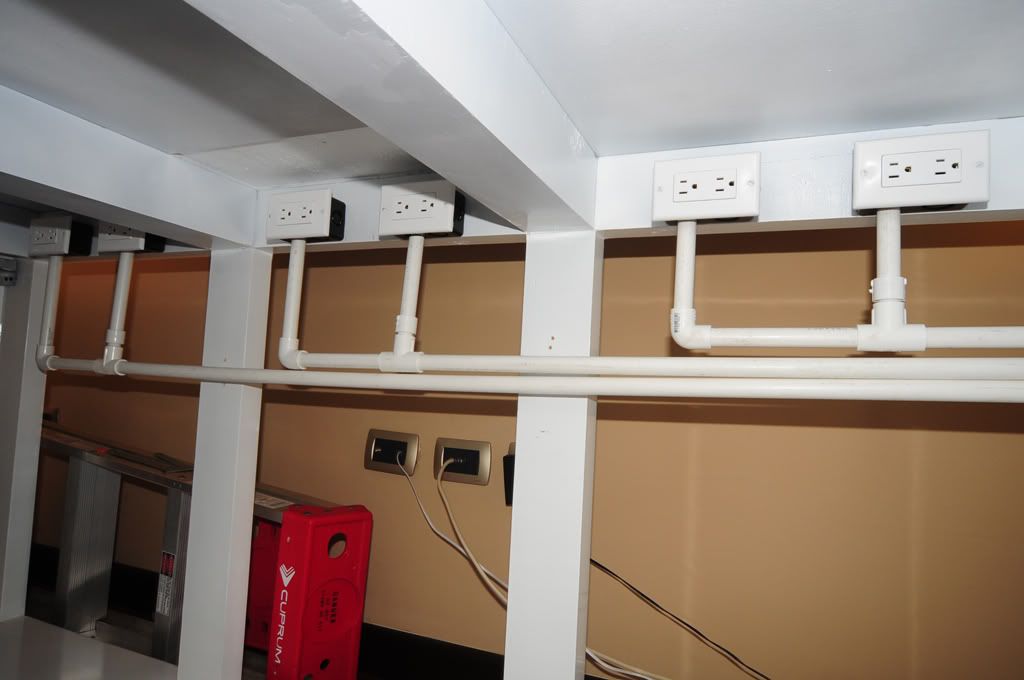
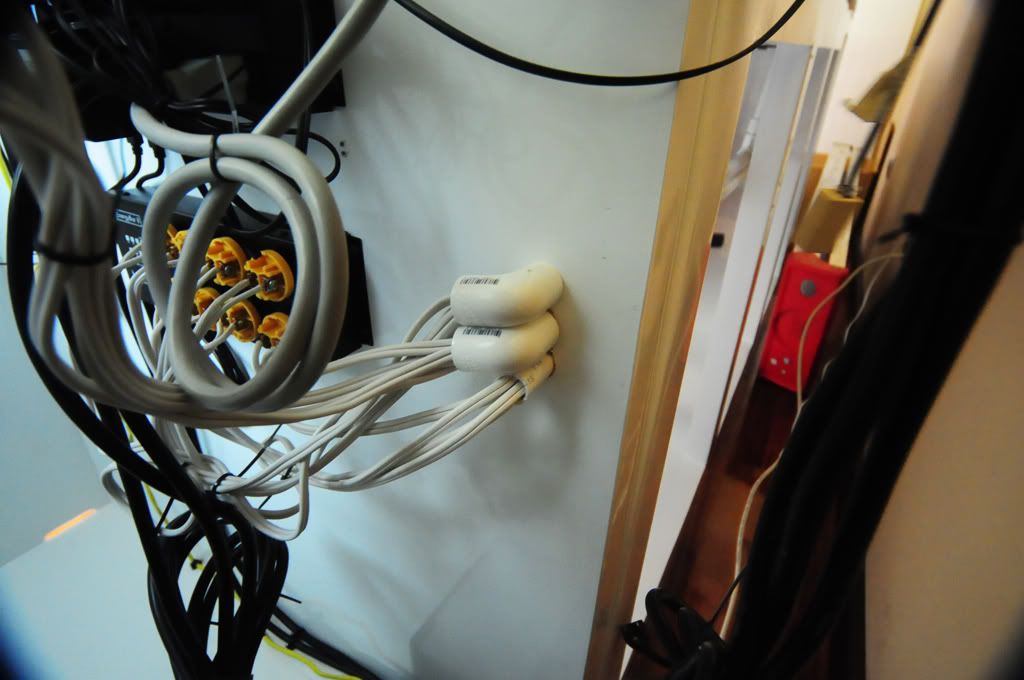
6. Wiring and Electrical Installation | Sand Introduction | Side Cabinet Finish
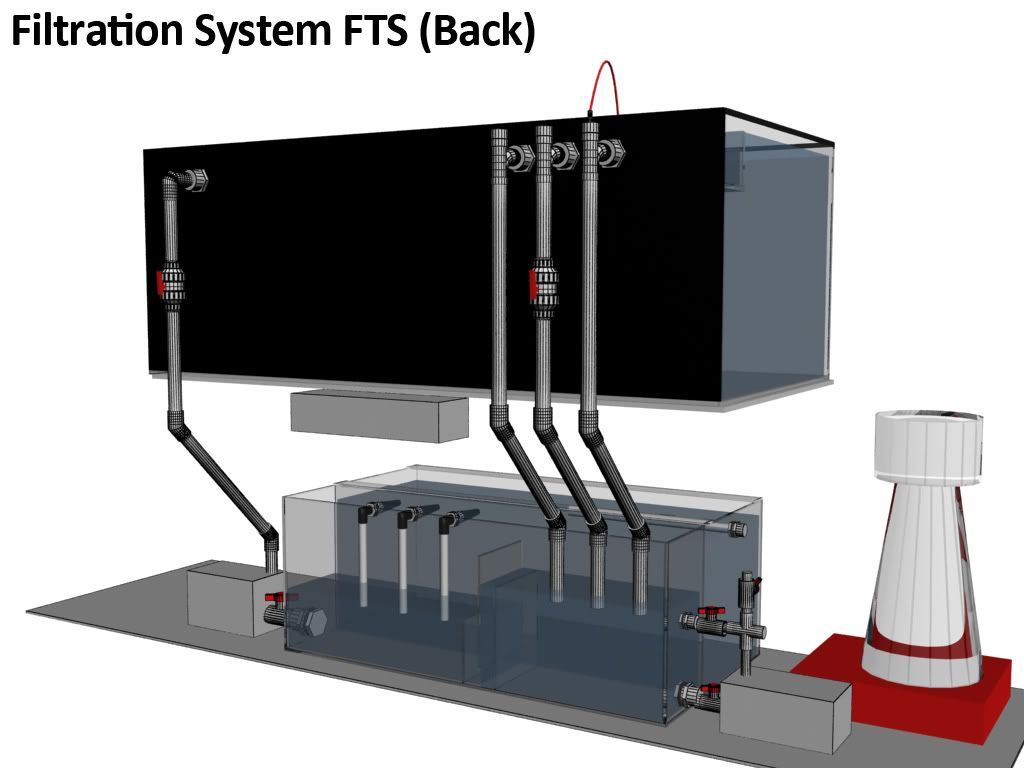
7. Filtration Sketches | Sump Build | Sump / Pumps / Skimmer setup Part 1
8. Fuge Setup, lights, sand and rocks
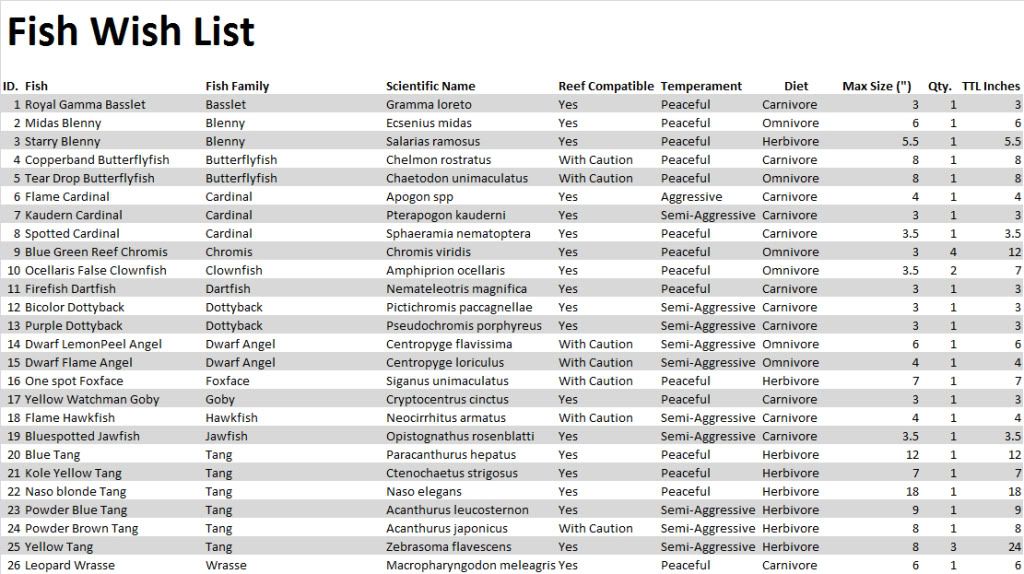
9. Fish Wish List
10. Sump / Pumps / Skimmer setup Part 2
11. Water in the tank Part 1
12. Water in the tank Part 2
13. Water in the tank Part 3
14. Salt mixing in Tank | Skimmer testing
15. BeanAnimal testing | Skimmer Testing 2
16. Deli Shrimp Cycle starter
17. Vortech MP60 Install Part 1
18. Vertex Media Reactor Installation
19. FTS of the tank with lights on (No Stocking)
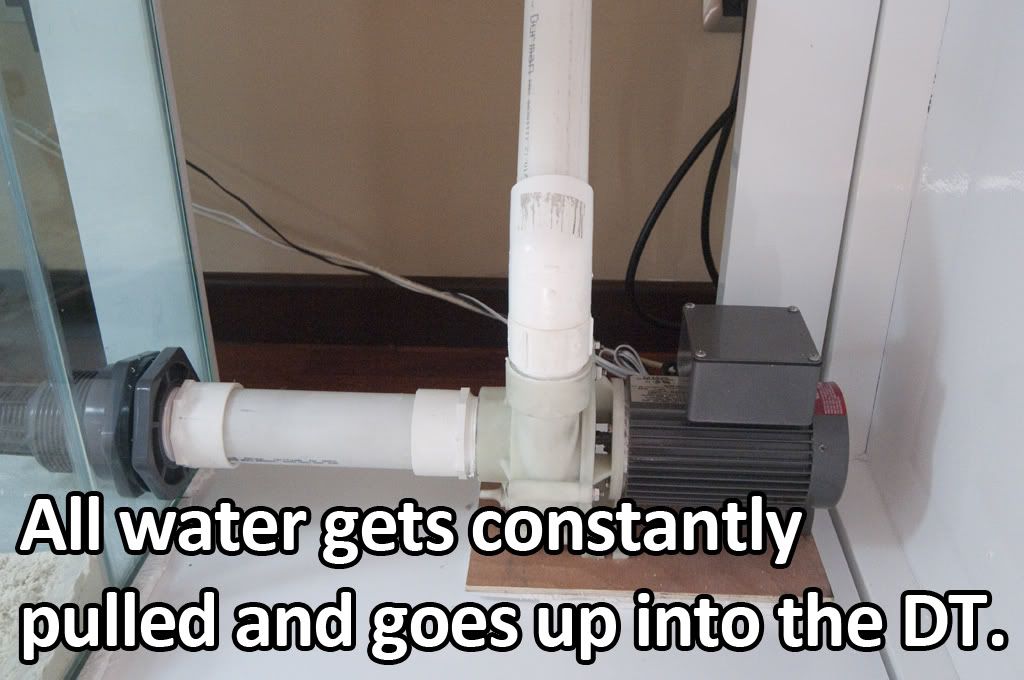
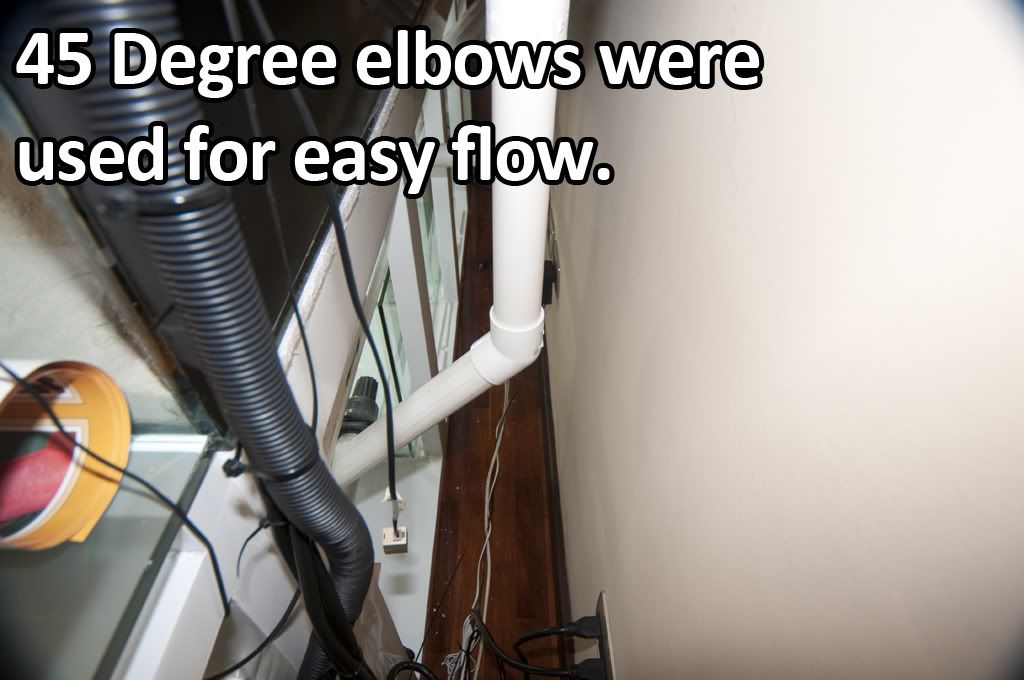
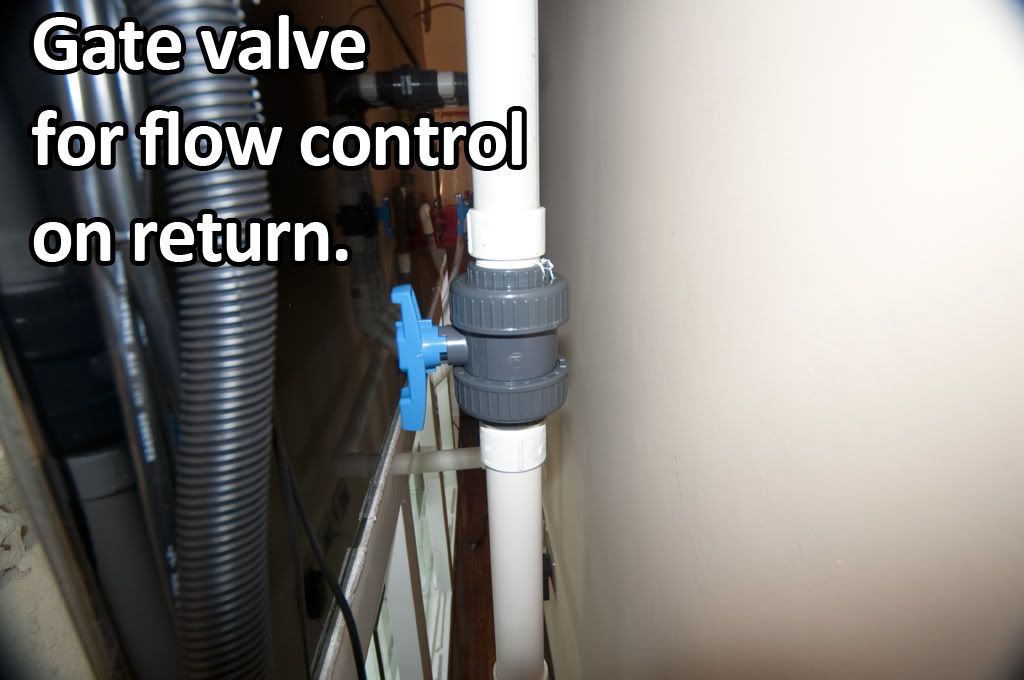
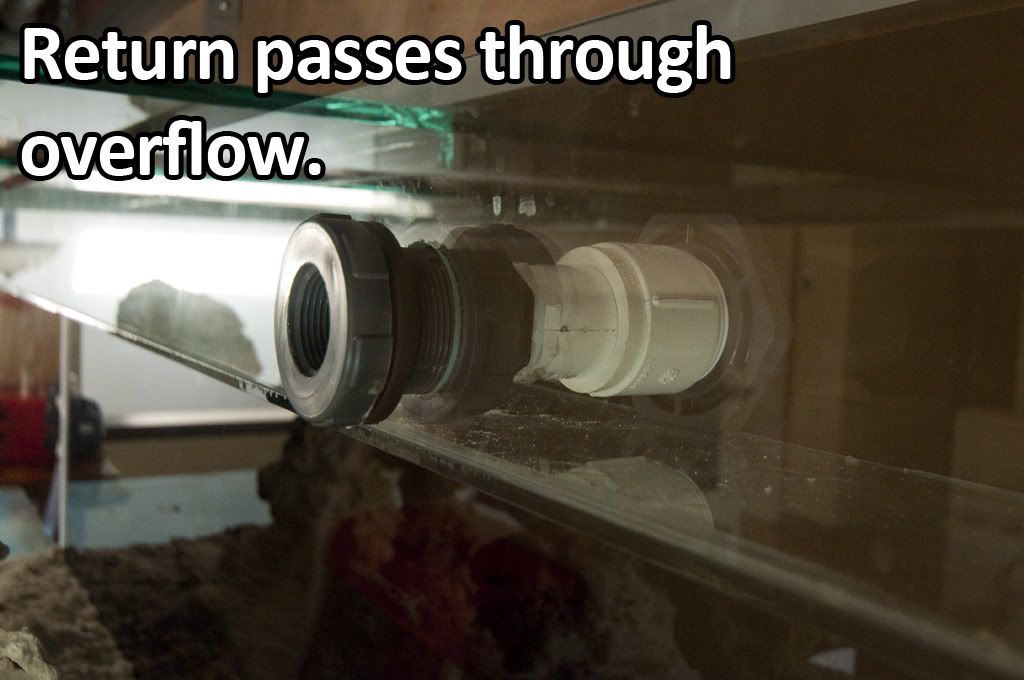
20.System flow
21. Diatoms and first Inhabitants
22. Vortech installation Part 2 | GEO Calcium Reactor
23. Diatoms and Coral Pictures
24. Pictures of Inhabitants (Yellow Goby and Stylophora)
25. FTS and Barnacle pictures
26. Tomato clowns video
27. Pictures: Tomato clowns, Yellow Goby, Montipora
28. Vortech with WXM Wireless Neptune module Schedule
29. Vortech with WXM Wireless Neptune module, Setup review
30. Pictures: Yellow Clown Goby, Green Chromis, Diamond Goby, Six Line Wrasse and Rock Blenny
31. Pictures: Pupo Food, Six Line Wrasse, Tomato Clown, Rock Blenny and FTS
32. Pictures: Green Chromis
33. Water Depot Version 1 | Video of Water Depot in action
34. Water movement with cyano video
Most of the links above take you to pictures section which are the ones that start lots of replies on the matter, lots of great info from all of you are around these.
Index for the BIGGER tank that followed this first build:
Red Sea Monster 2000+ System Index:
1. Sketches Fishroom Version 1 |
2. Sketches Quarantine Tank
3. Sketches Fishroom Version 2
4. Sketches 400 Gallon DT
5. Beginning of project, Land movement
6. Excavation and drainage layout
7. Cement flooring
8. Fishroom Walls construction Part 1
9. Fishroom Wall Construction Part 2
10. Tank Support Beams | DT Building
11. Fishroom Roof construction
12. New Sump Sketches
13. Fishroom Grey Construction Finished | Tank Support building
14. Tank Delivery Part 1
15. Tank Delivery (With Crane Video)
16. Fishroom Painting cleaning | Water Depot Build
17. Light fixture Modification Part 1
18. Apex Connections | RO/DI Install | Workbench placement
19. Fishroom and Pergola finished | Water Test
20. Light Fixture Railing system
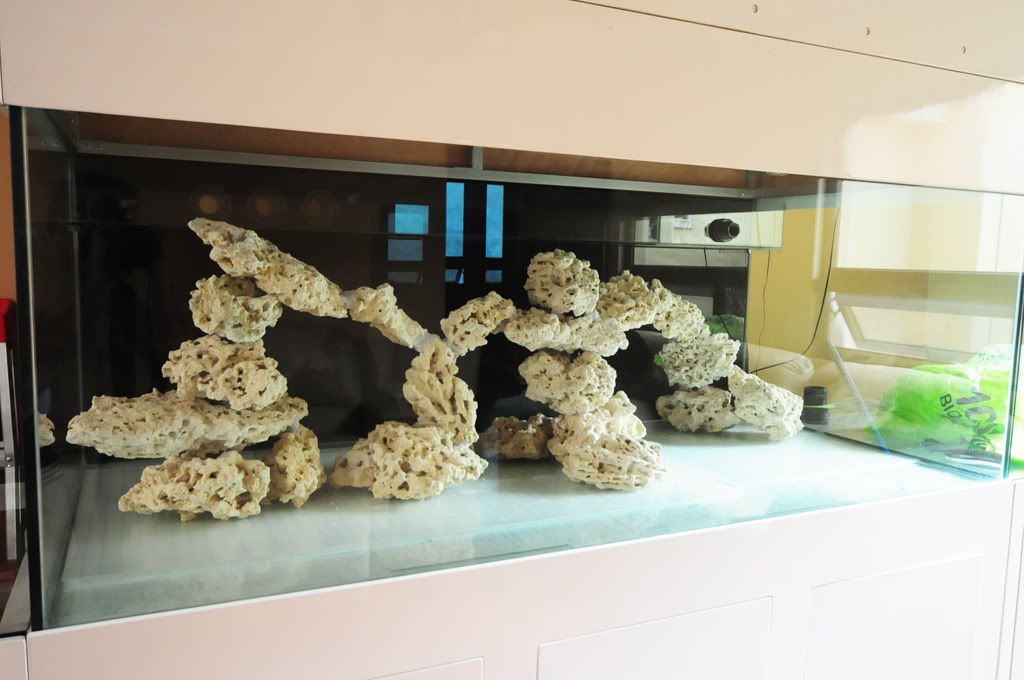
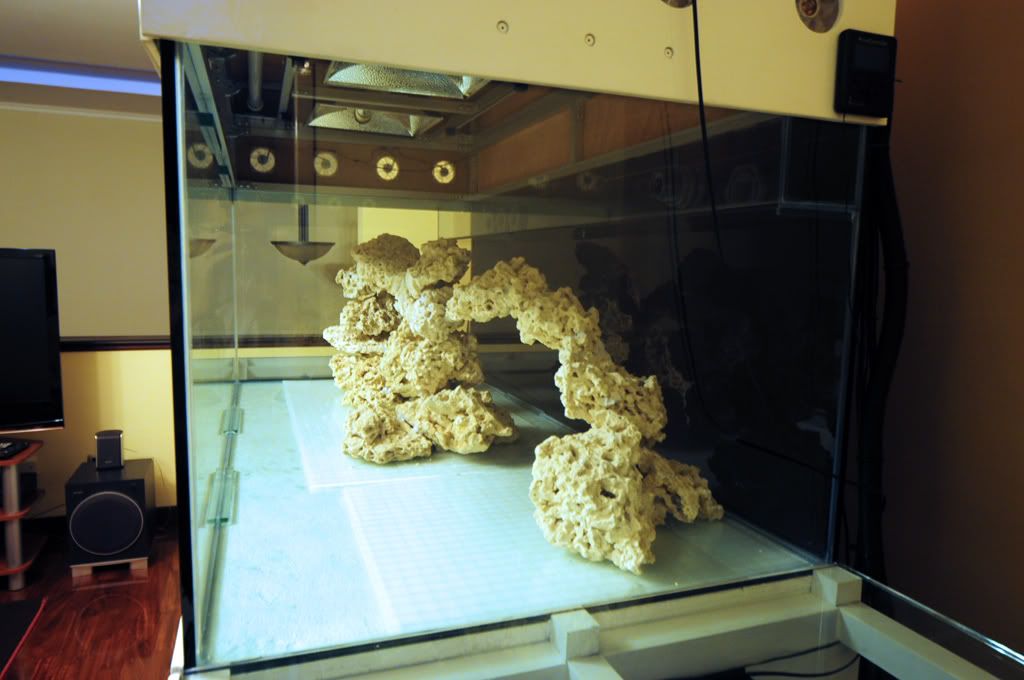
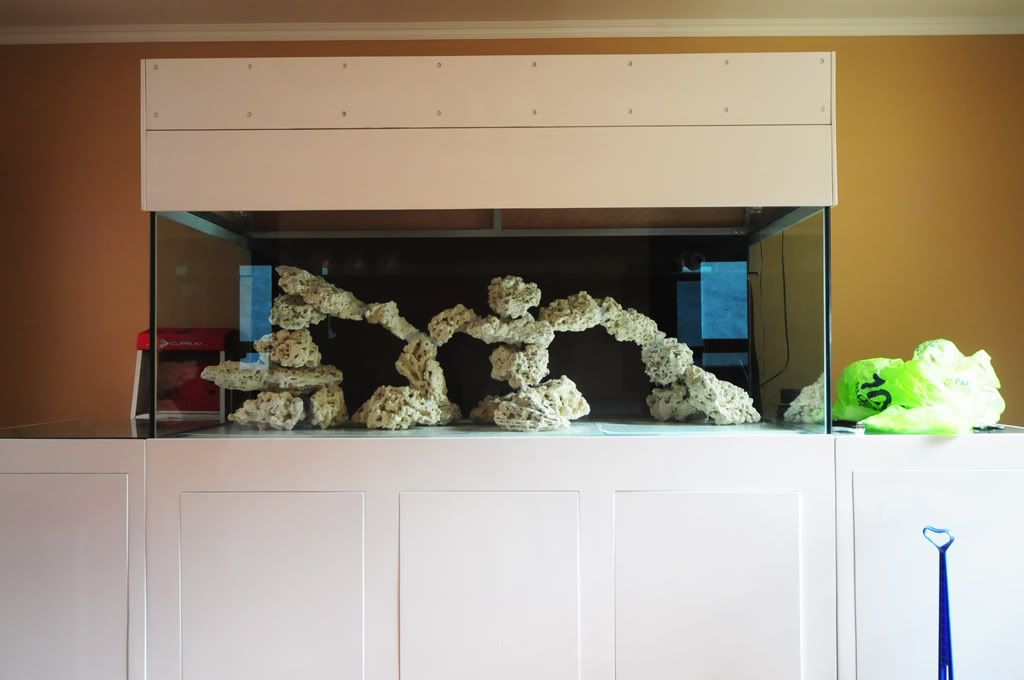
21. Rockscape Version 1
22. Light fixture Railing System (Video Explained)
23. Fishroom painted and Pergola Shots
24. Rockscape Version 2 (Final Version)
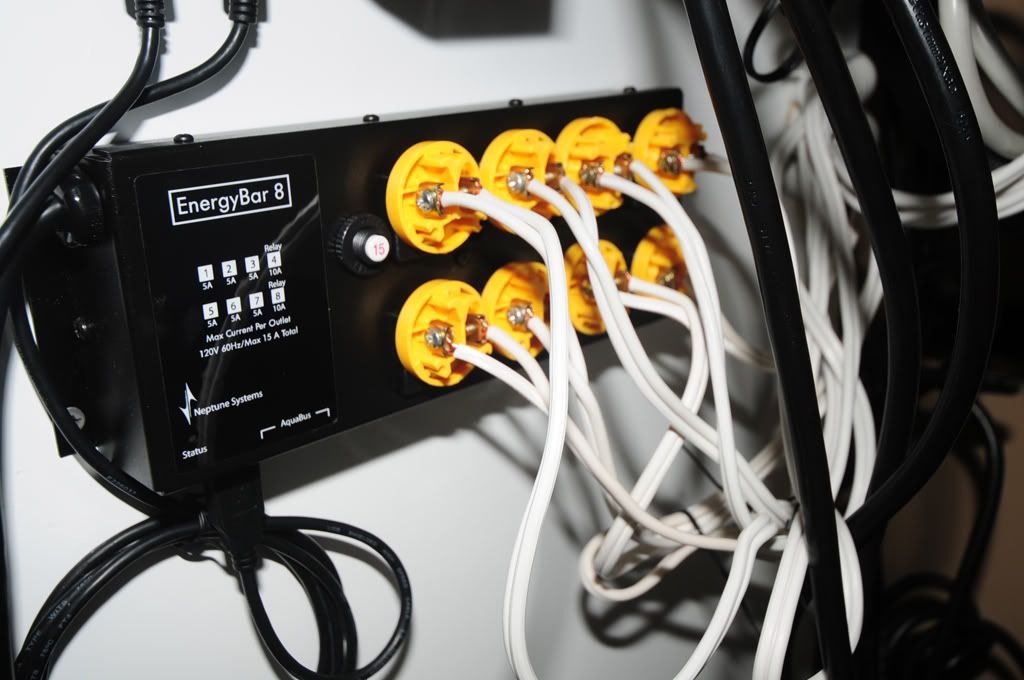
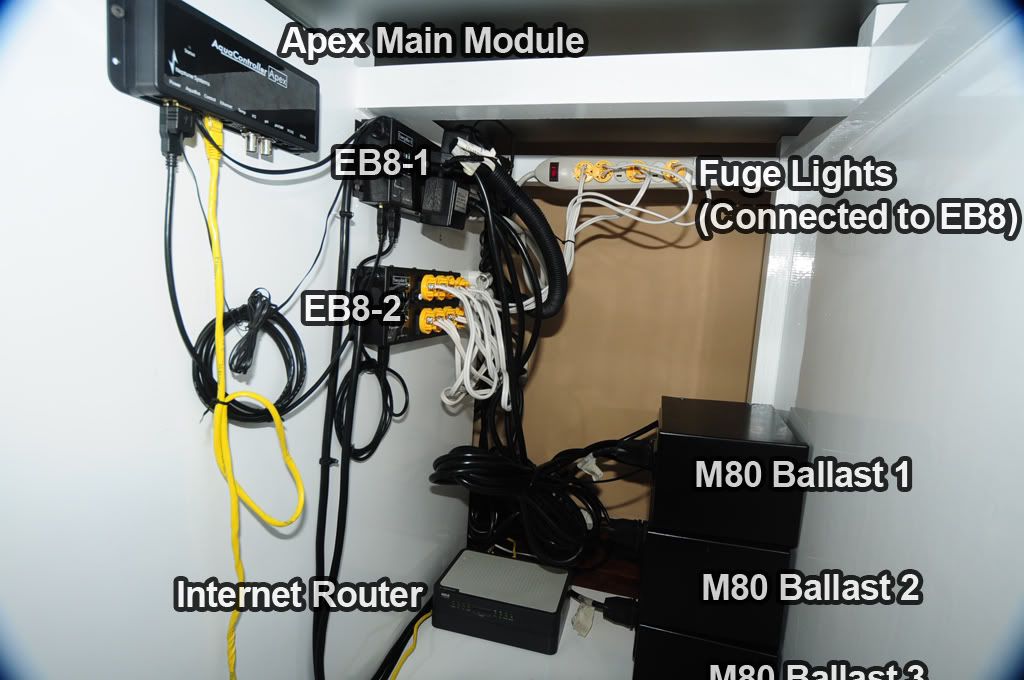
25. Salt Water in the Tank Part 1 | Electricity Connections with Apex EB8 | New Sump in Place
26. Plumbing Stand Pipes
27. Plumbing Fittings | Magical Key | Sump Foam arrangement (With Video)
28. Final Fishroom details | Tank Water filled Part 2 | First FTS
This second index will grow from time to time as the thread moves forward :)
-----------------------------------------------------------------------------------------------------------
So, recently I sold my RSM250 and decided to take the leap into a larger tank (at least large comparable to the RSM250). So, before I began planning equipment and all the systems requirements I decided to sketch it up in 3DSMax and step-by-step the project began taking shape.
I will begin by showing you the complete project, first, in render mode and then, the real project as it goes.
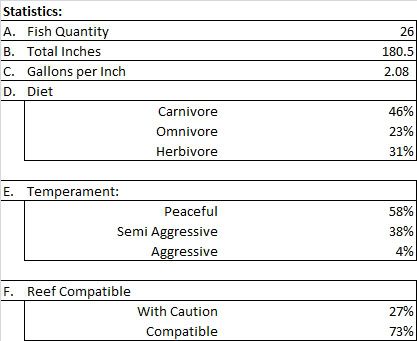
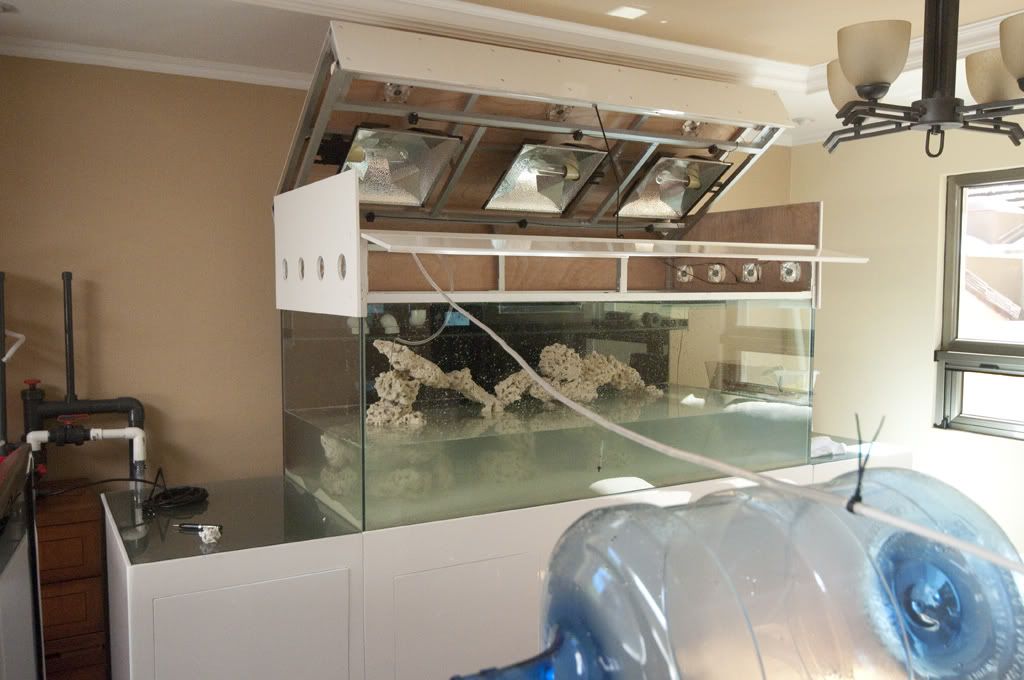
First off the Tank statistics:
Dimensions:
Made out of: Glass
Thickness: 1/2"
DT: 72î x 34î x 26î (275g)
Sump: 48îx10îx18î (40 gal)
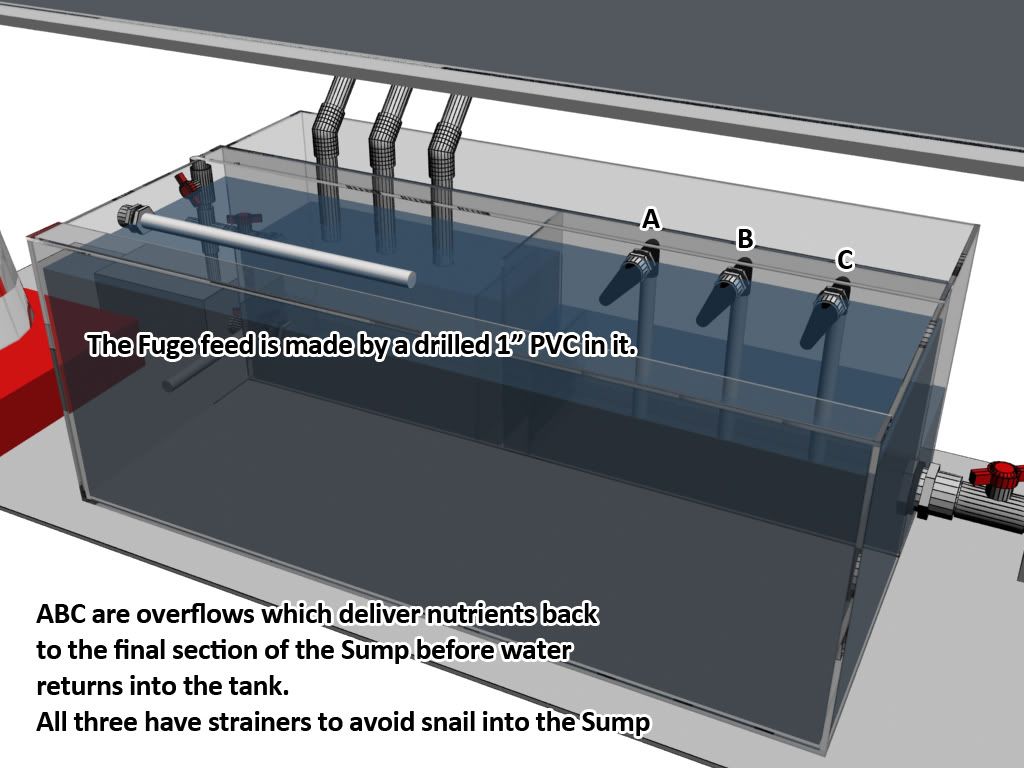
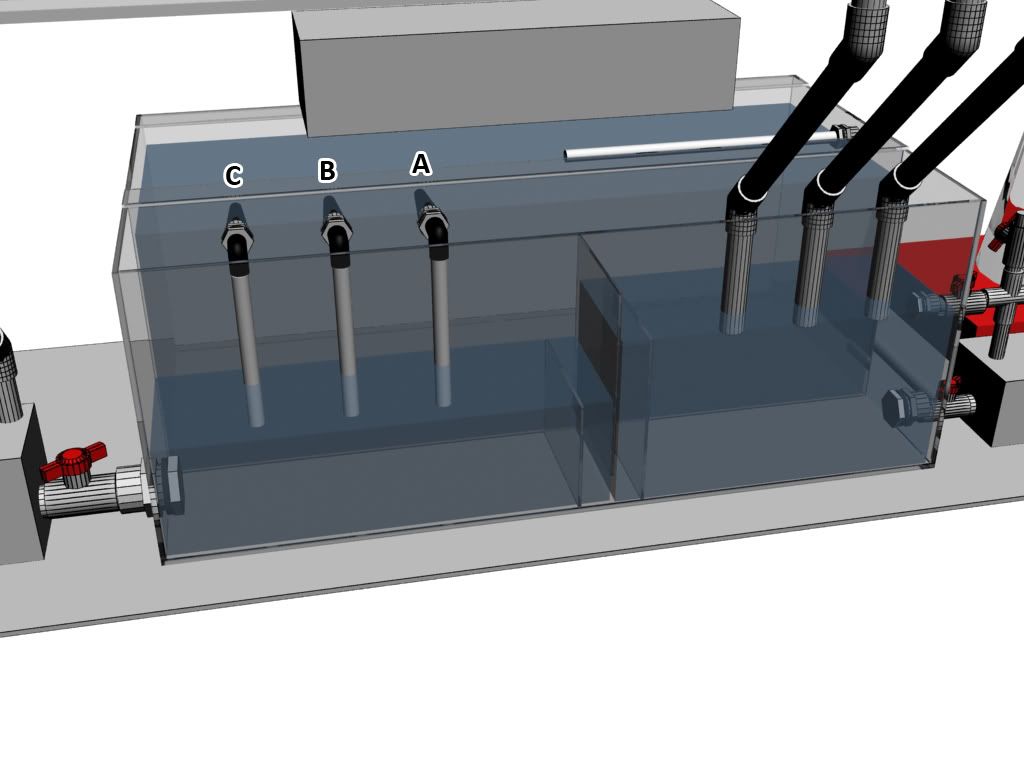
Fuge: 48îx16îx18î (60g)
Total system: 375 gallons
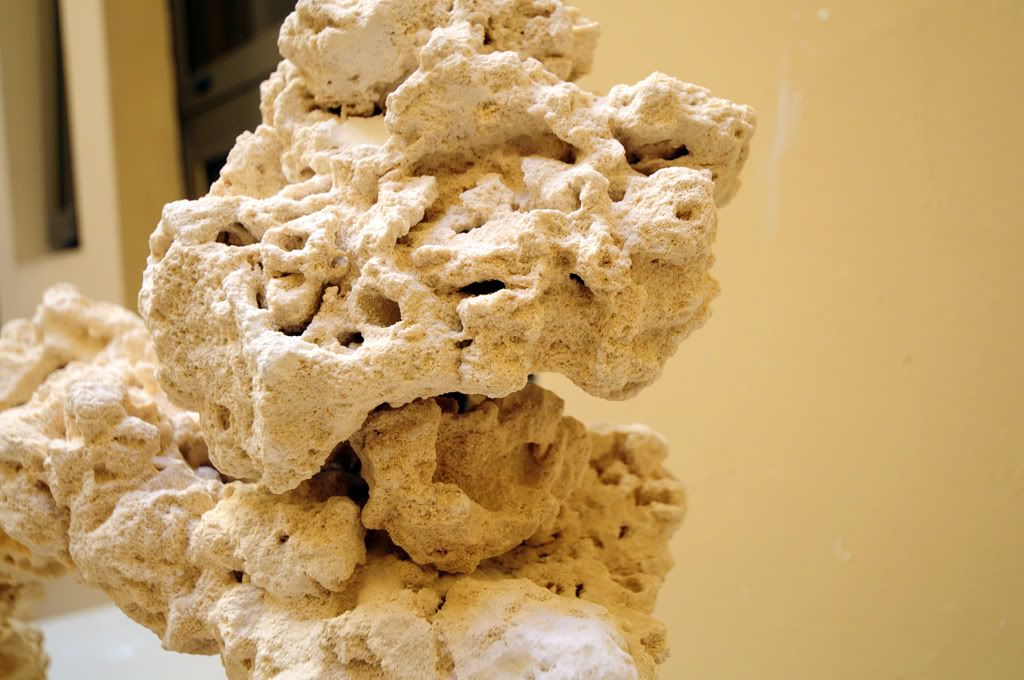
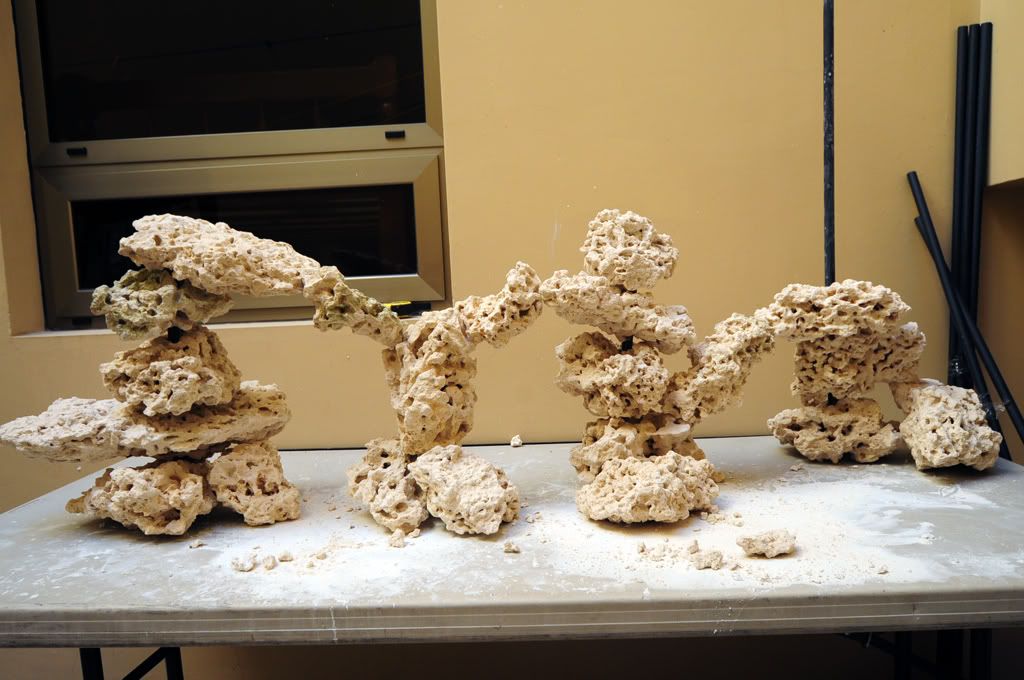
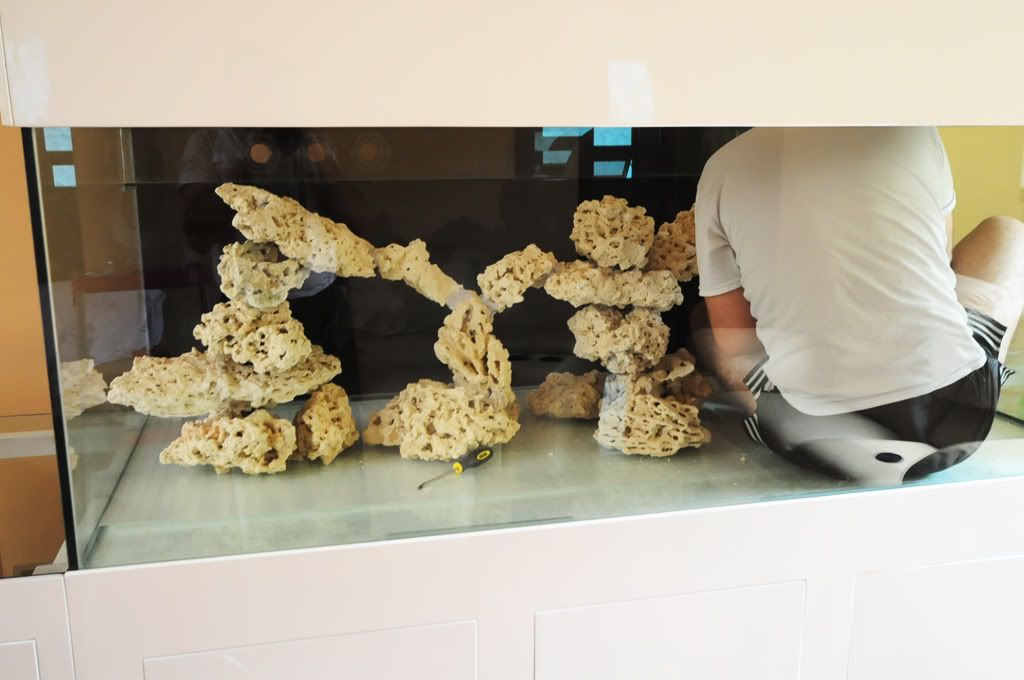
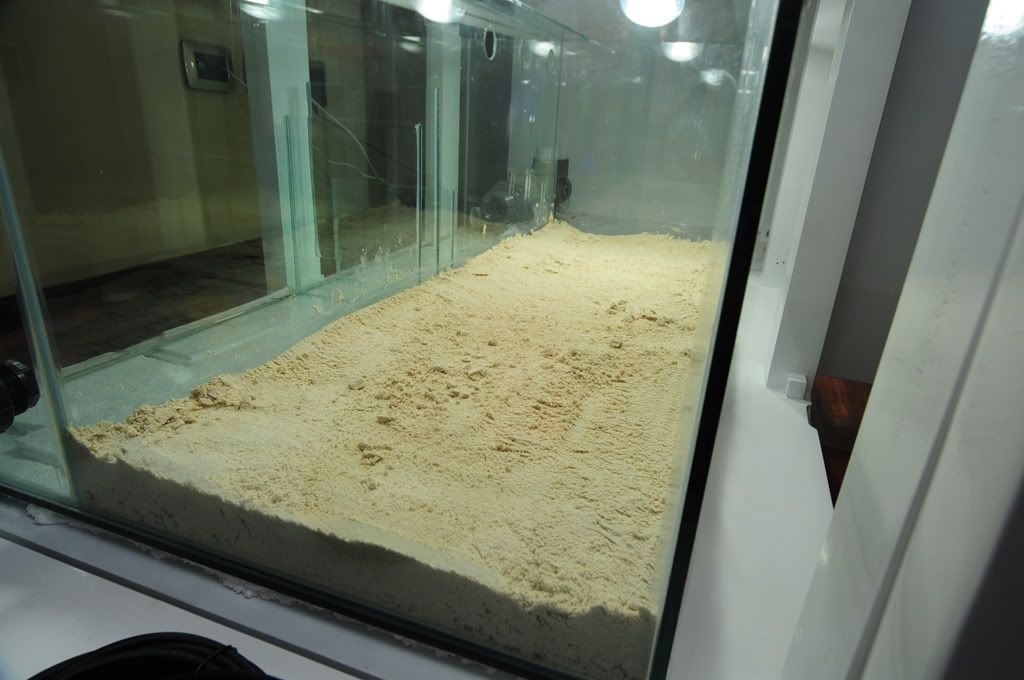
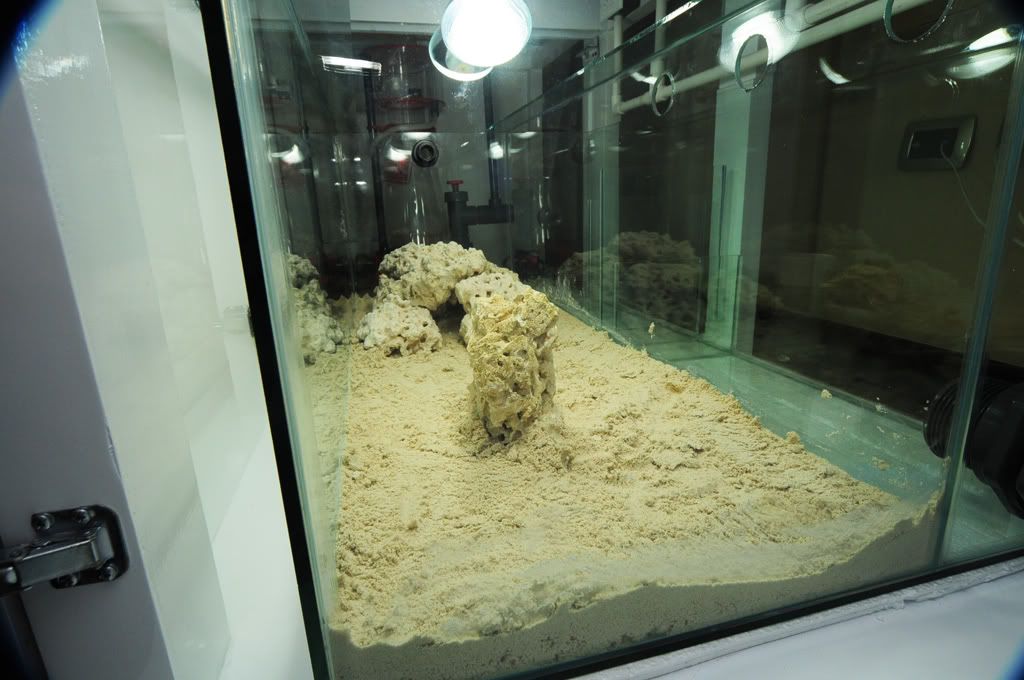
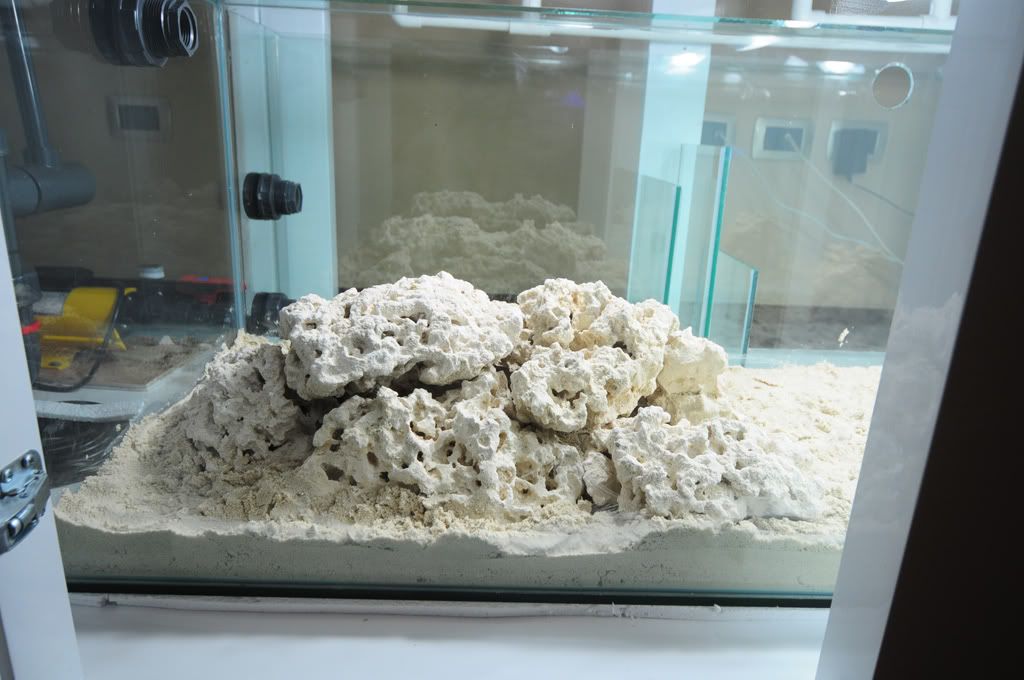
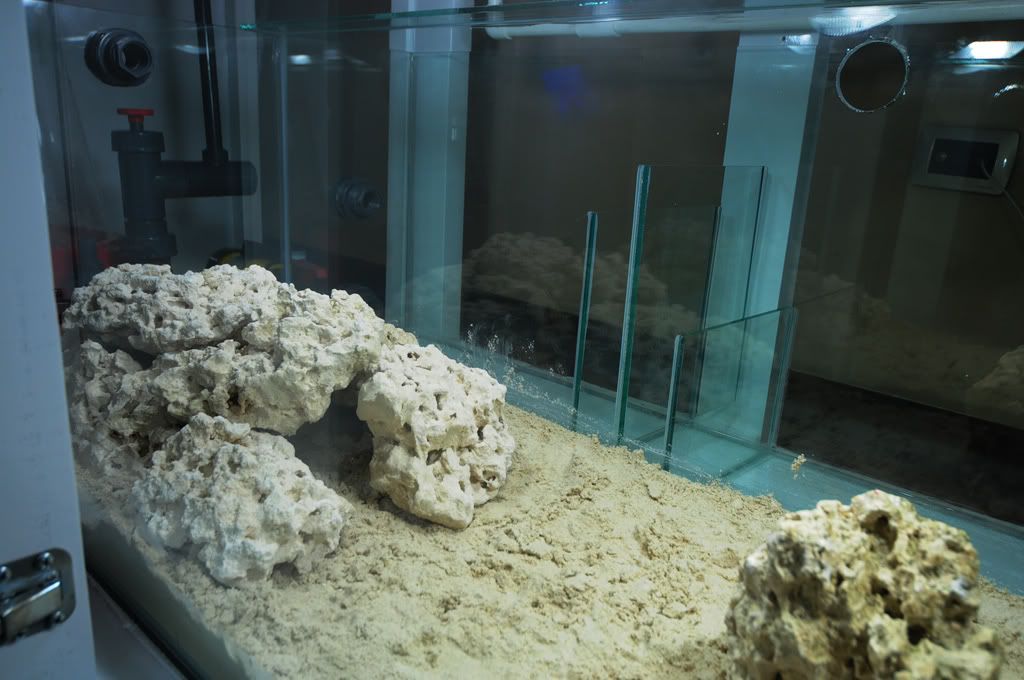
Rock and Sand:
205 Pounds of Marco Rocks
200 Aragonite sand
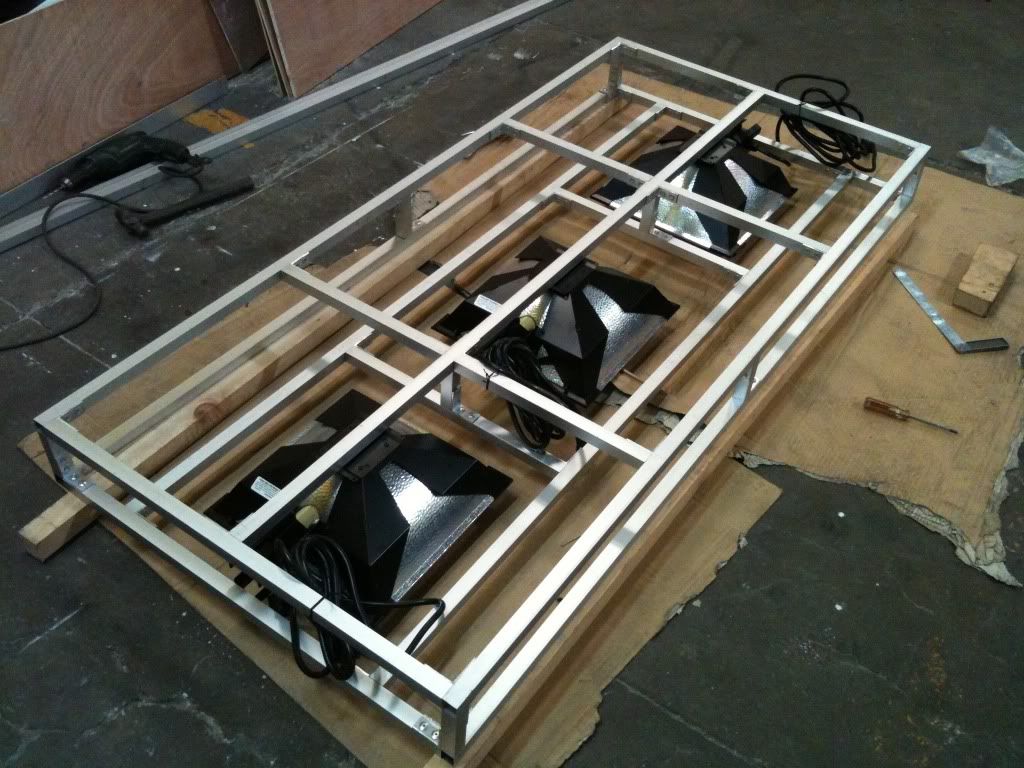
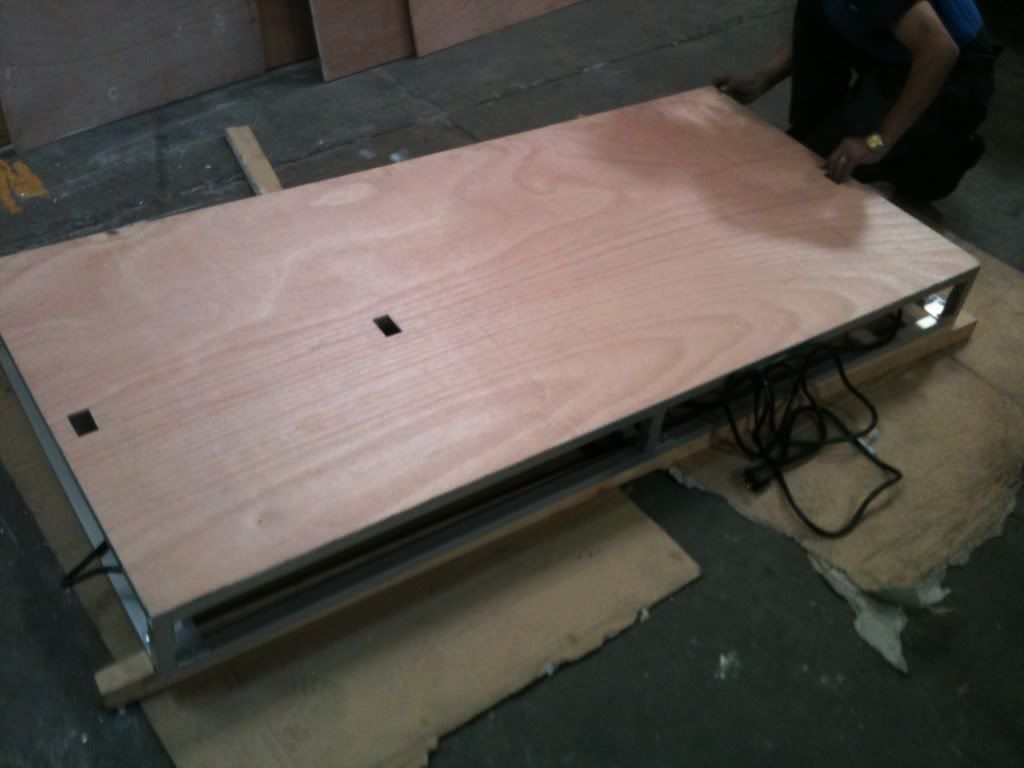
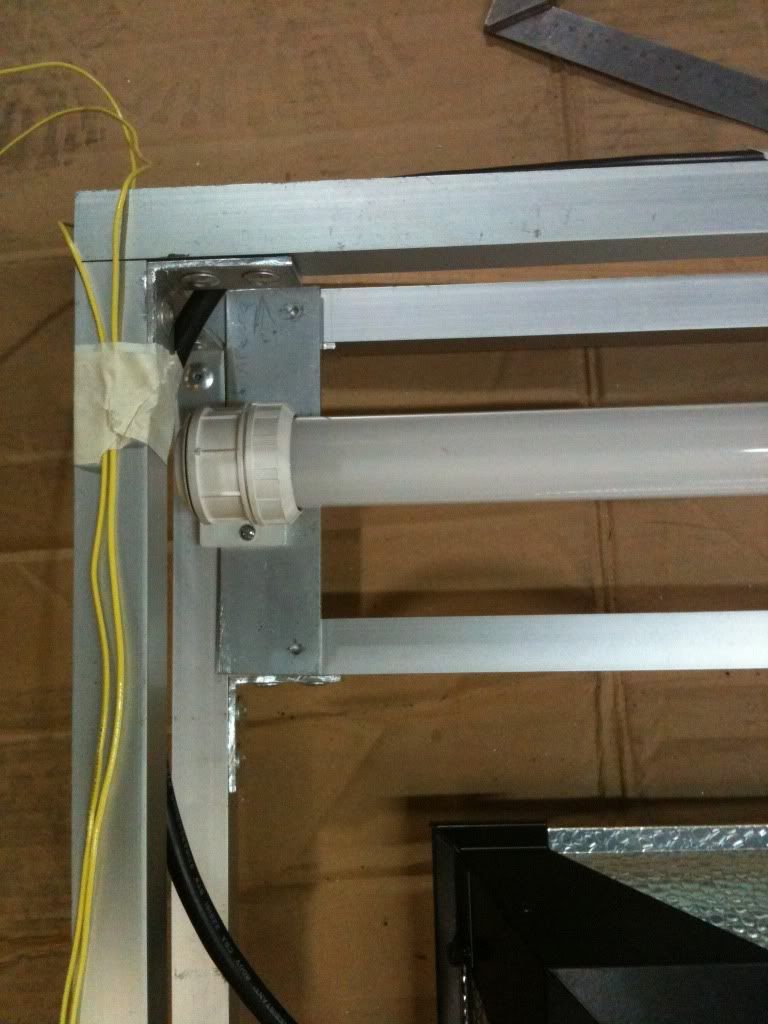
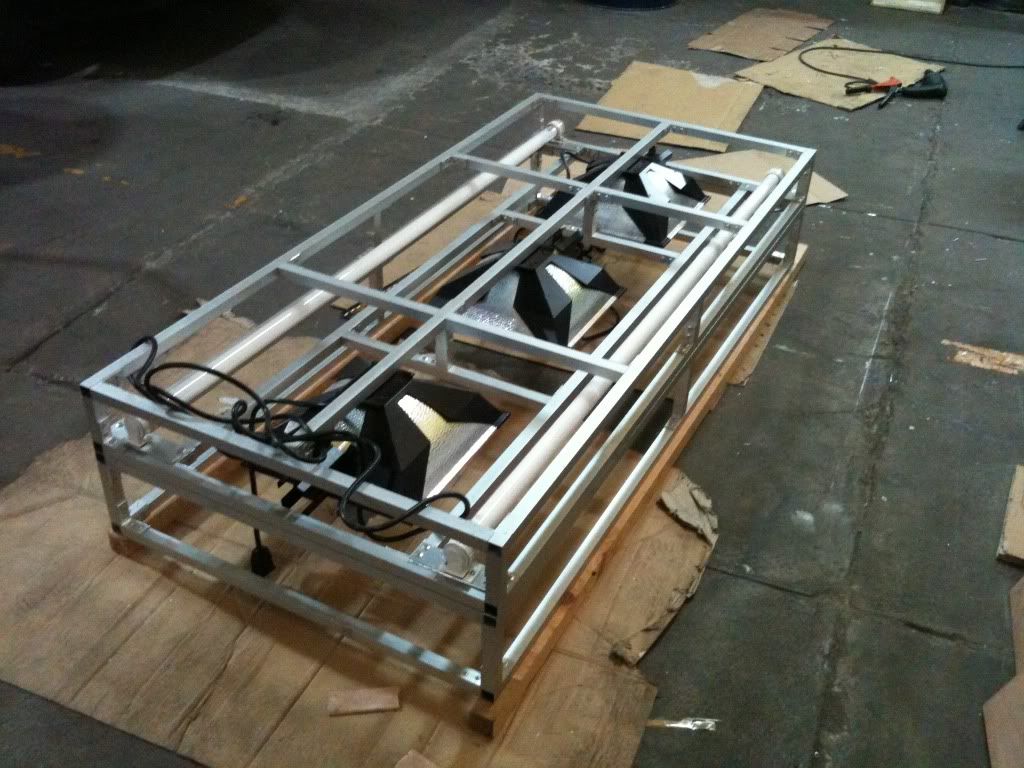
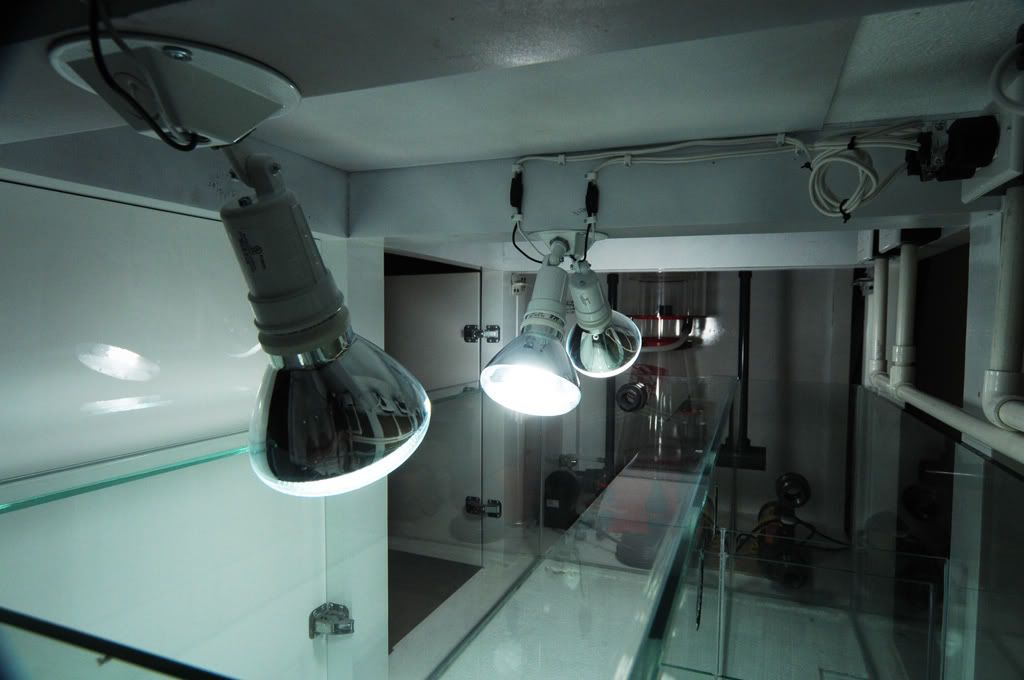
Lightning:
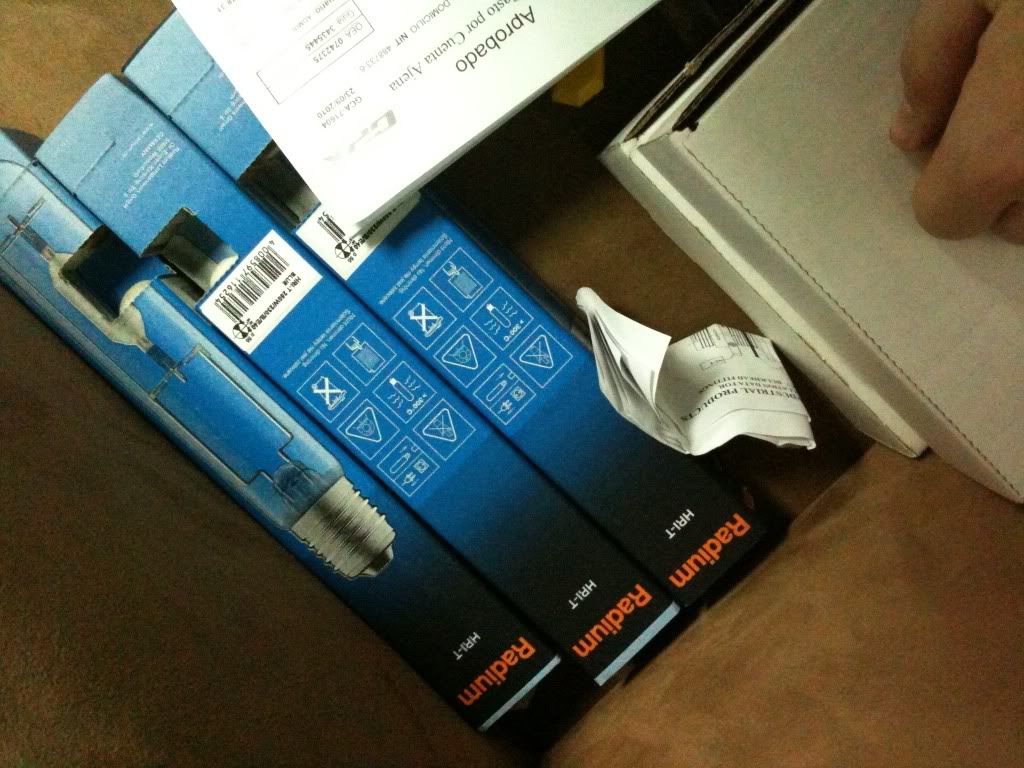
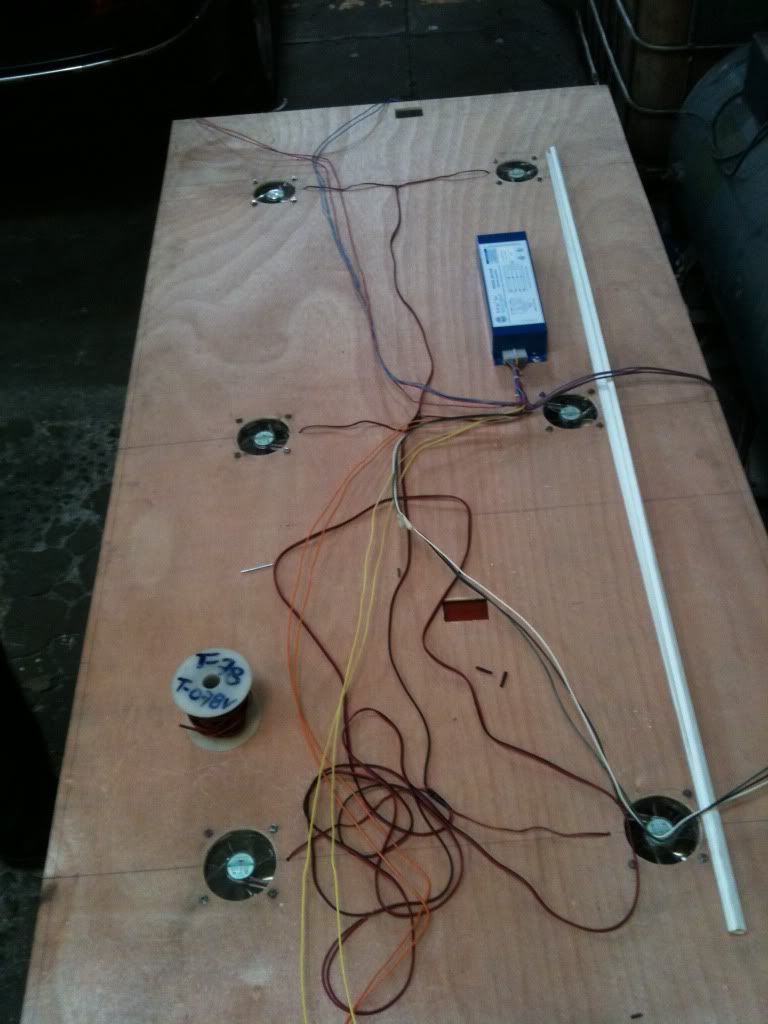
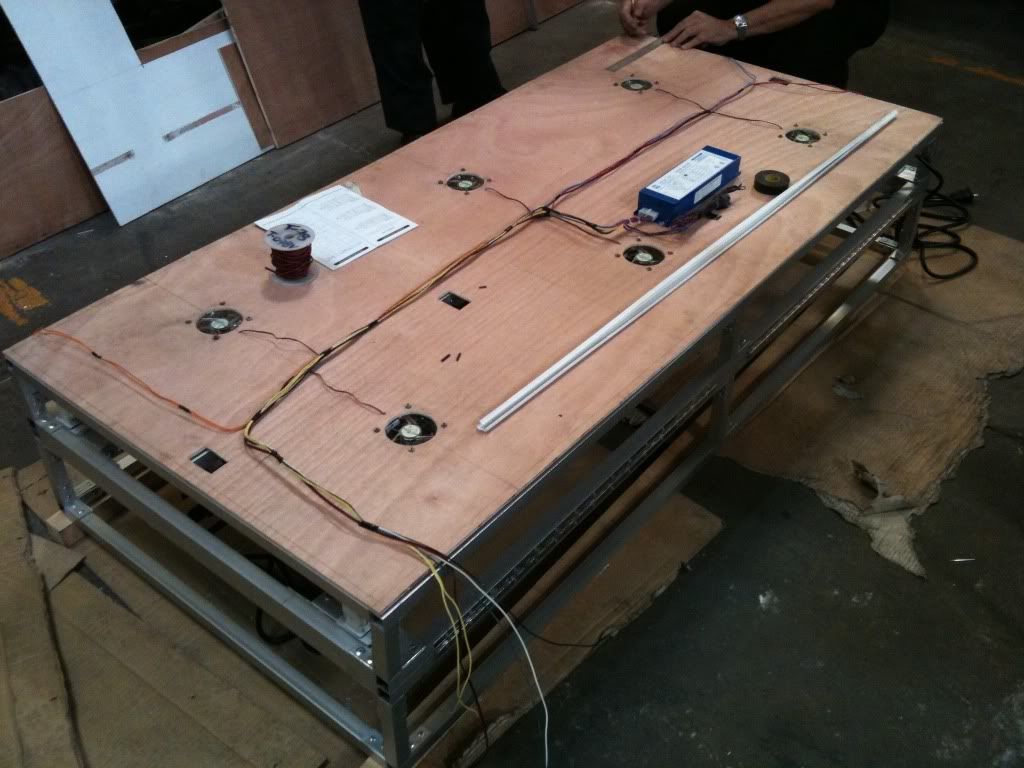
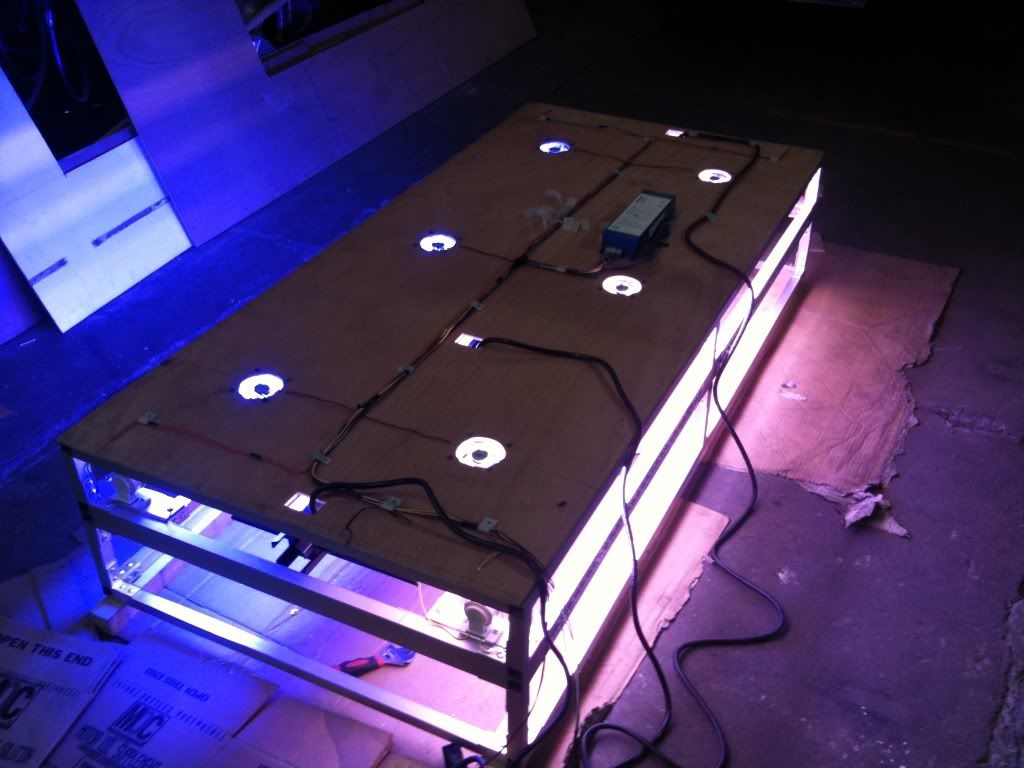
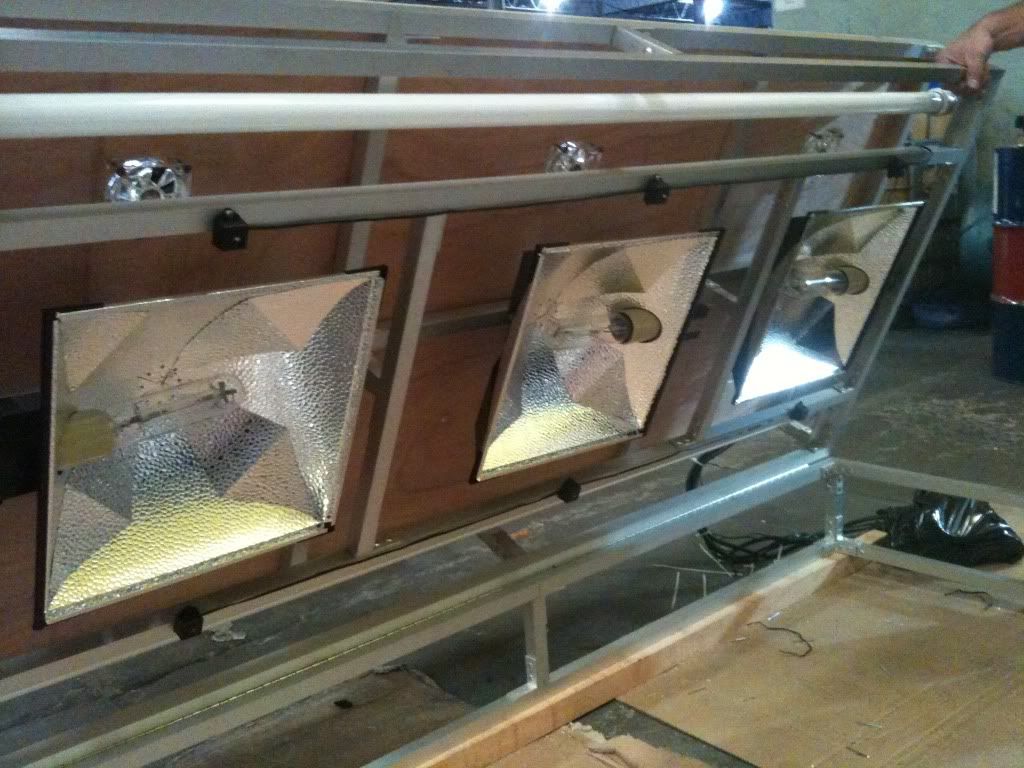
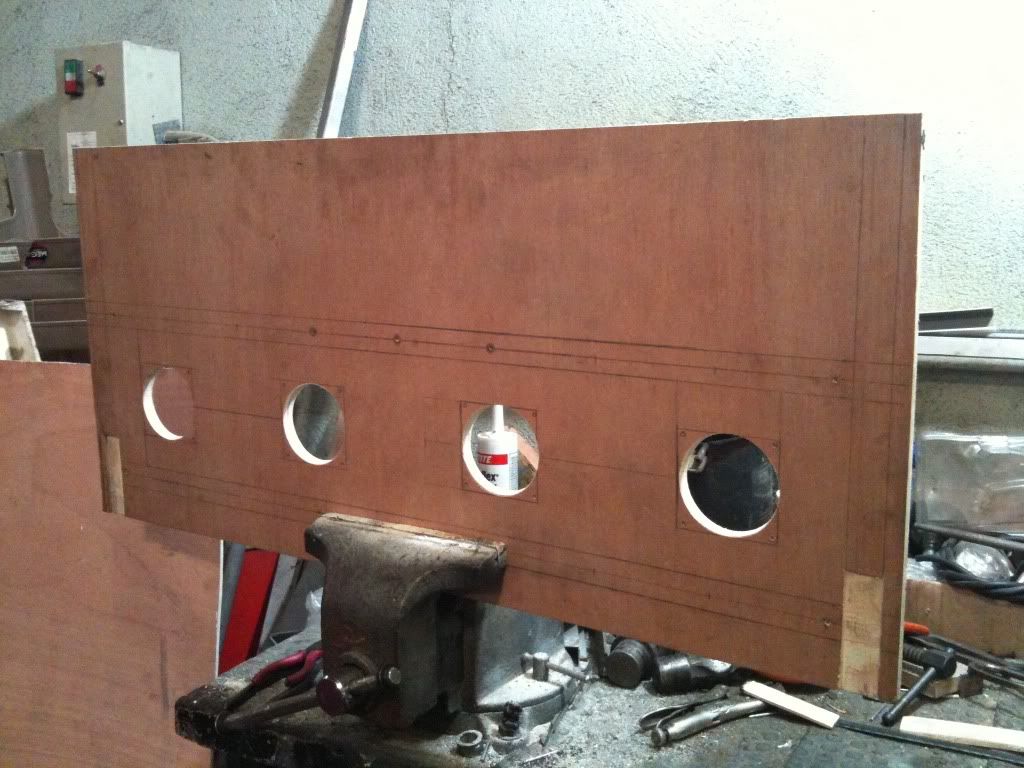
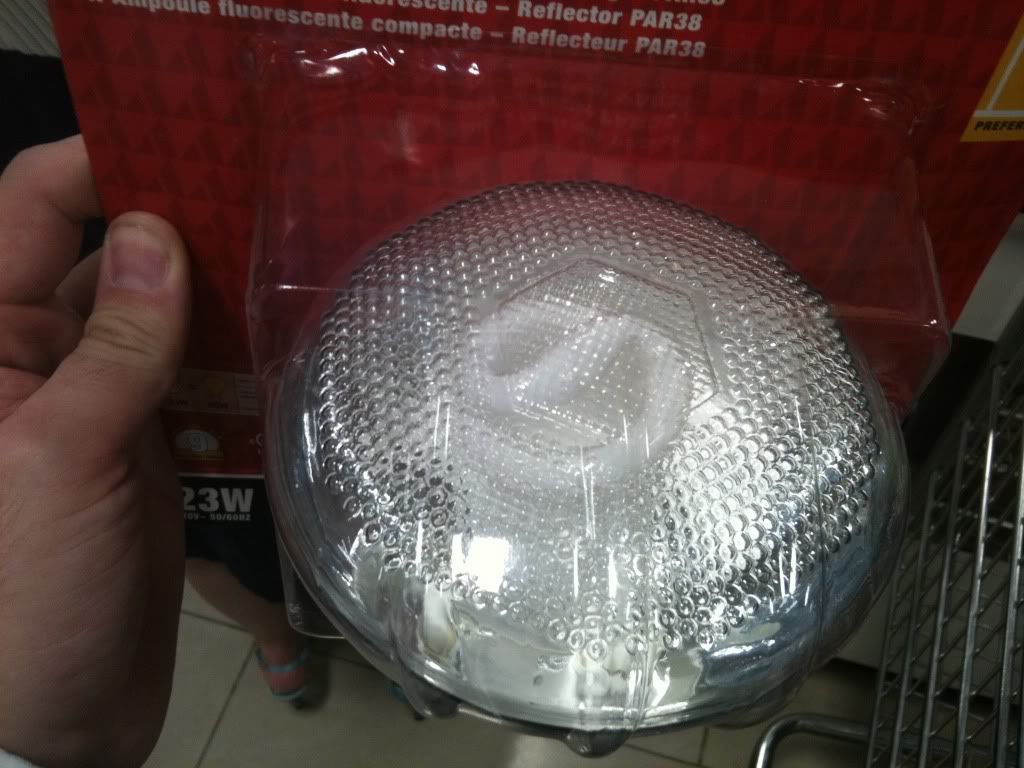
3x LumenMax Elite Reflectors with Hamilton M80 HQI Metal Halide Ballasts and Radium 20k Bulbs
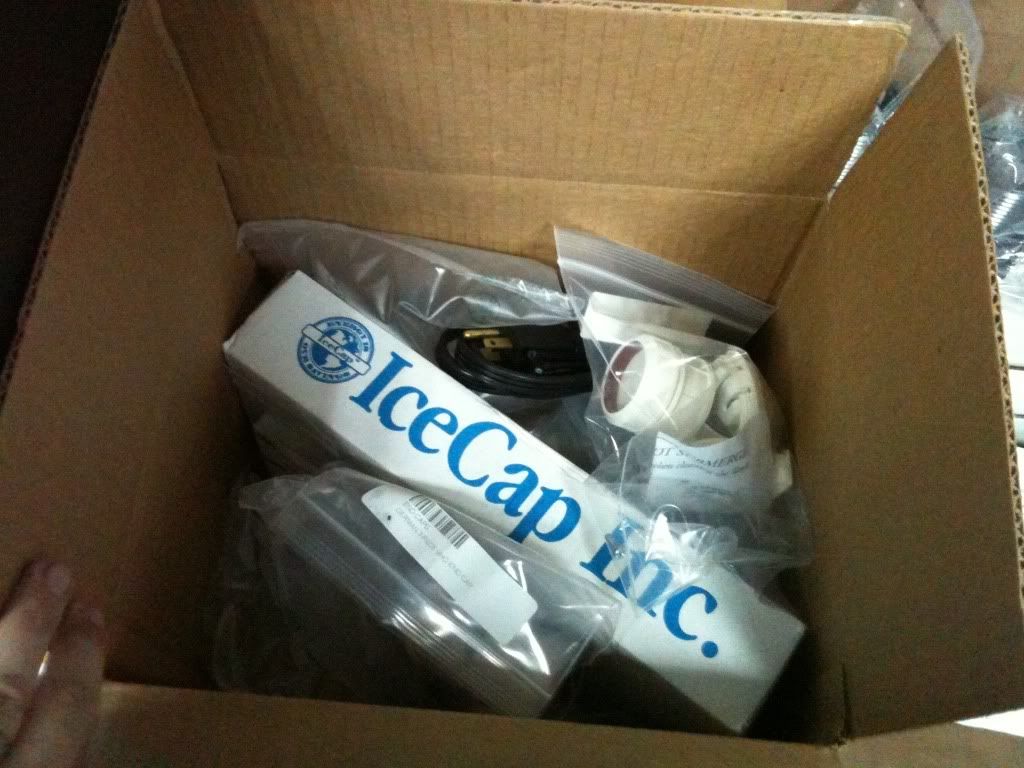
2x VHO 72î Retrofit kit with IceCap 660 Ballast.
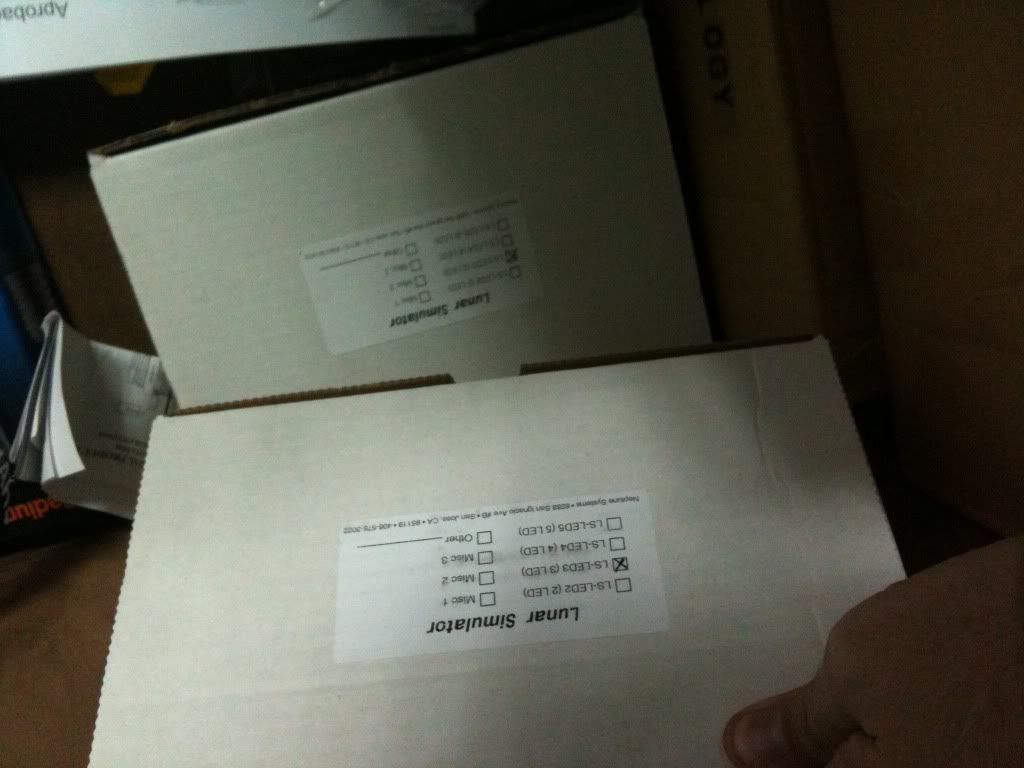
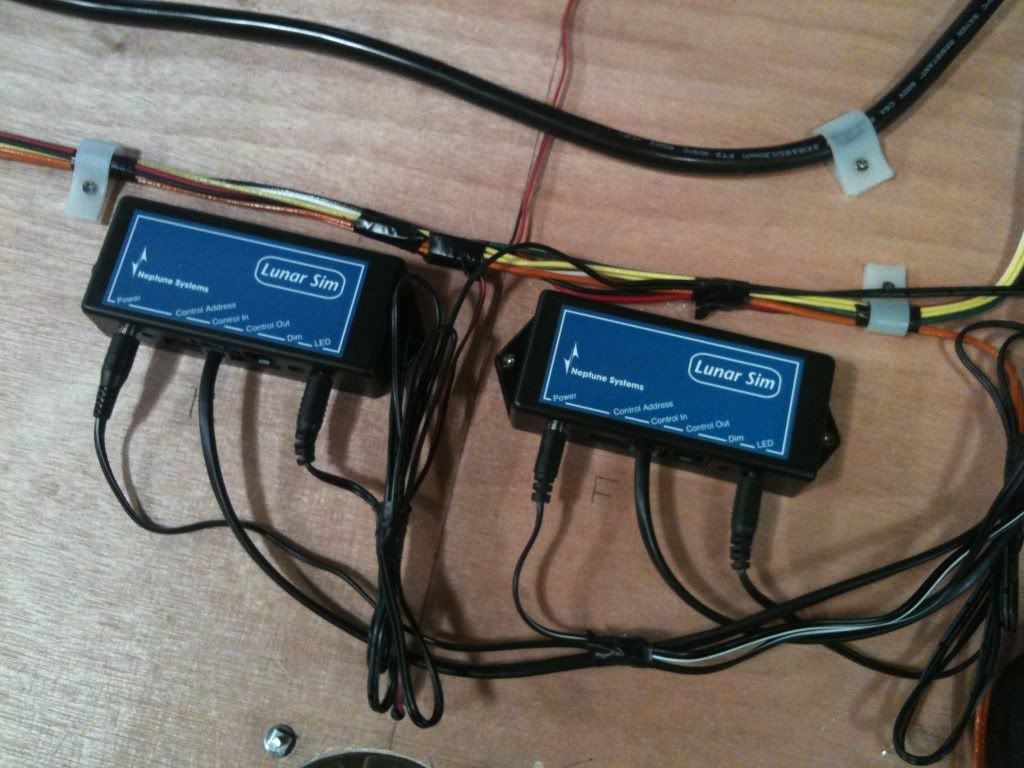
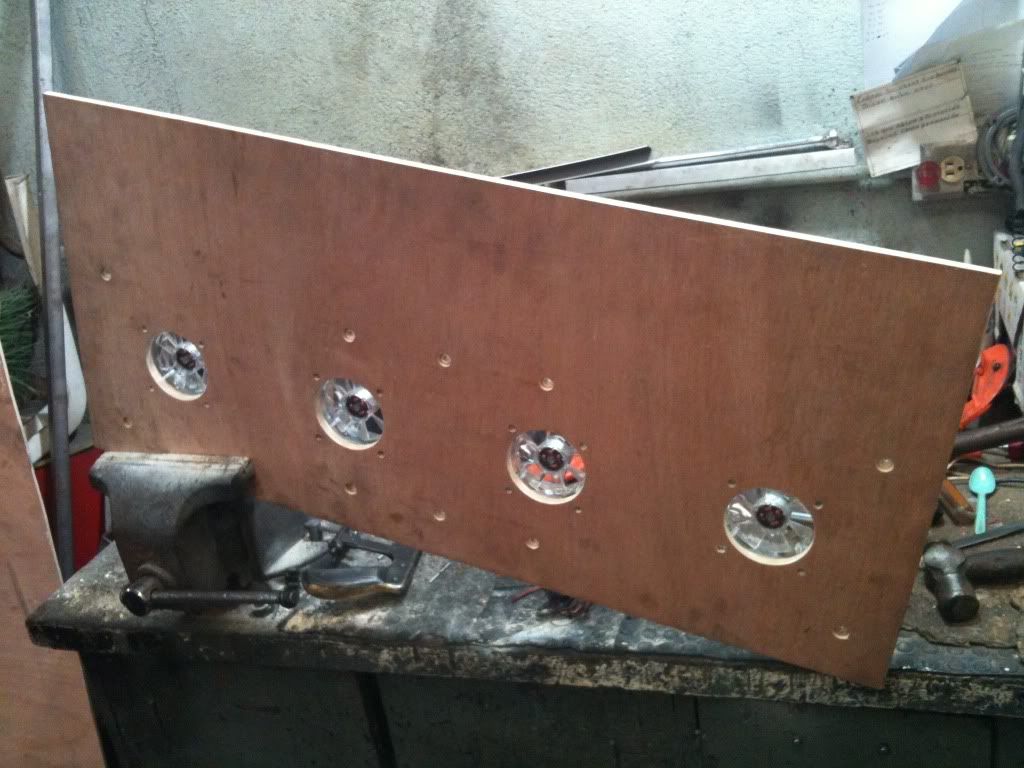
2x Neptune Systems Lunar Sim (3LED/each) Total 6 LEDS with real moon cycles.
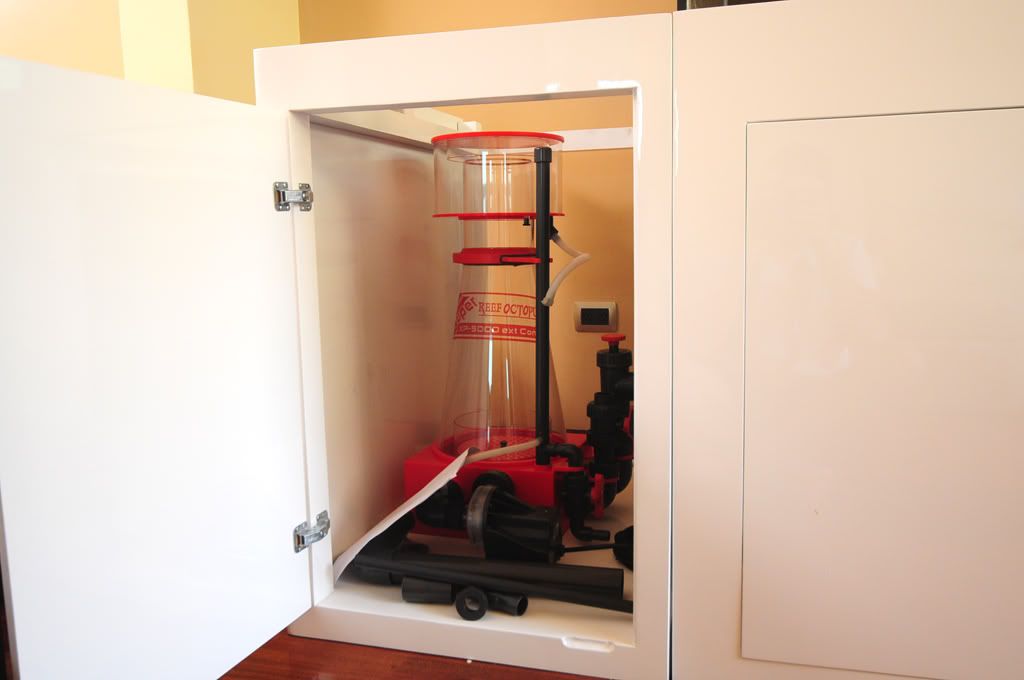
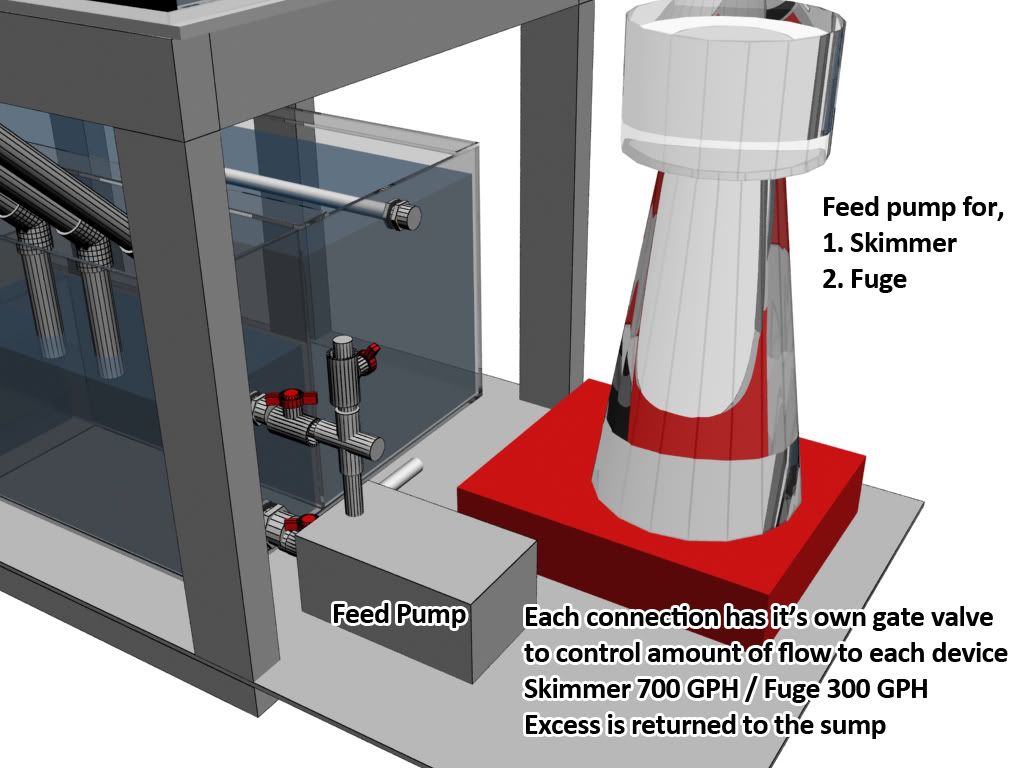
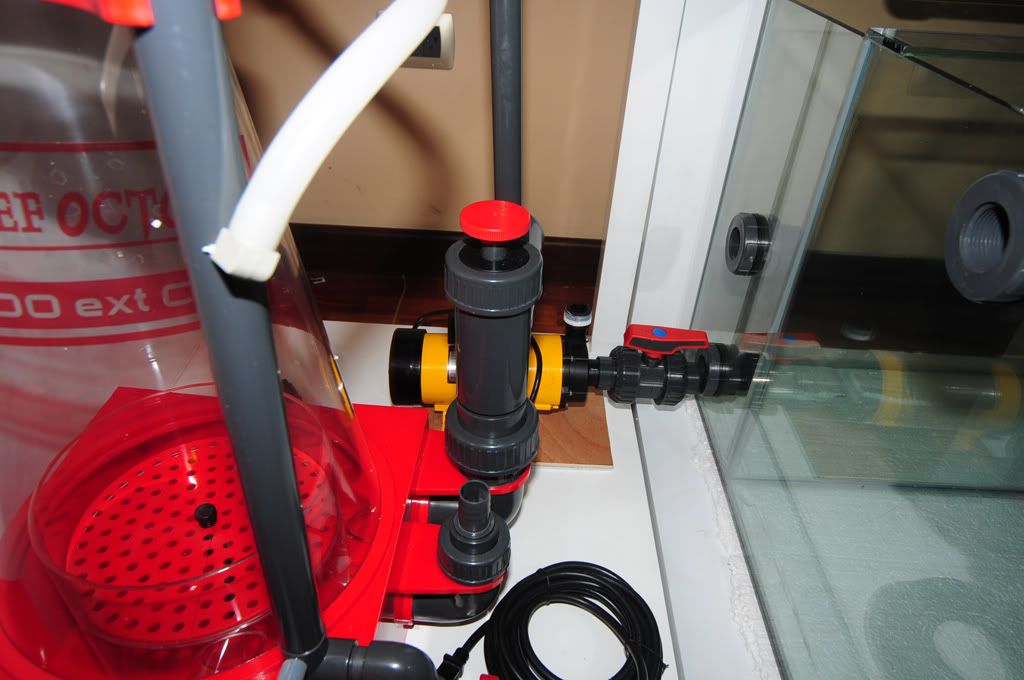
Skimmer:
Super Reef Octopus XP-5000 External Skimmer
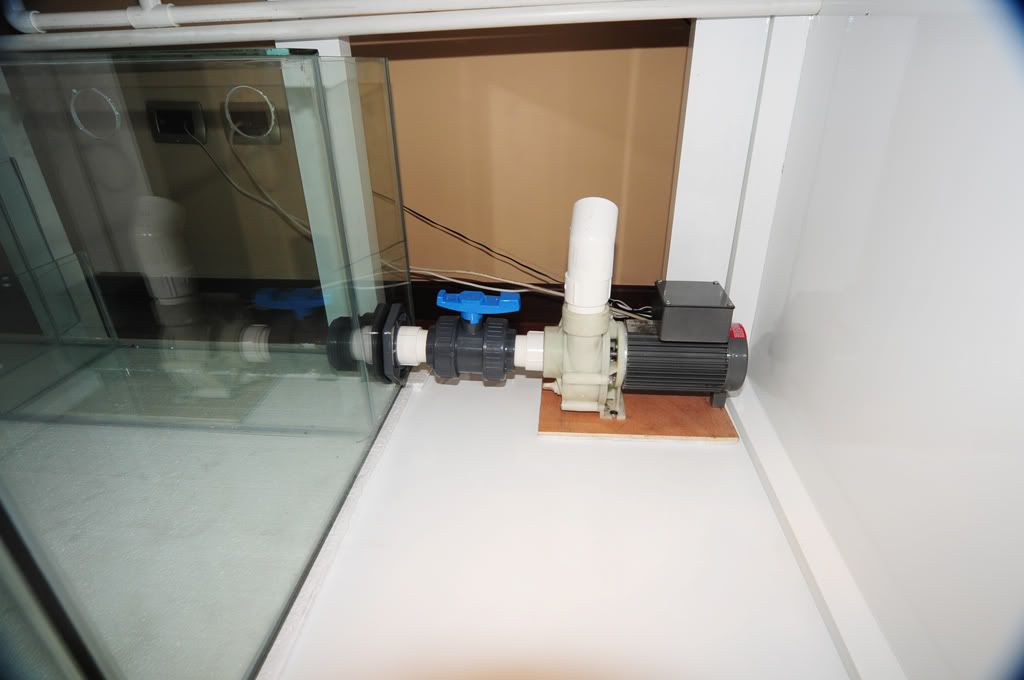
Pumps:
1x Reeflo Dart Gold for Return
1x PanWorld 100PX-X for Skimmer and Fuge feed.
1x Vortech MP60w Powerheads (When released)
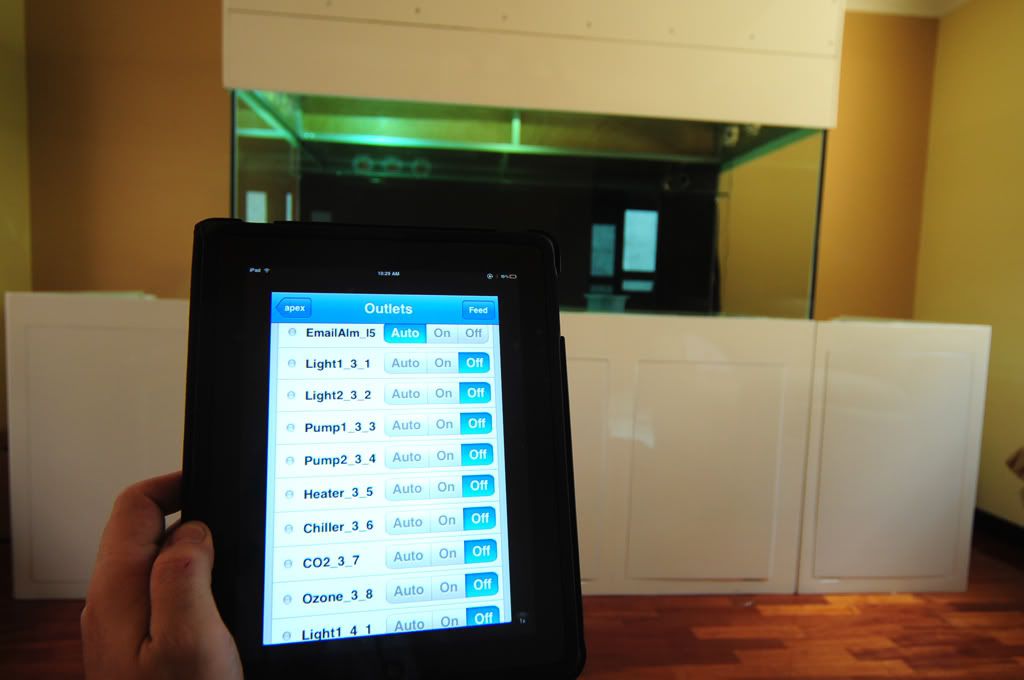
Controller / Monitor:
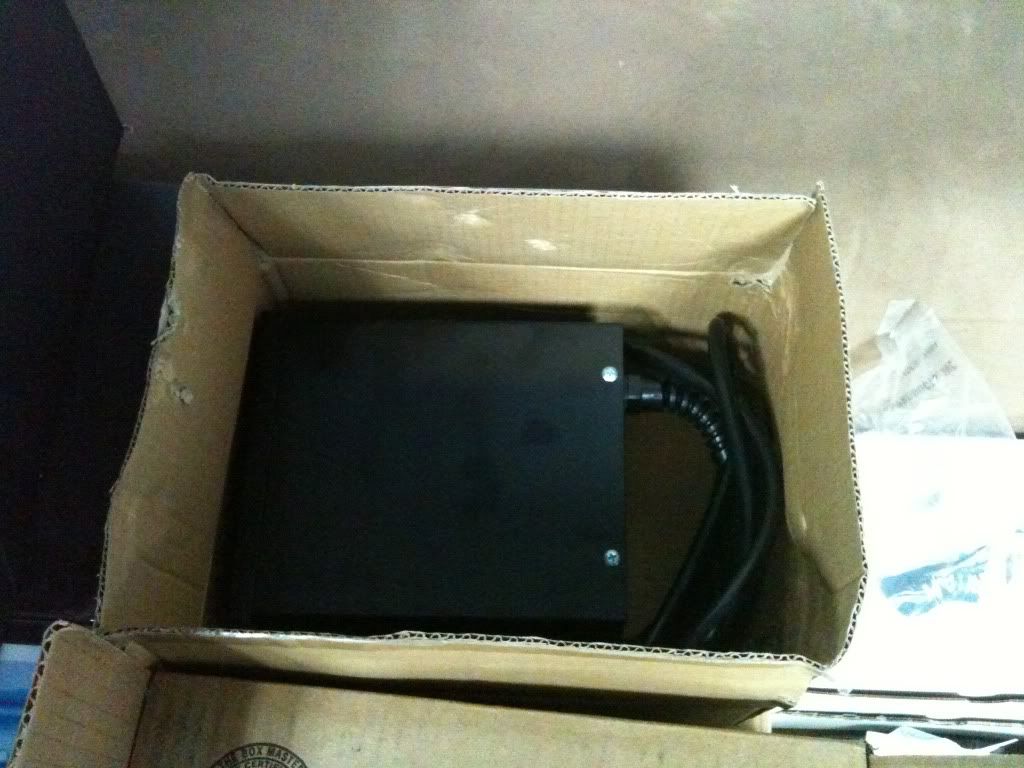
Neptune systems APEX controller
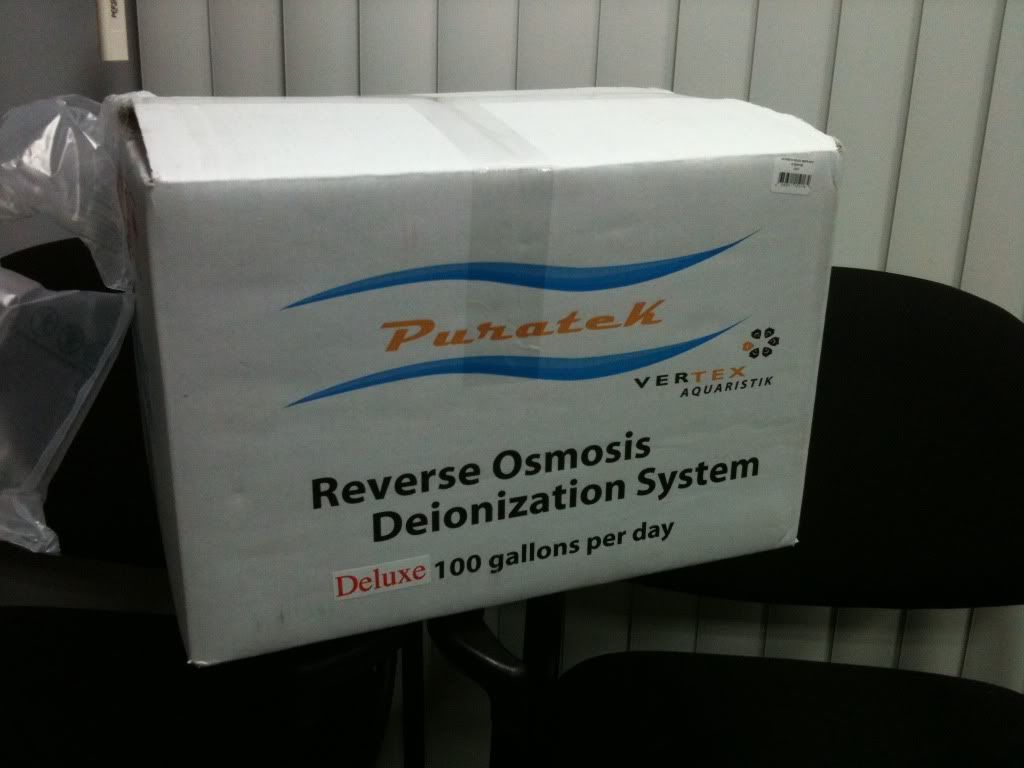
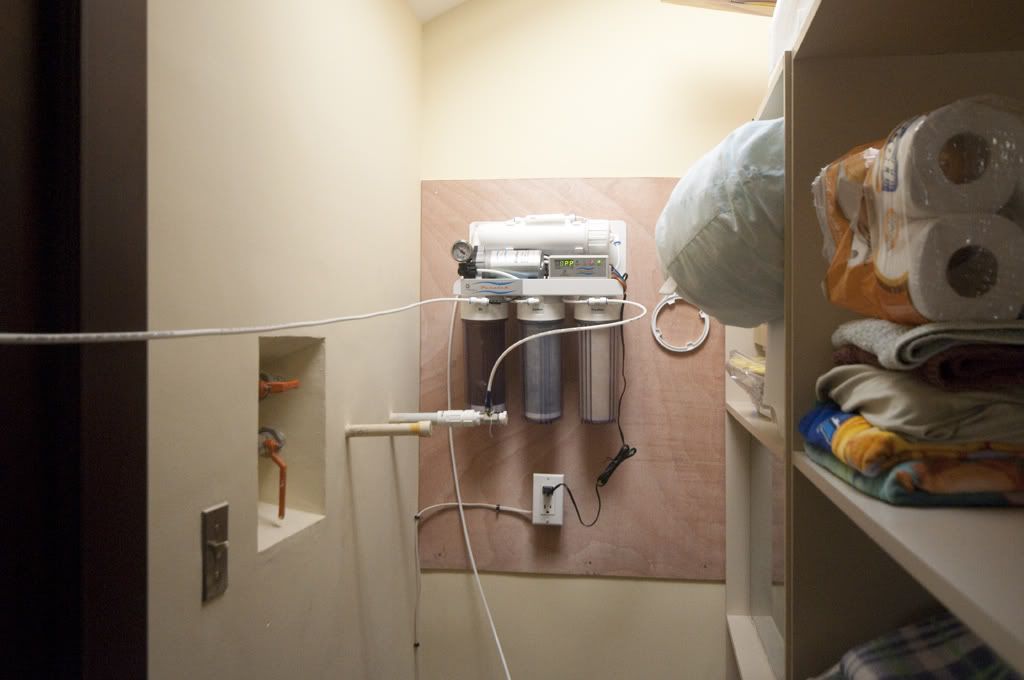
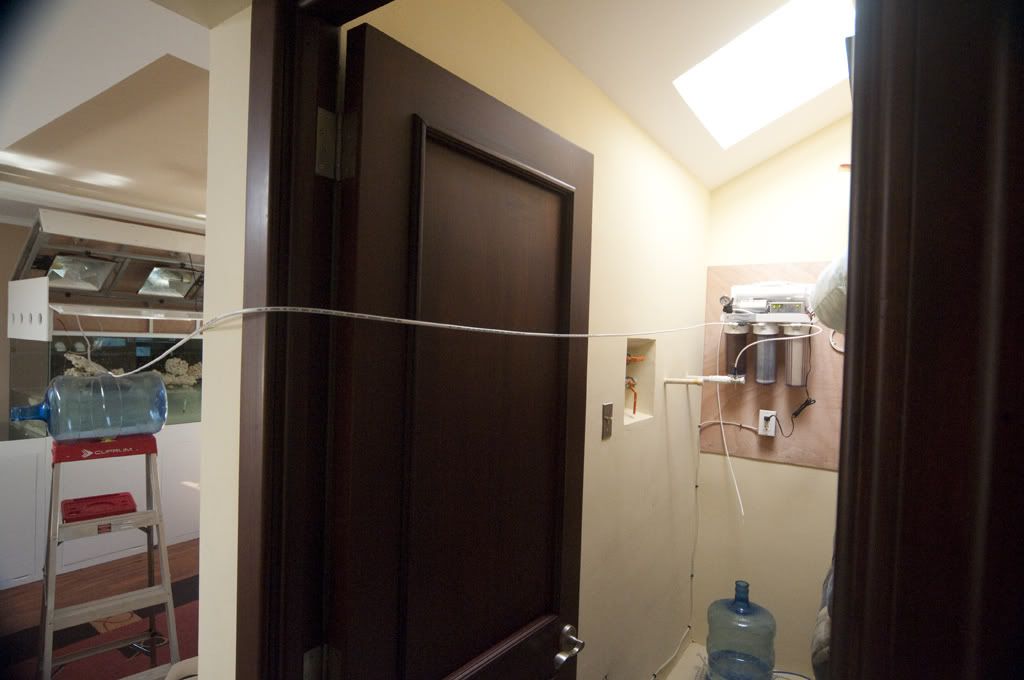
RO/DI unit:
Vertex Puratek 100GPD RO/DI system w/booster pump.
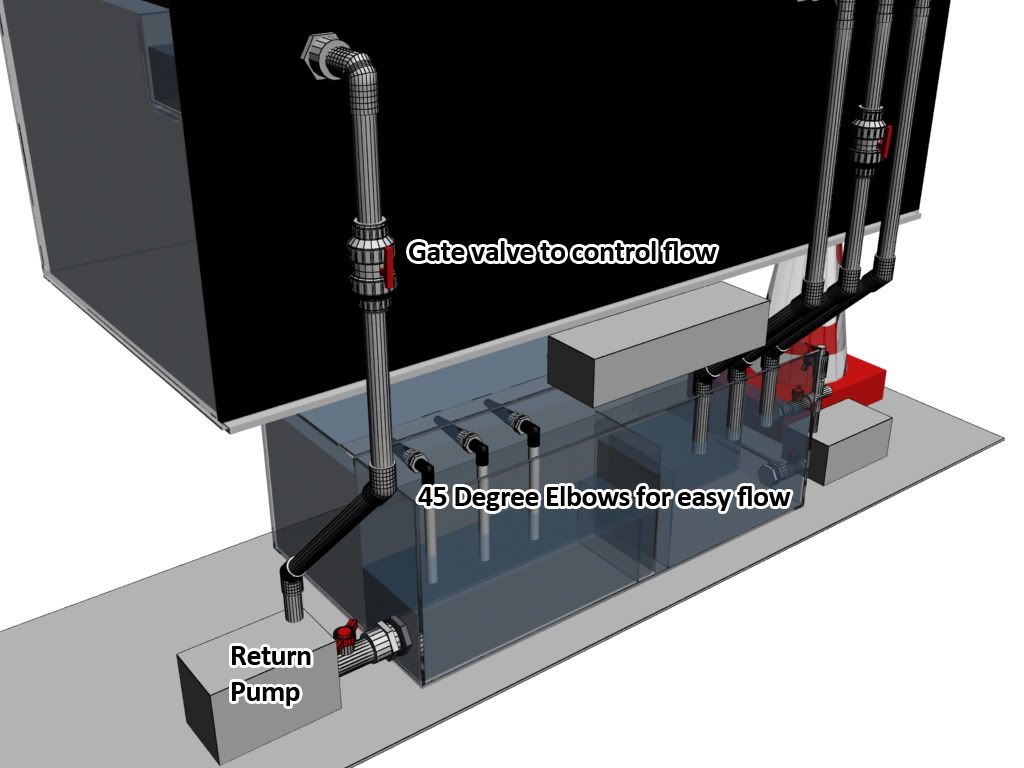
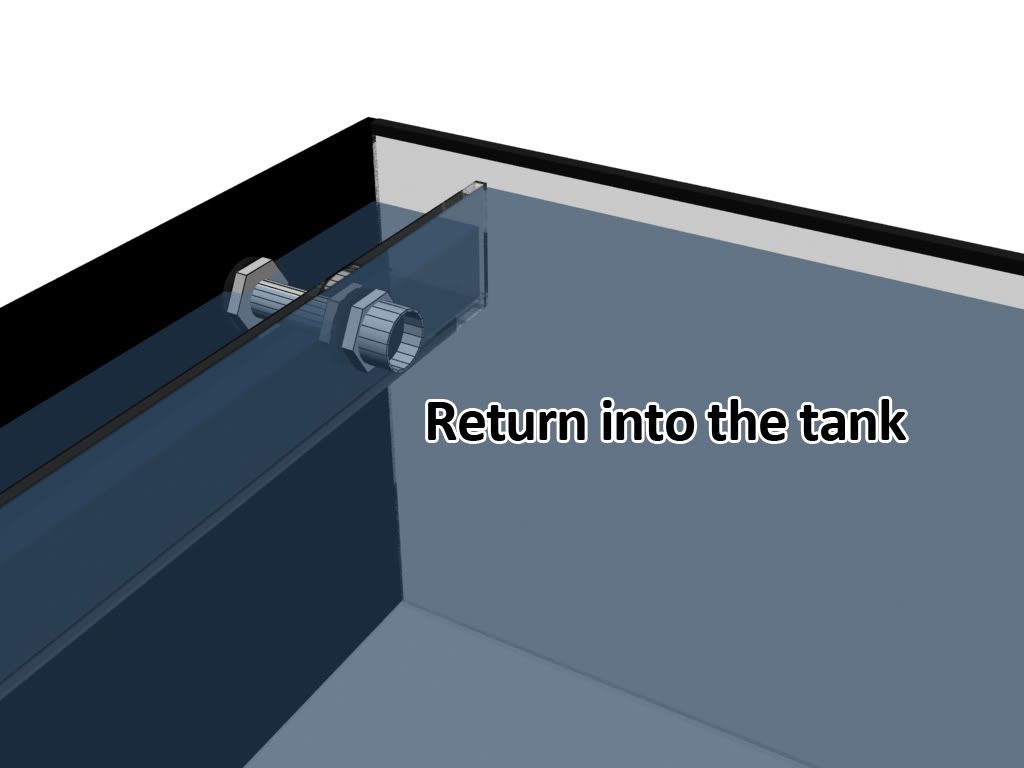
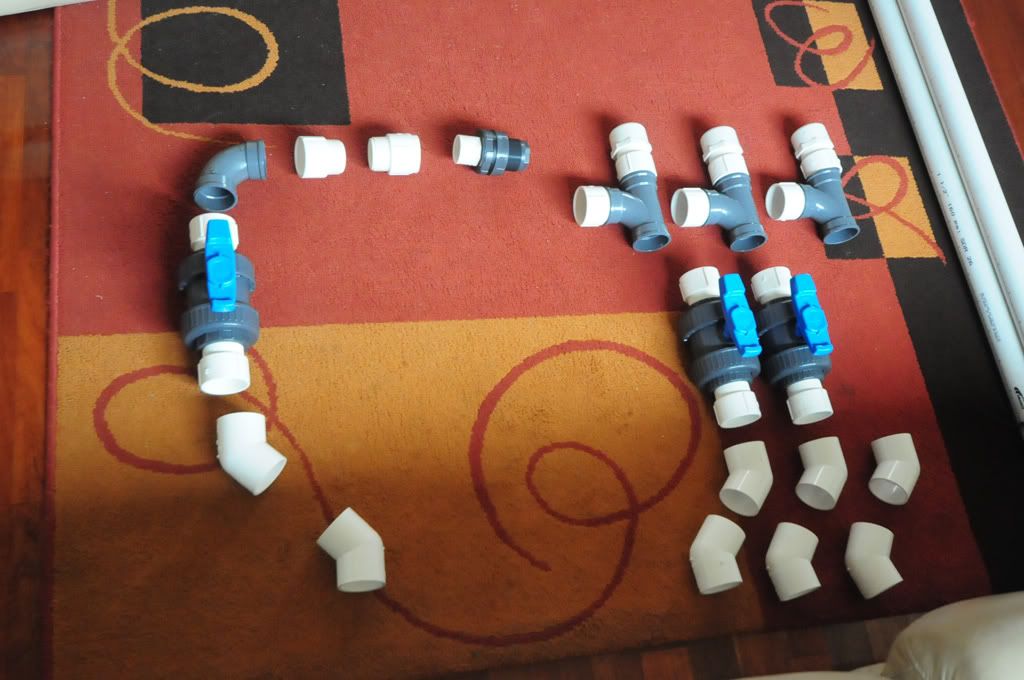
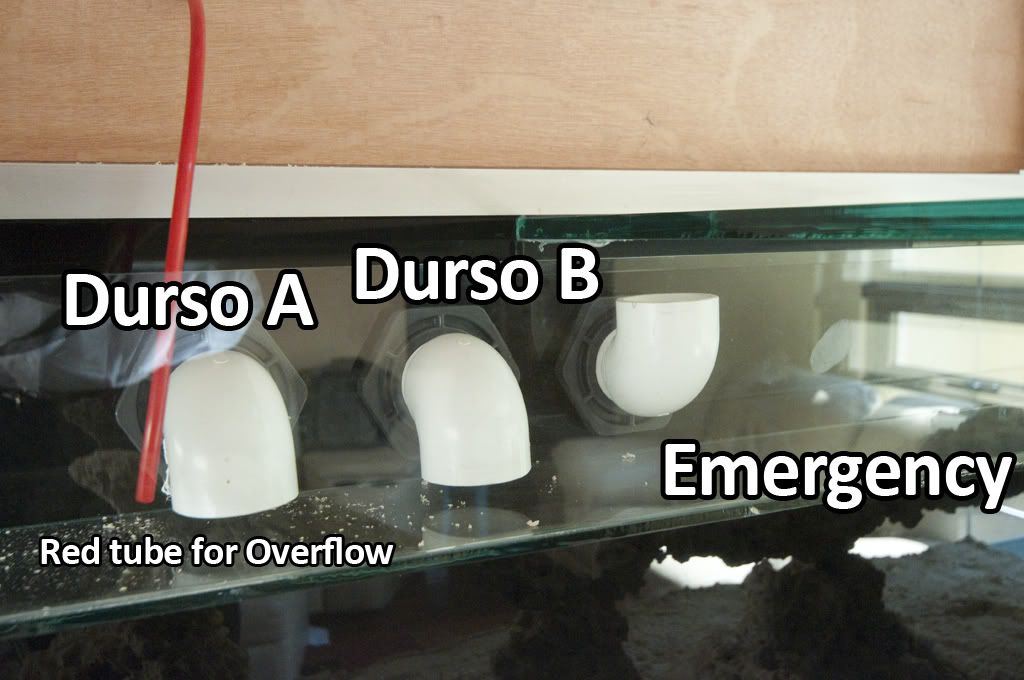
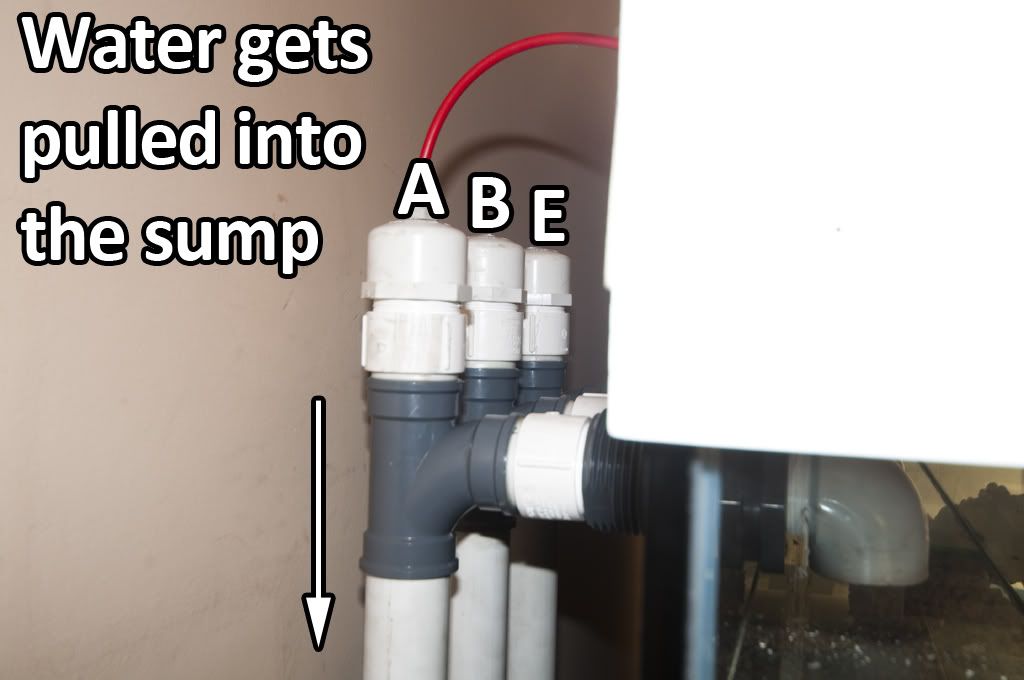
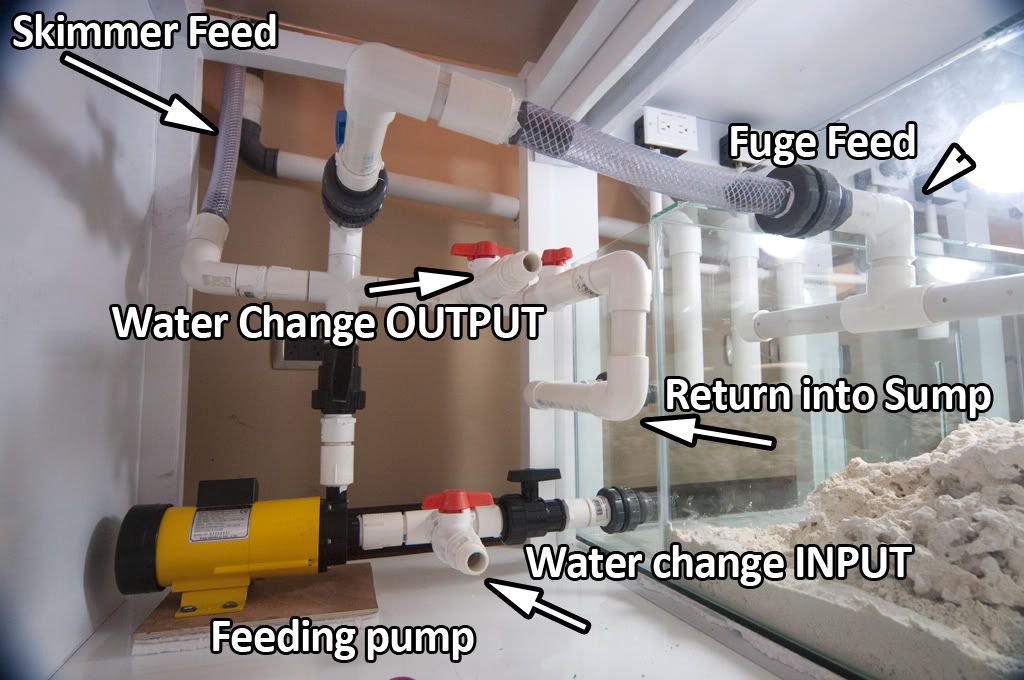
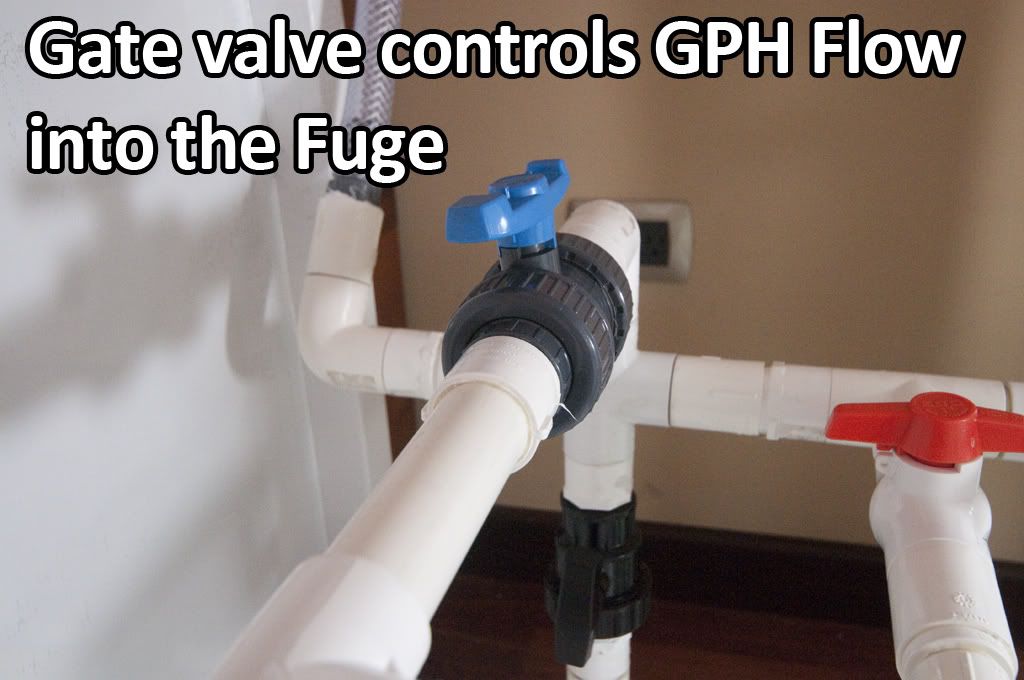
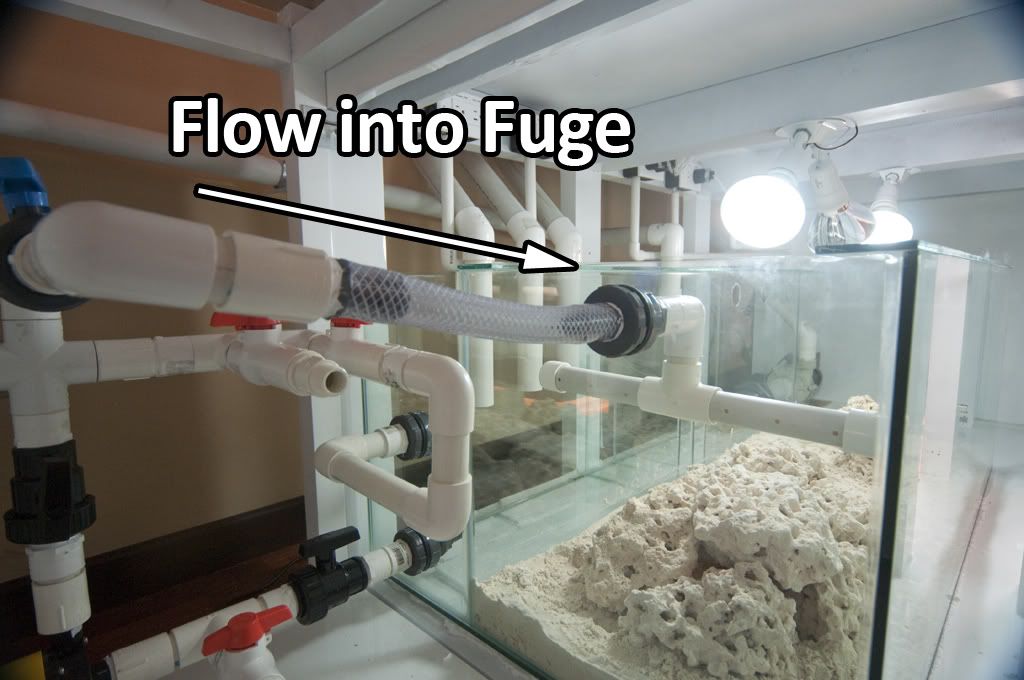
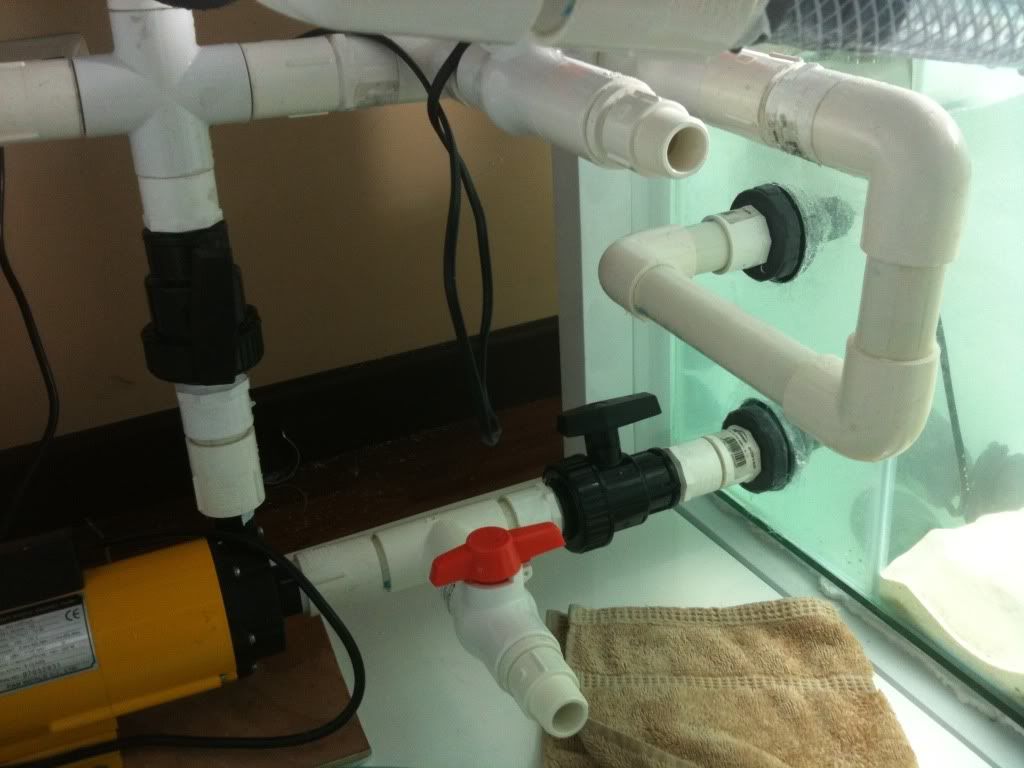
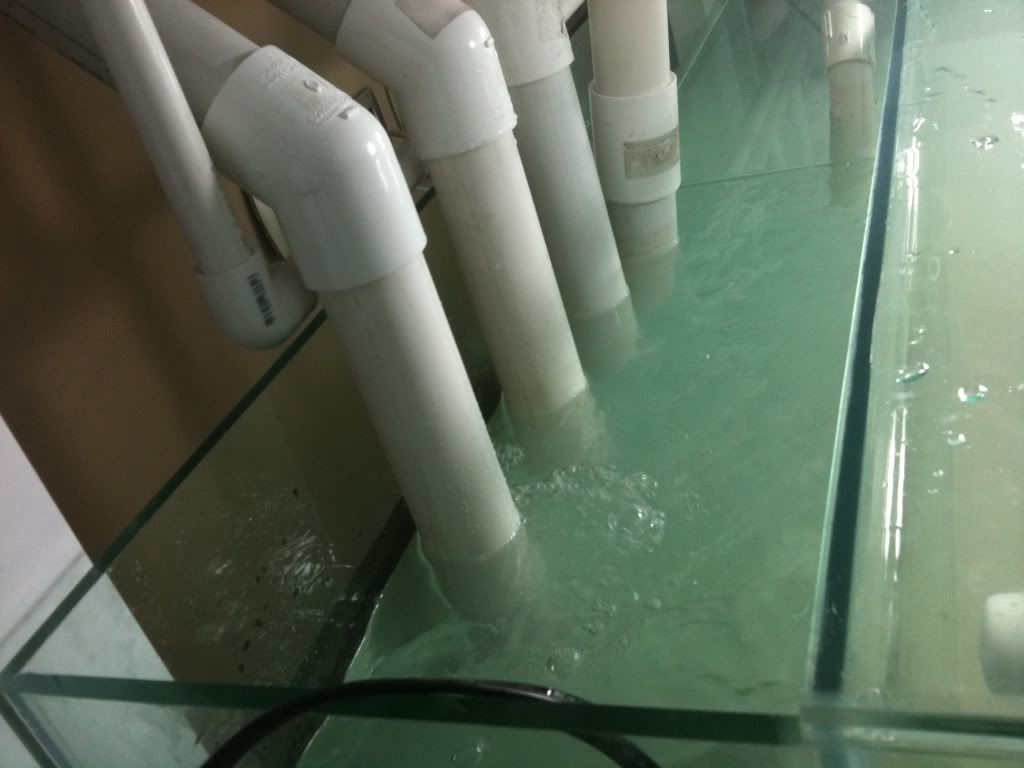
Plumbing and overflow and water connectivity:
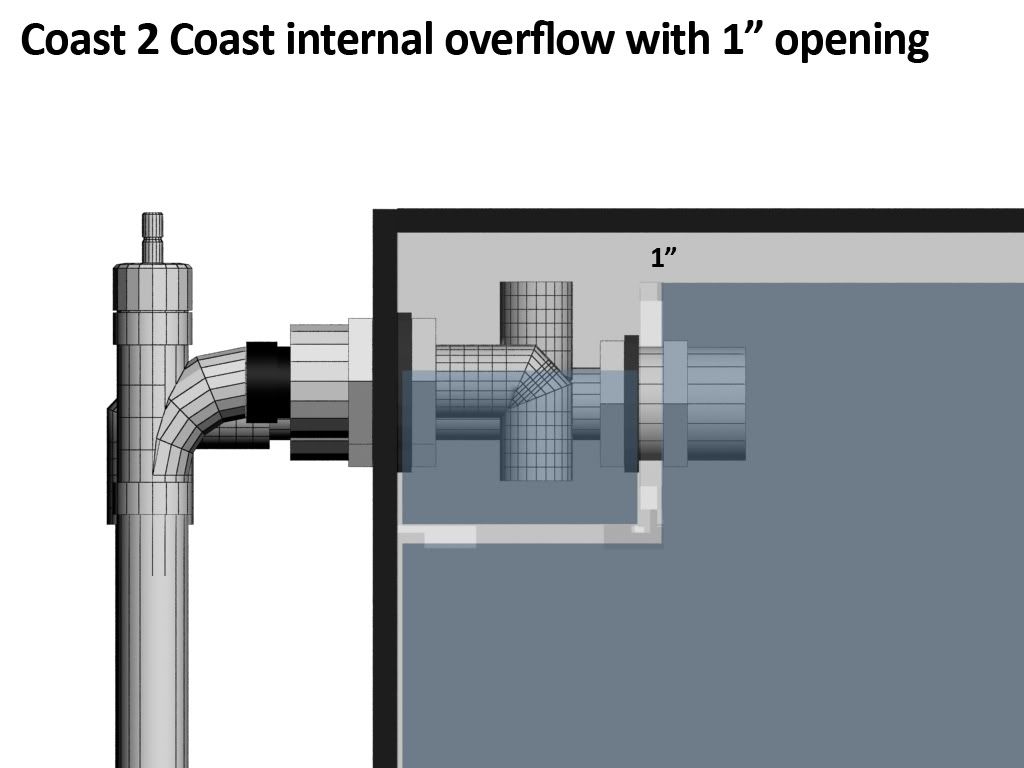
- Internal coast to coast overflow system.
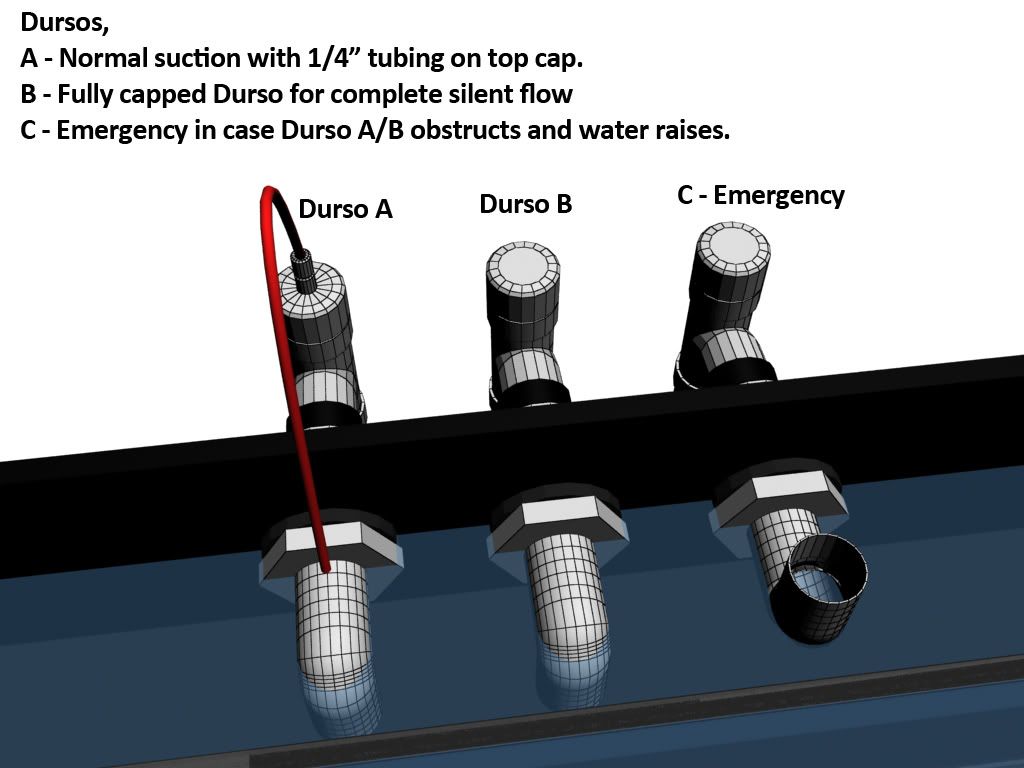
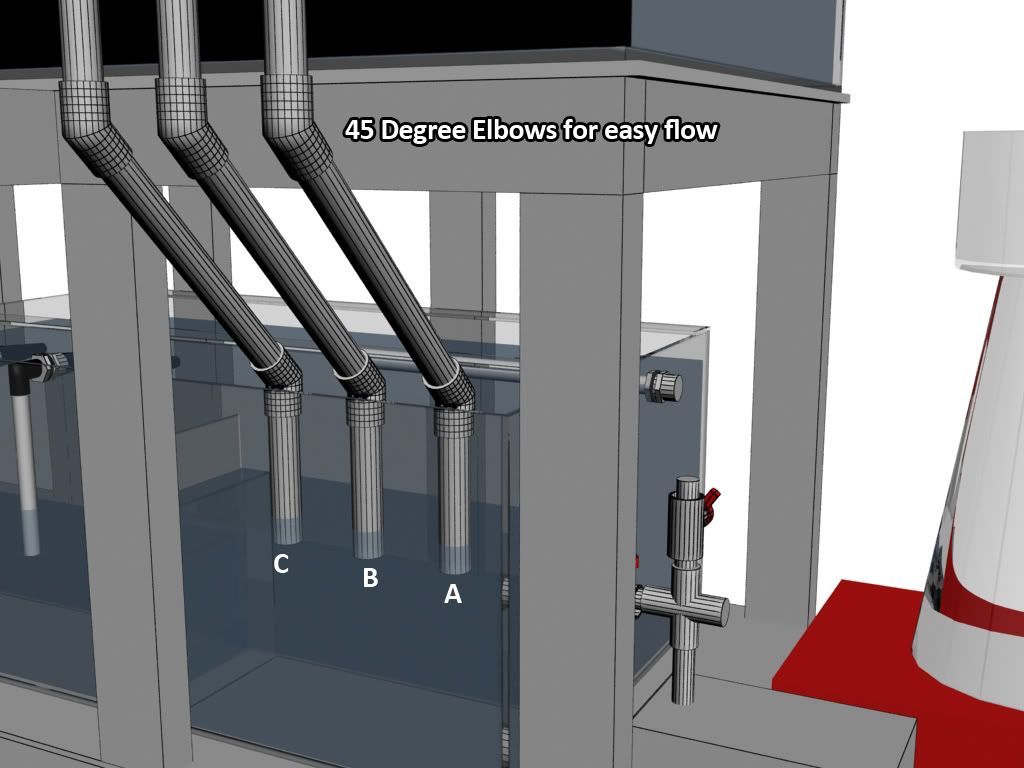
- BeanAnimal siphon system
- Hayward Bulkheads
All plumbing has 1.5" tubing.
--------------------------------------------------------------------
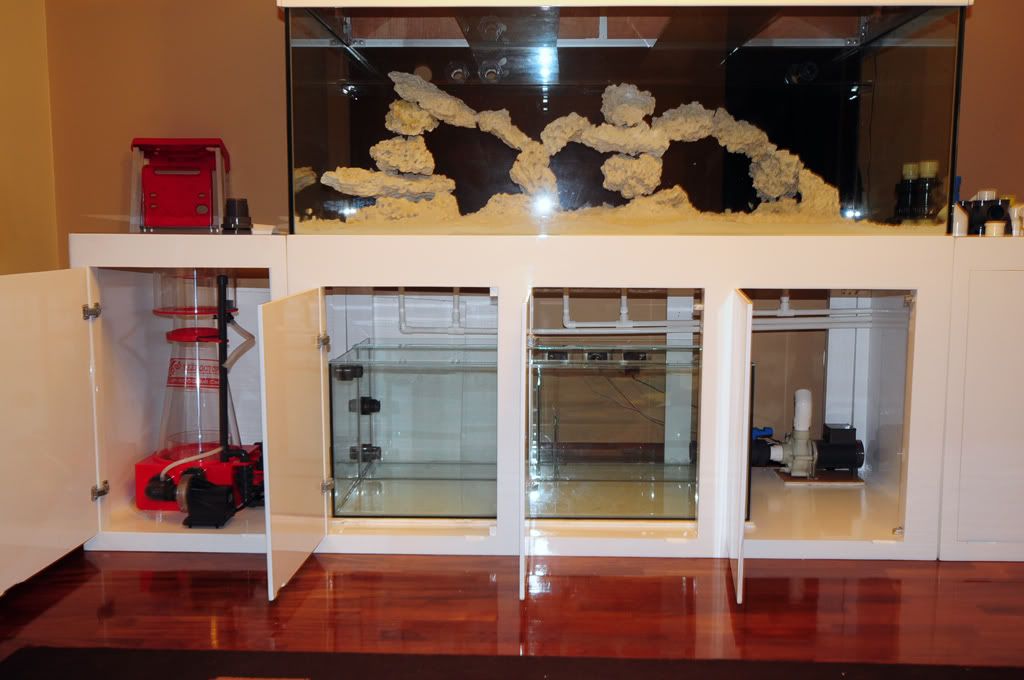
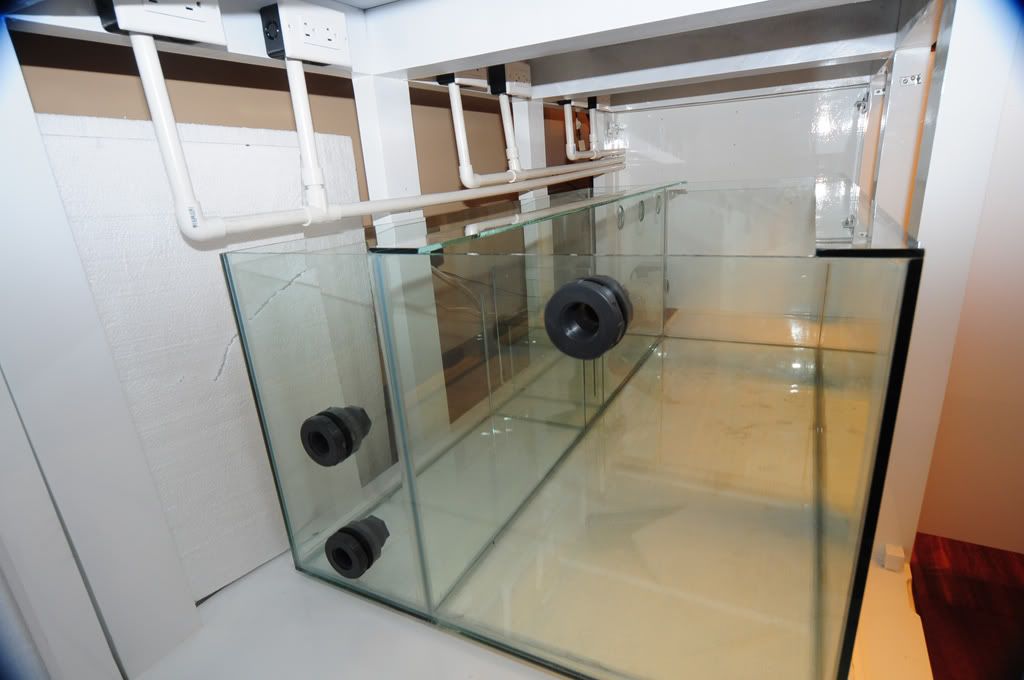
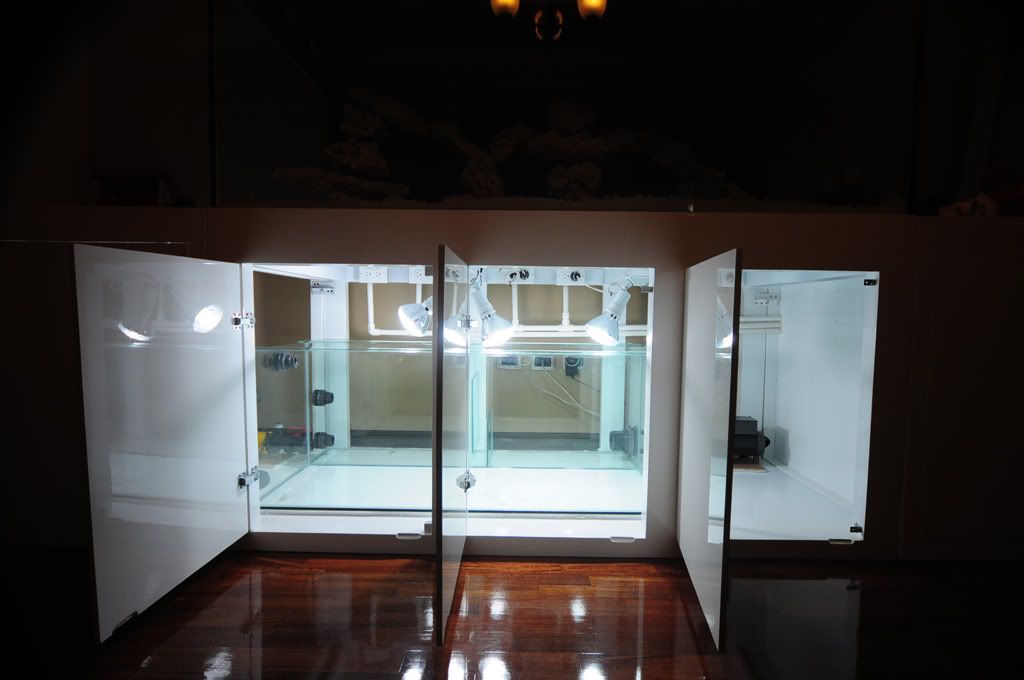
Cabinet:
All cabinet was made out of cypress wood.
Most of the cabinet's wood planks dimensions are 4x2 inches.
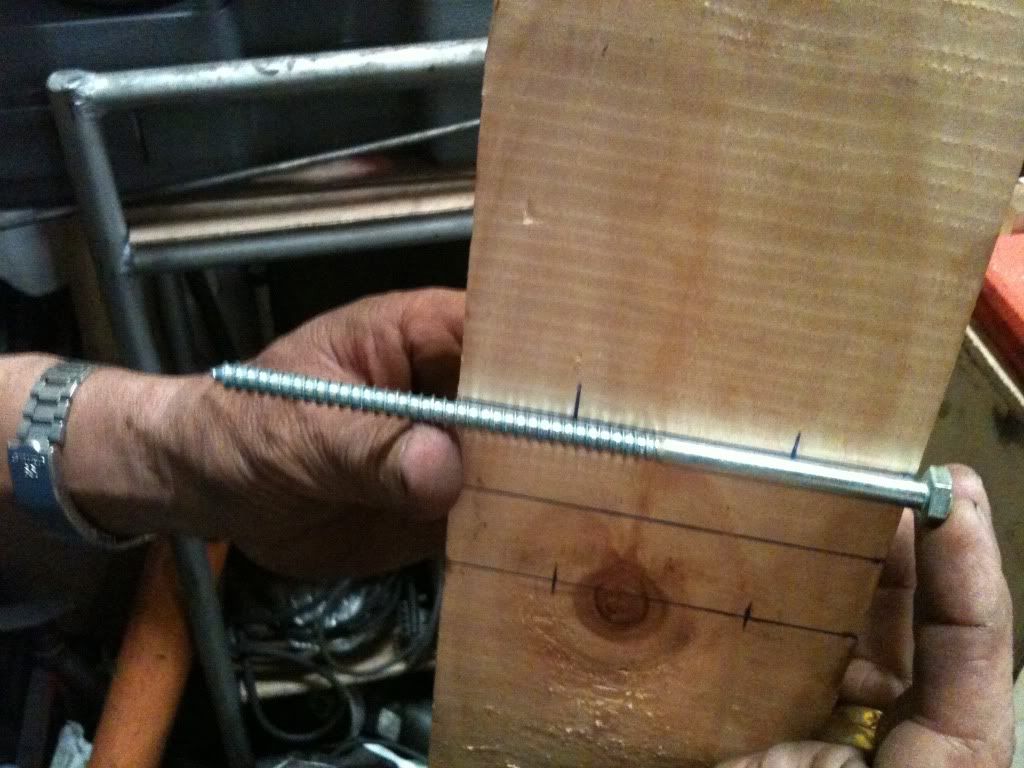
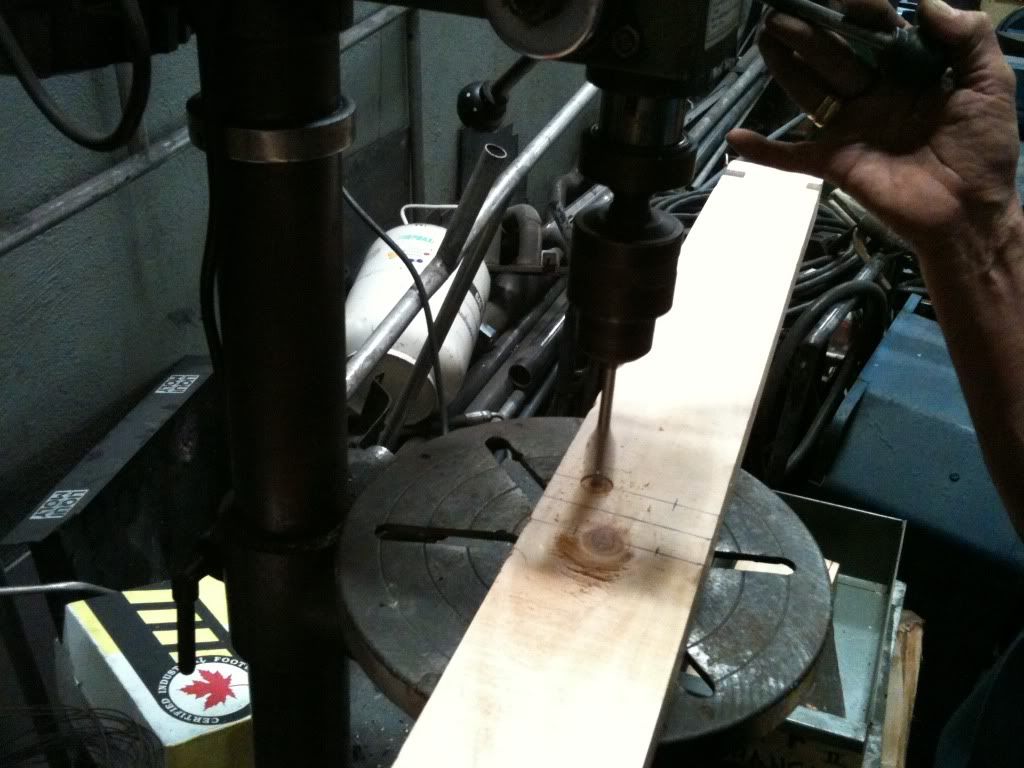
Because I live within an earthquake area, to hold the cabinet together I used screws instead of nails.
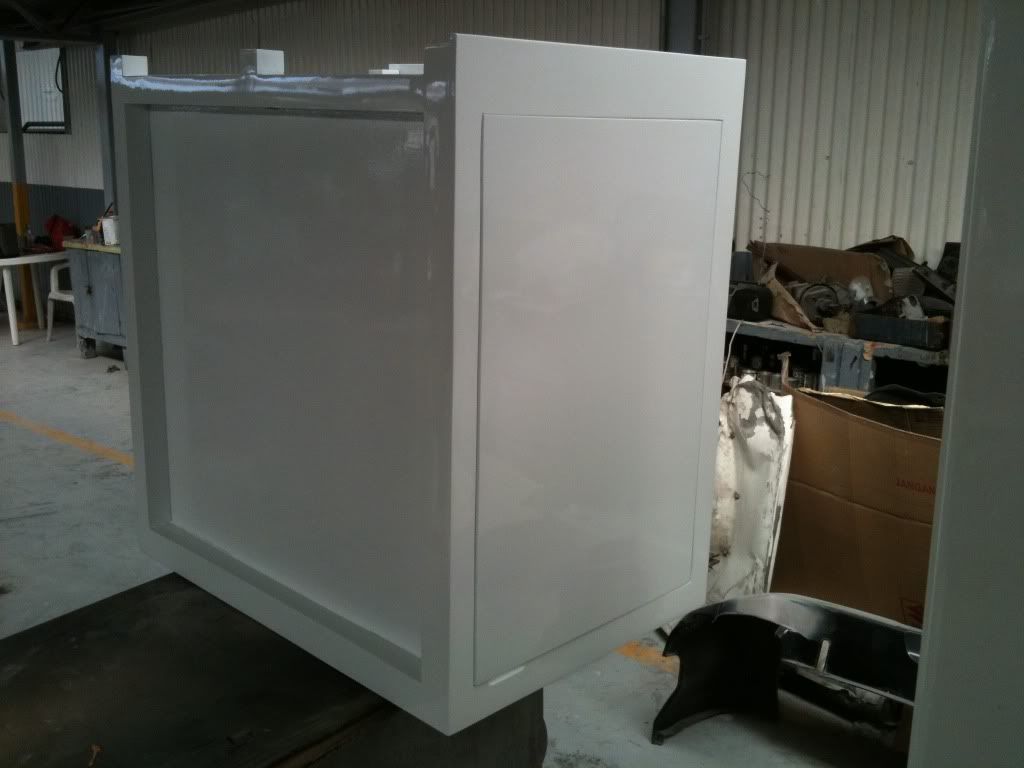
Once finished it was completely painted with G77 Epoxy for water protection and then painted white for visual purposes.
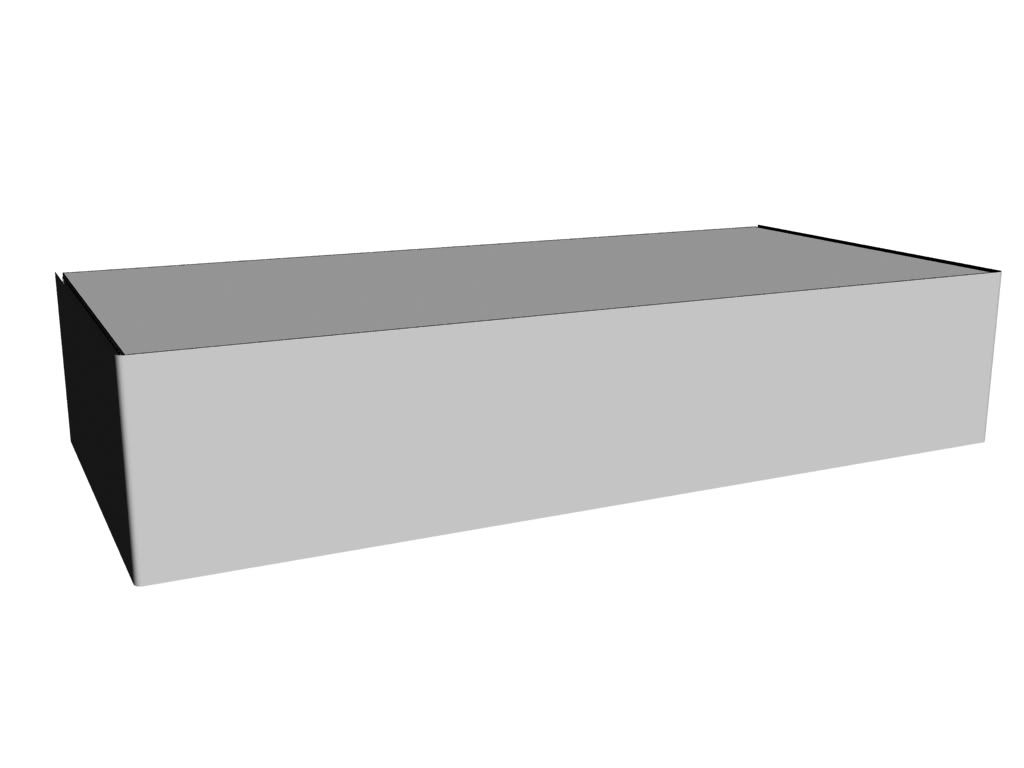
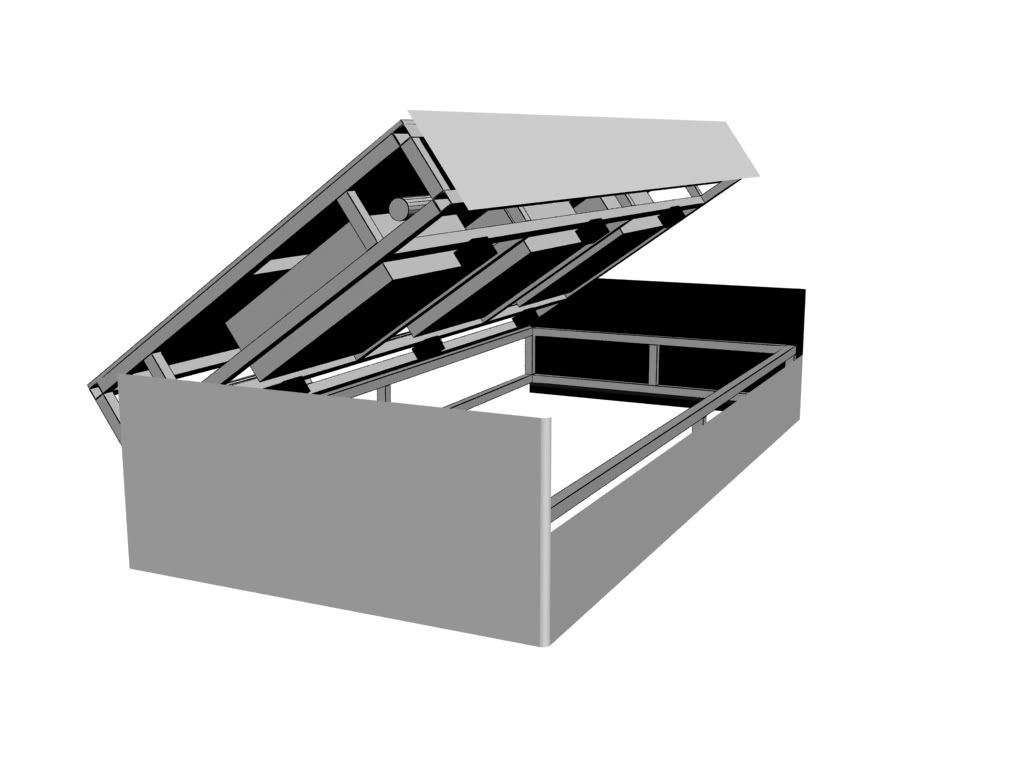
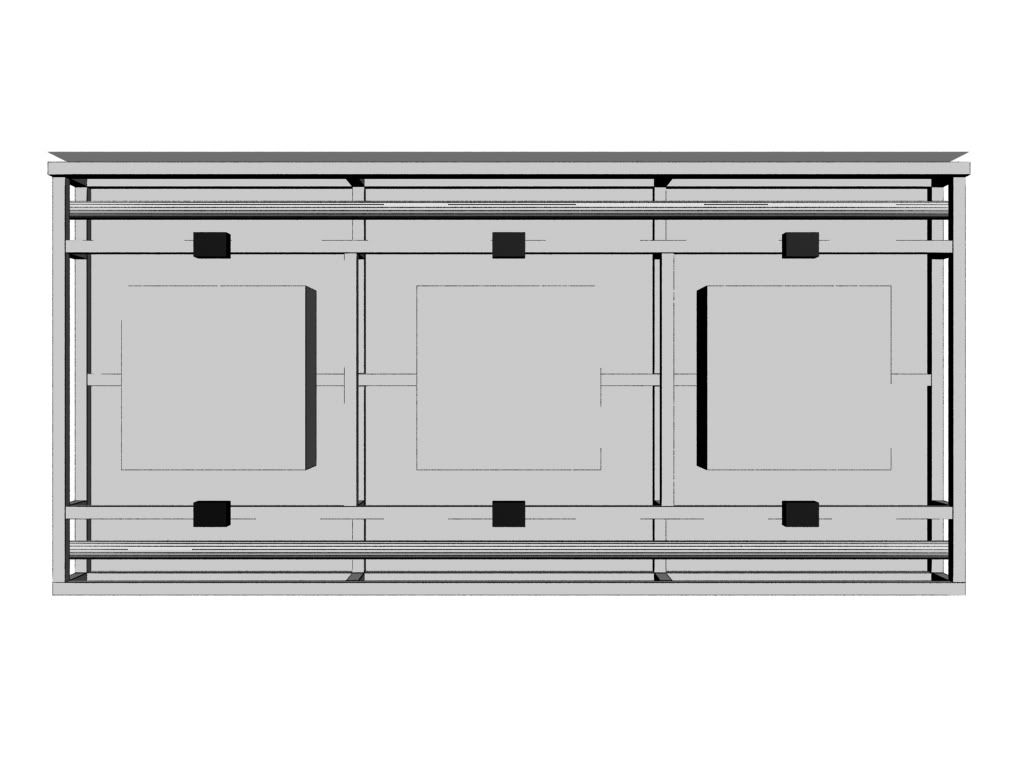
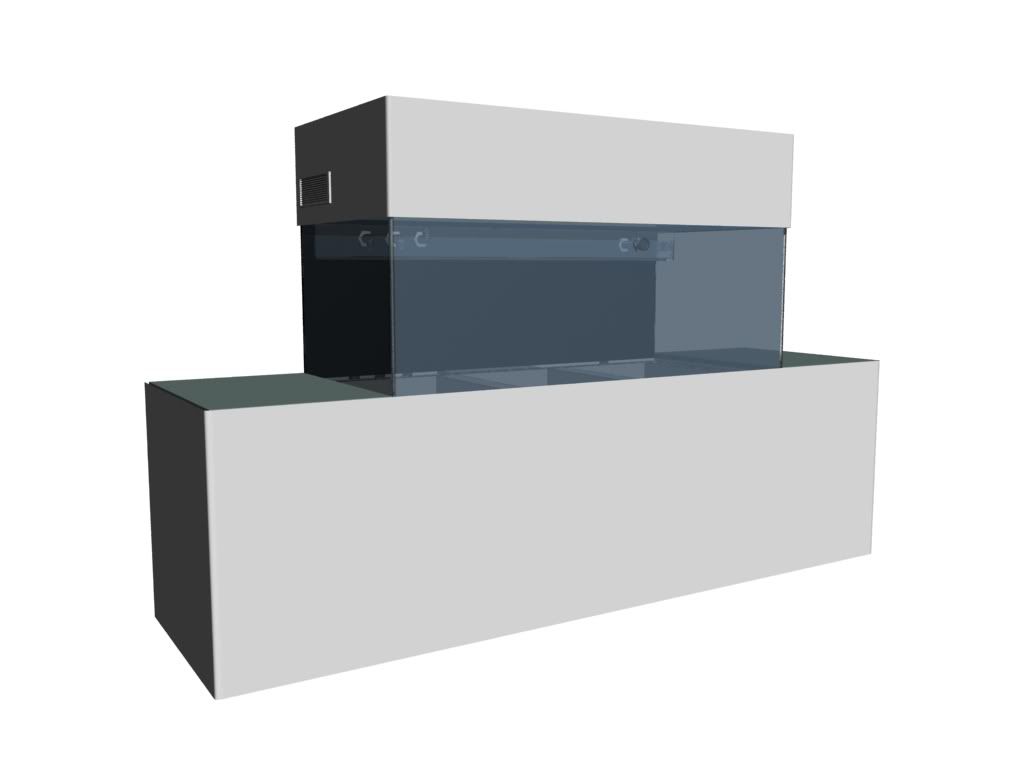
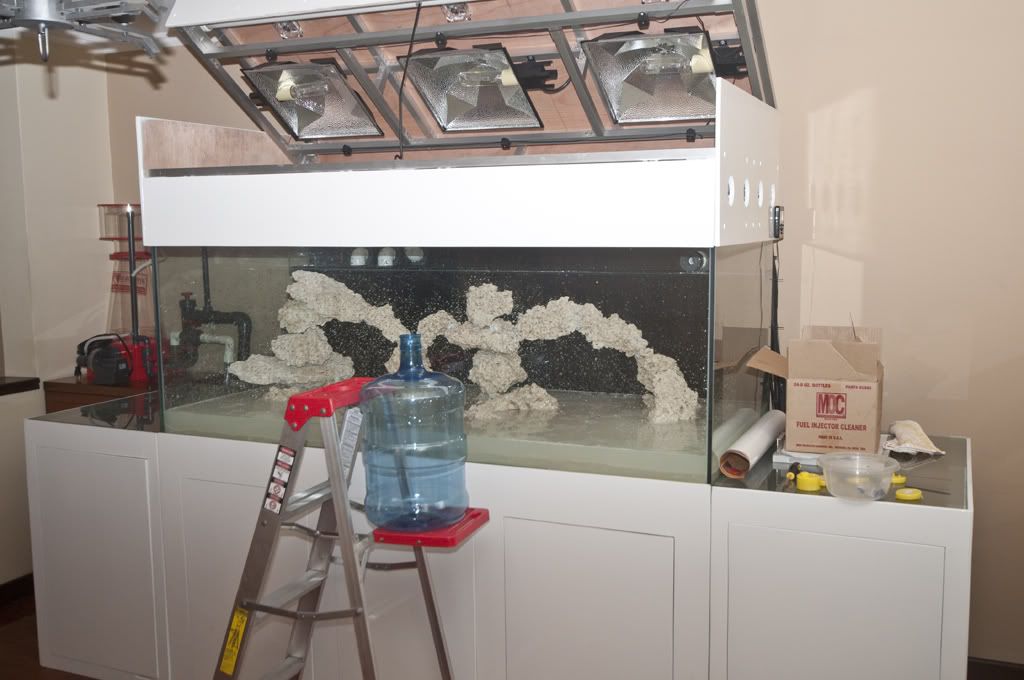
Render Mode:
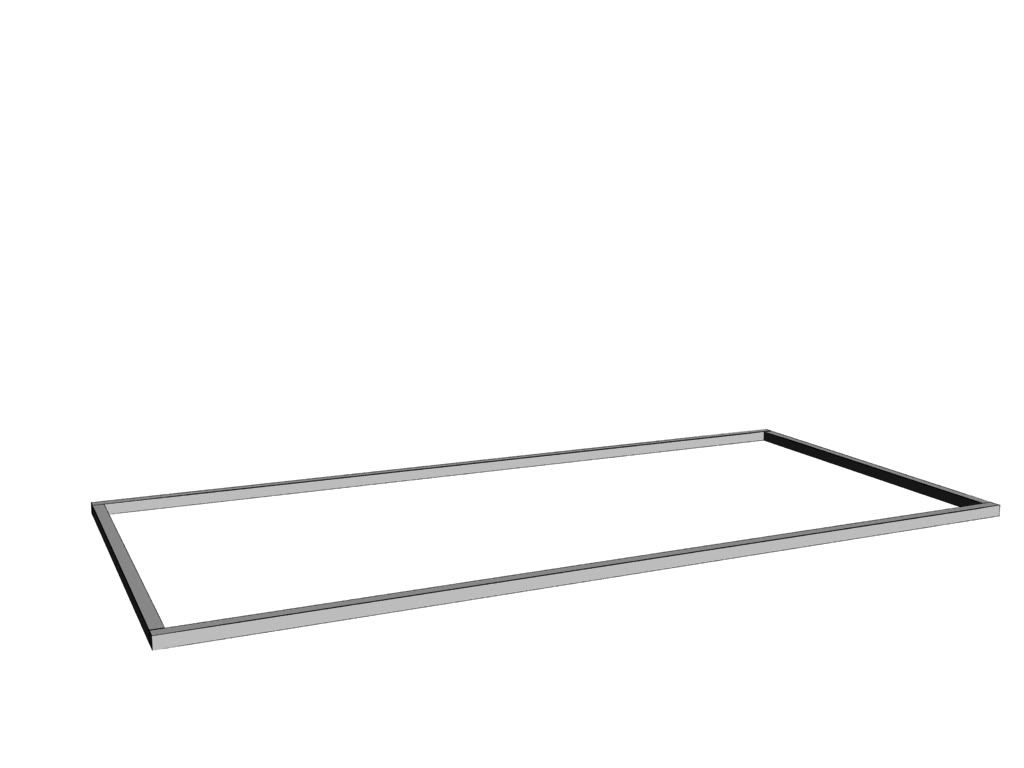
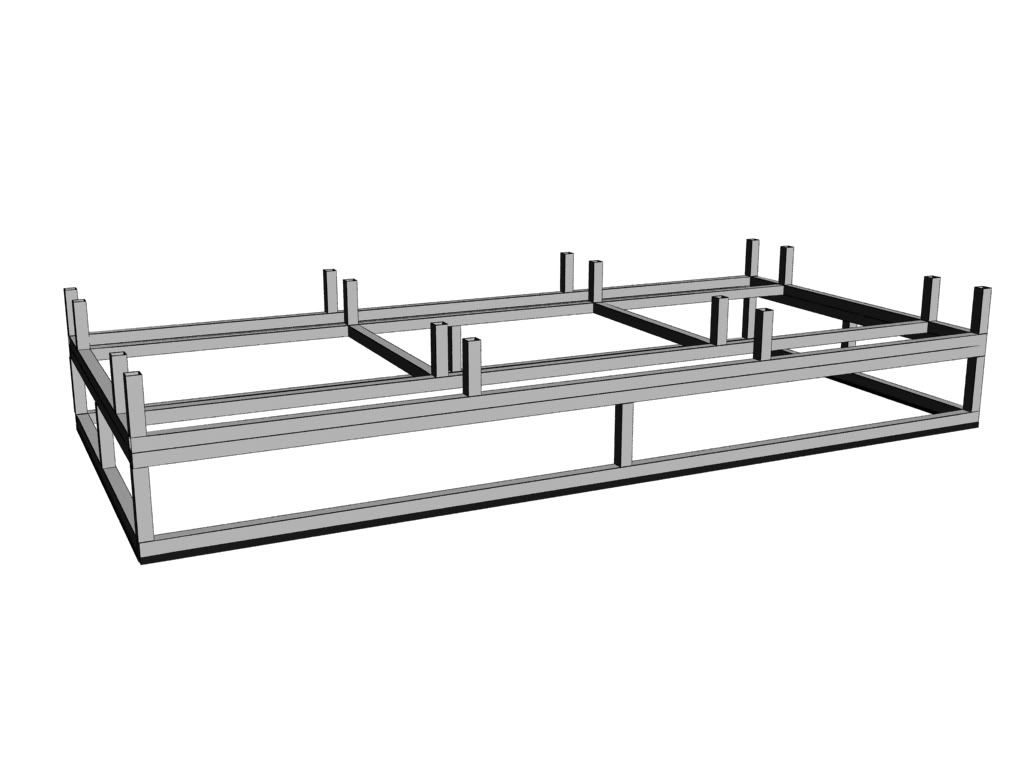
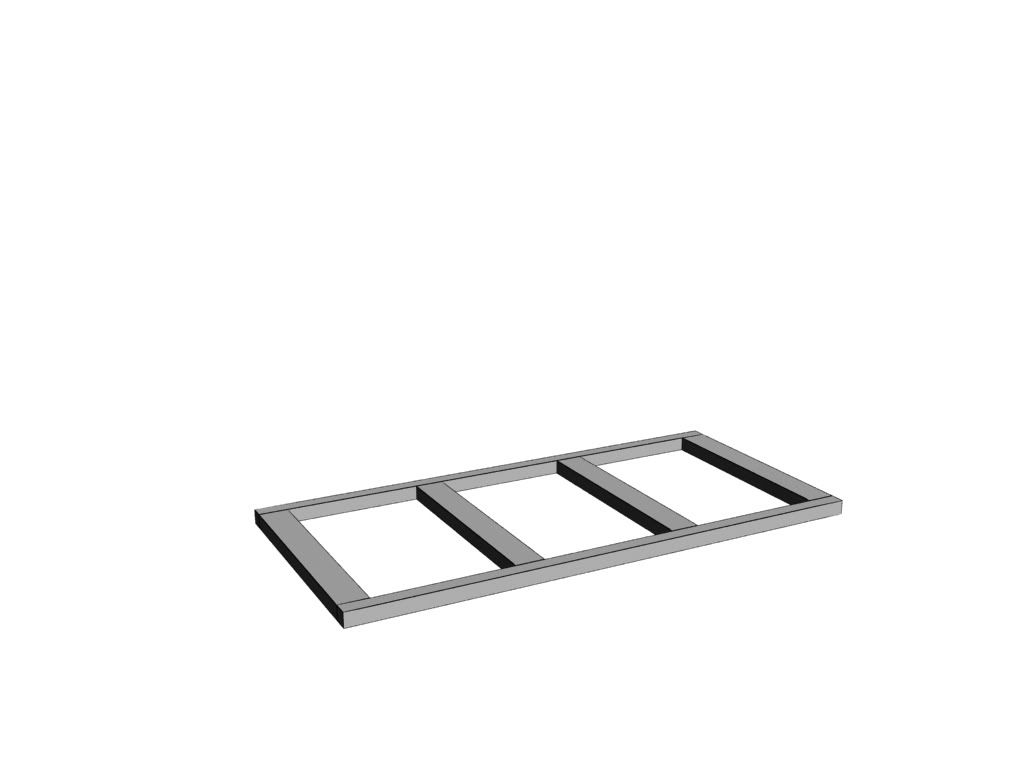
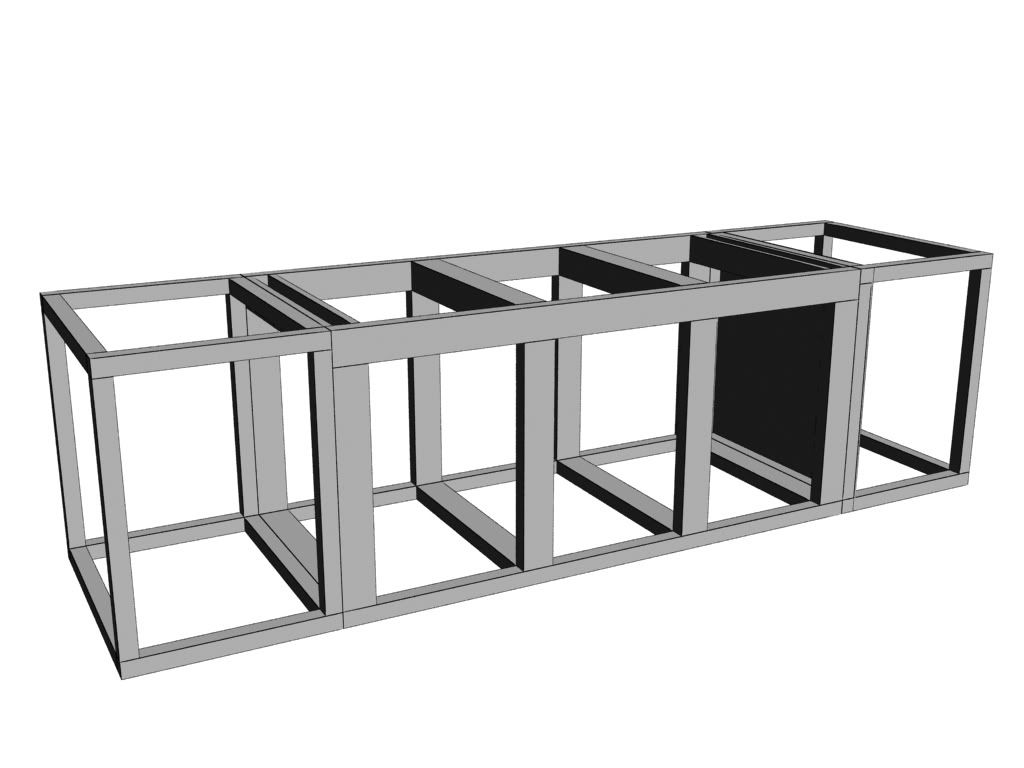
1. Lower part of the cabinet 2x2 and 4x2 planks used:
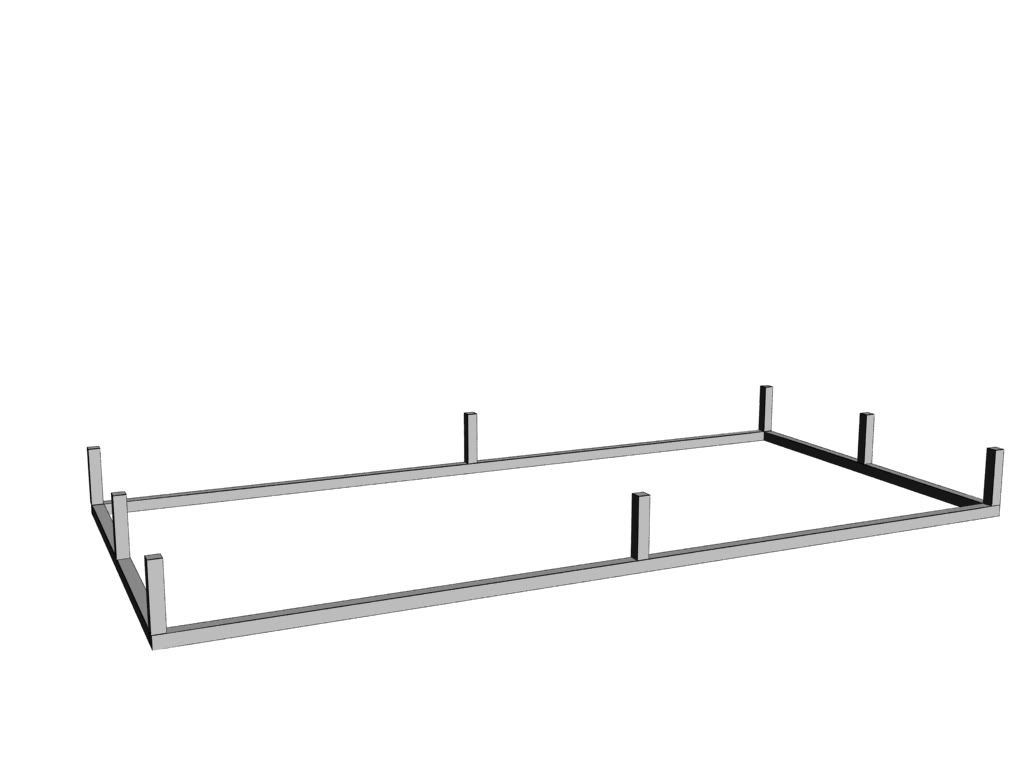
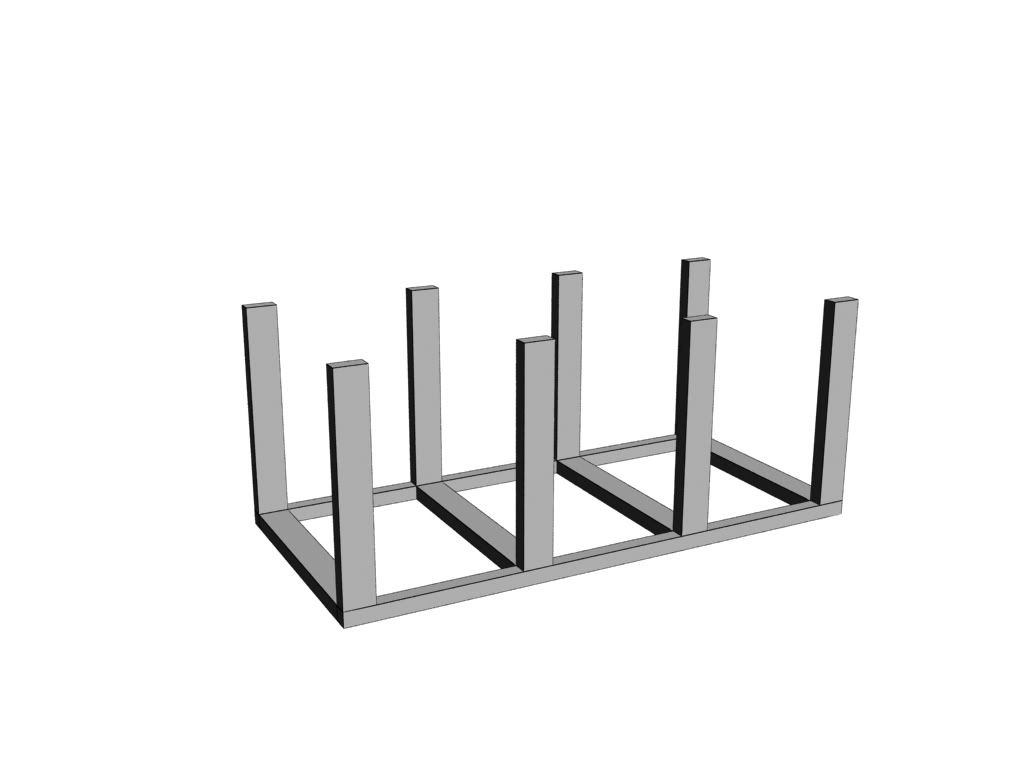
2. Support columns are 4x2:
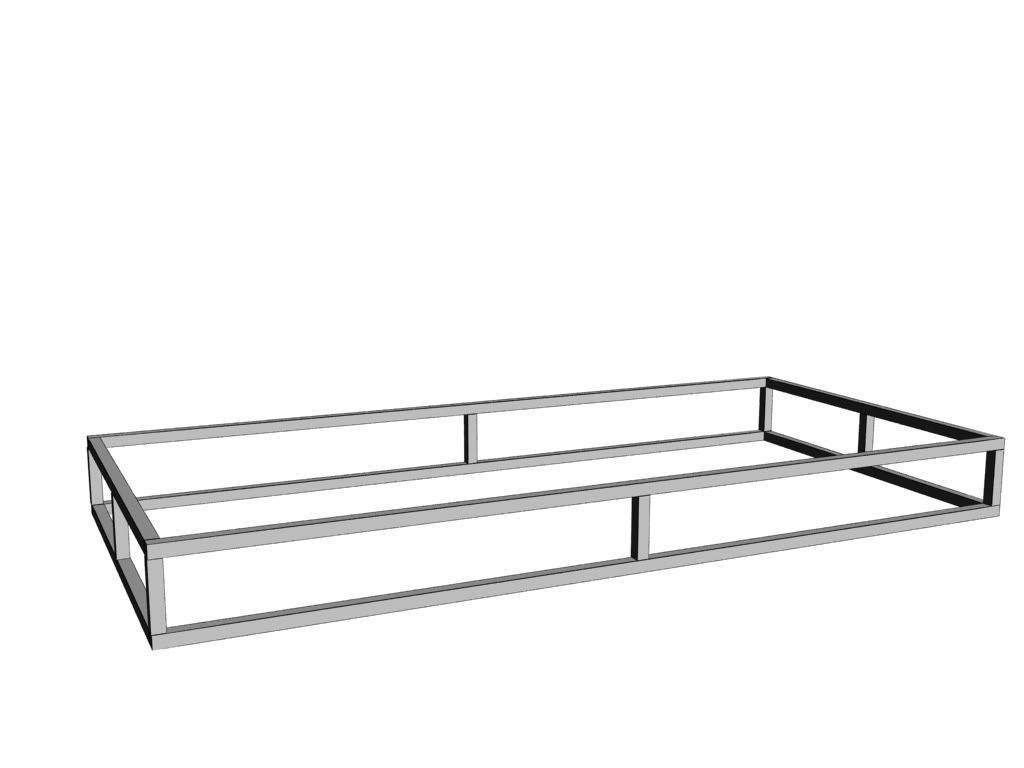
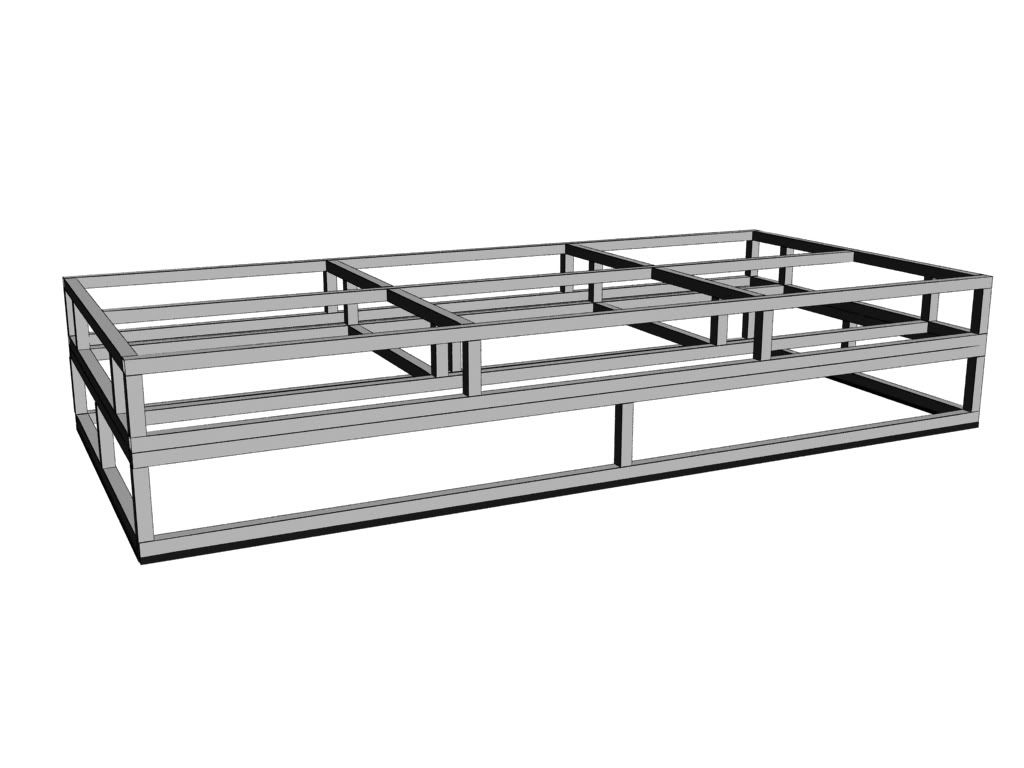
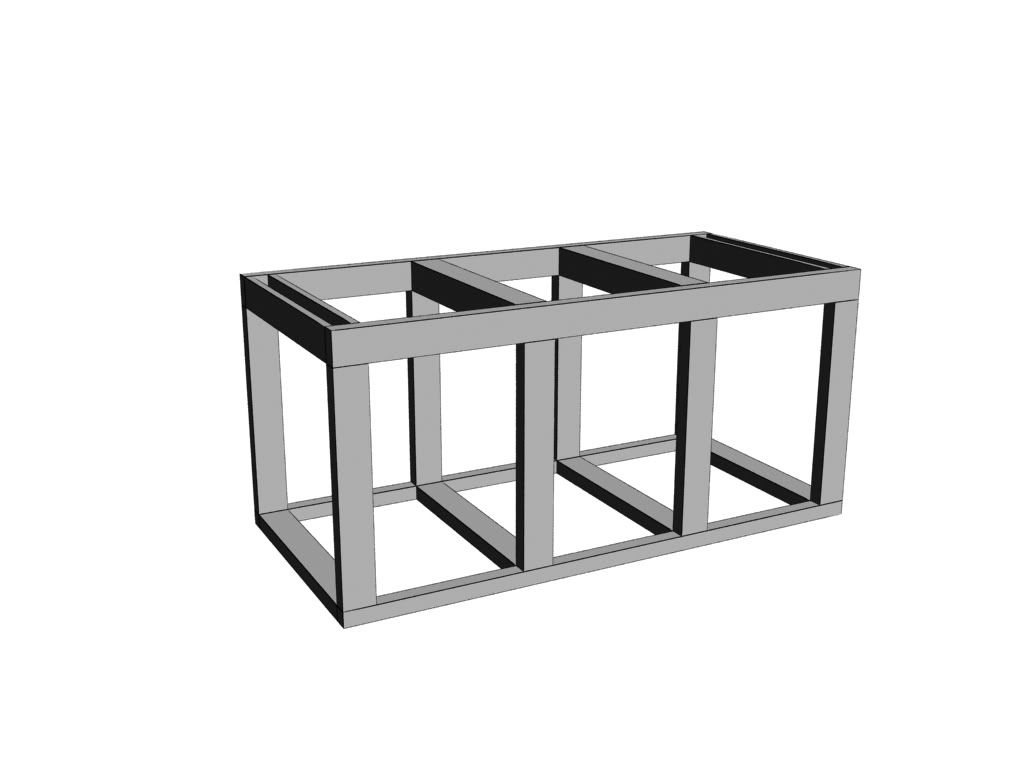
3. Upper part of the cabinet and middle section completed:
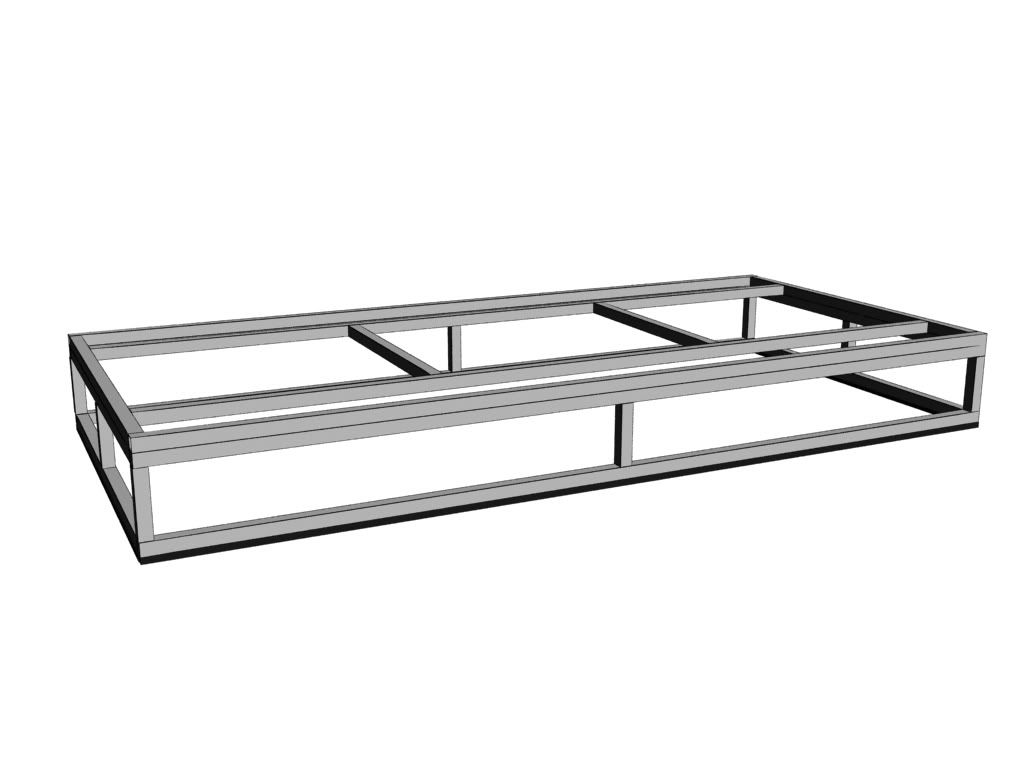
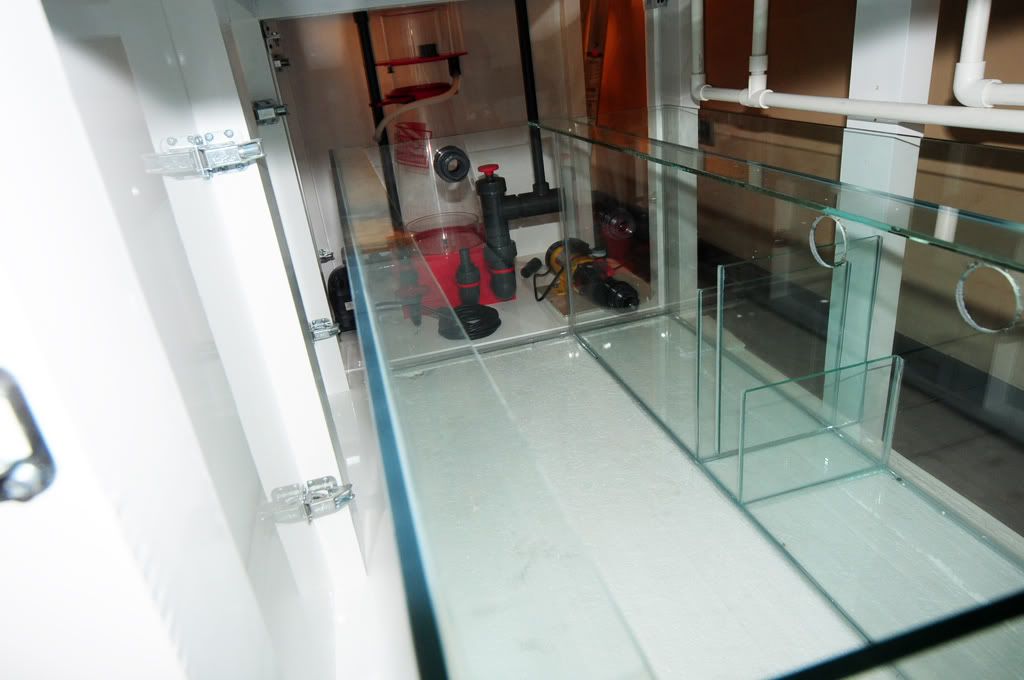
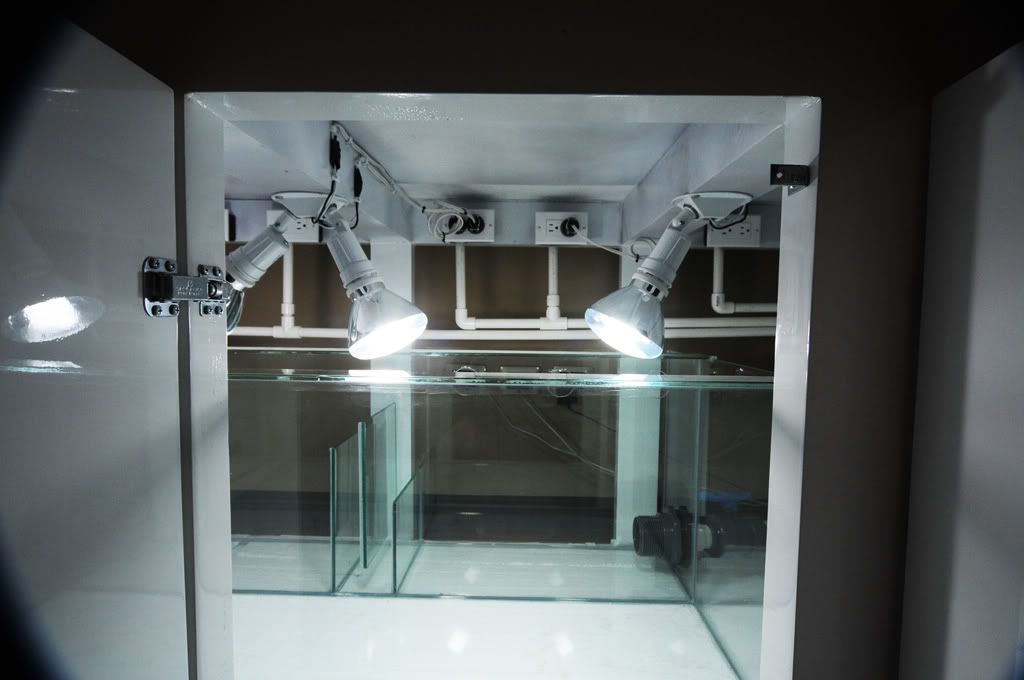
4. Added lateral sections to hold skimmer and electronics:
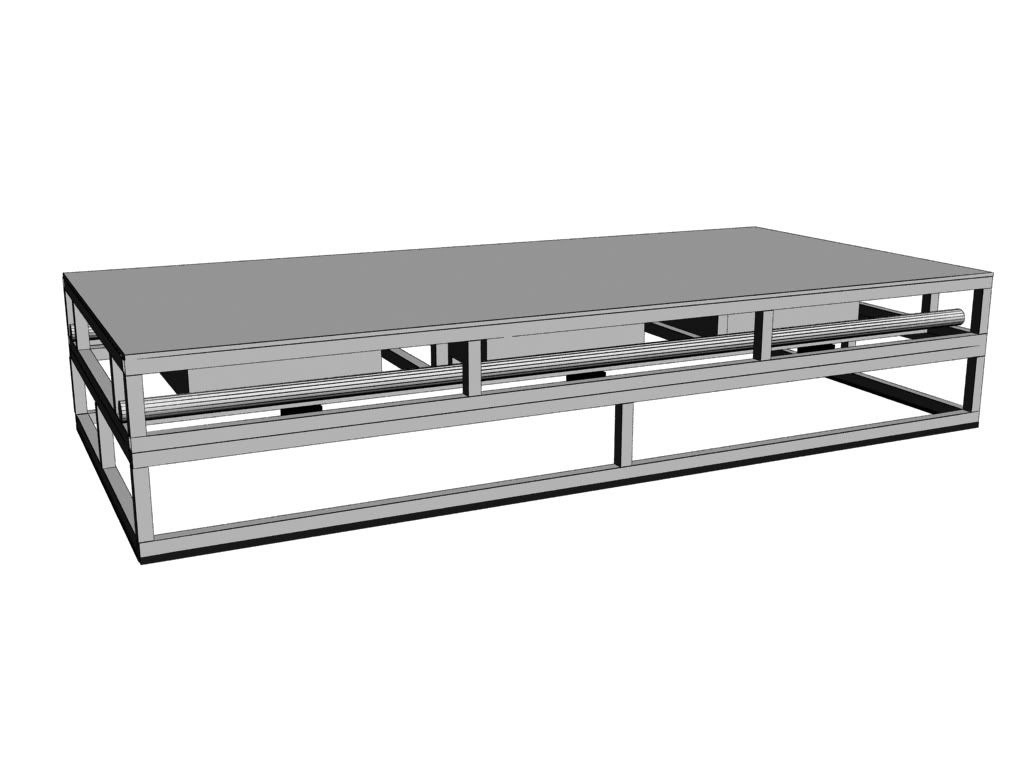
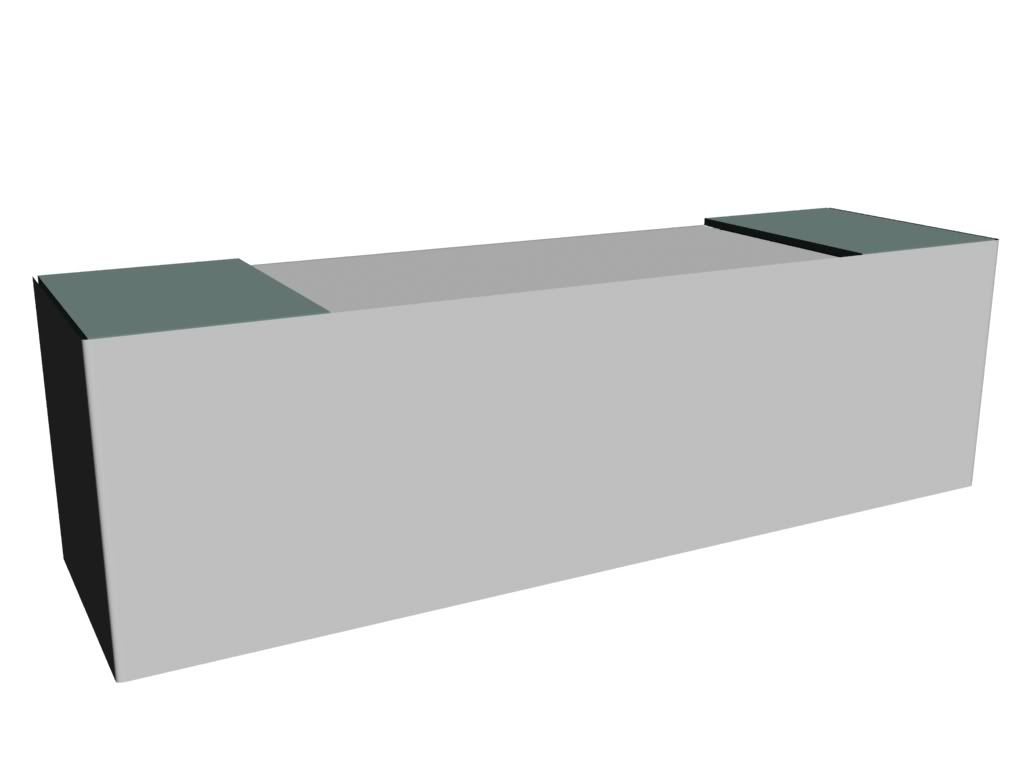
5. Completed floor for the whole cabinet as well as right compairtment with wall dividing from rest so electronics can be kept safely without salt or water damage:

6. Finished cabinet with lateral sections, the green glasses on each side are sandblasted for visual purposes, also, these will be removable for skimmer maintenance:
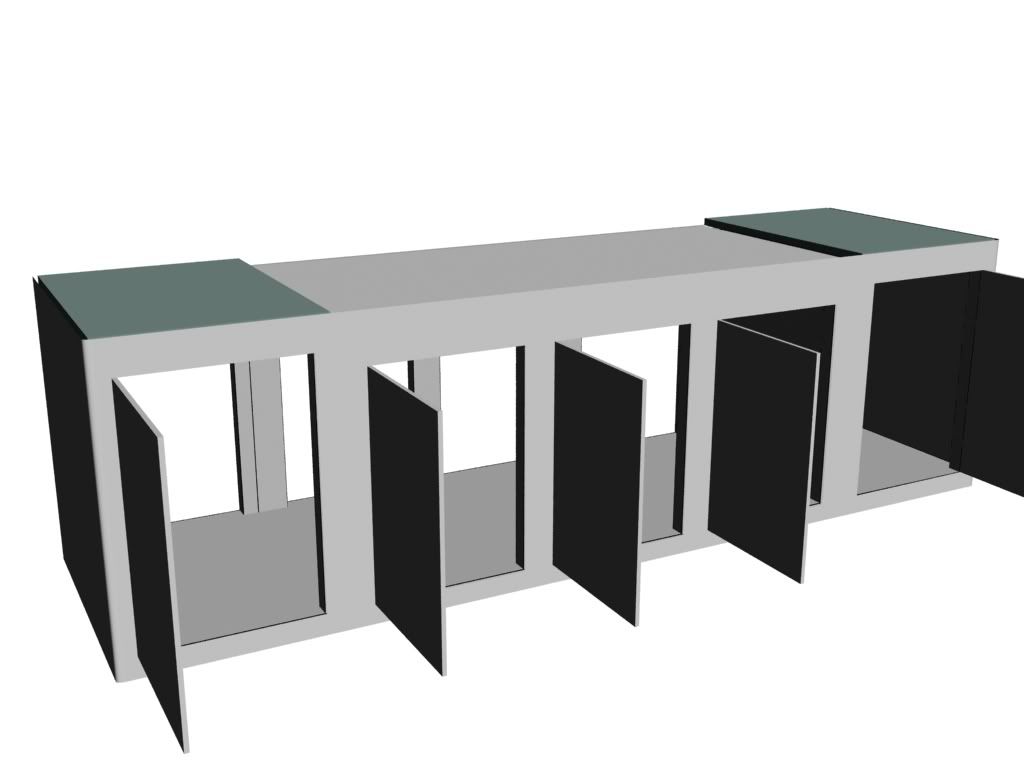
7. Lots of access for easy maintenance:
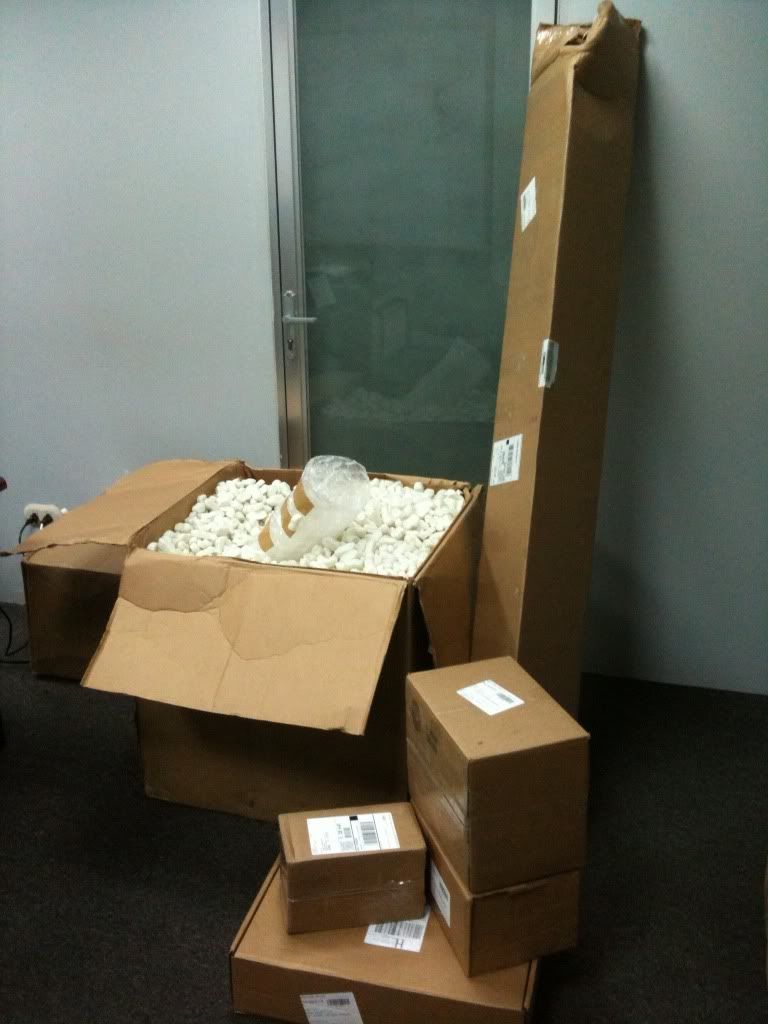
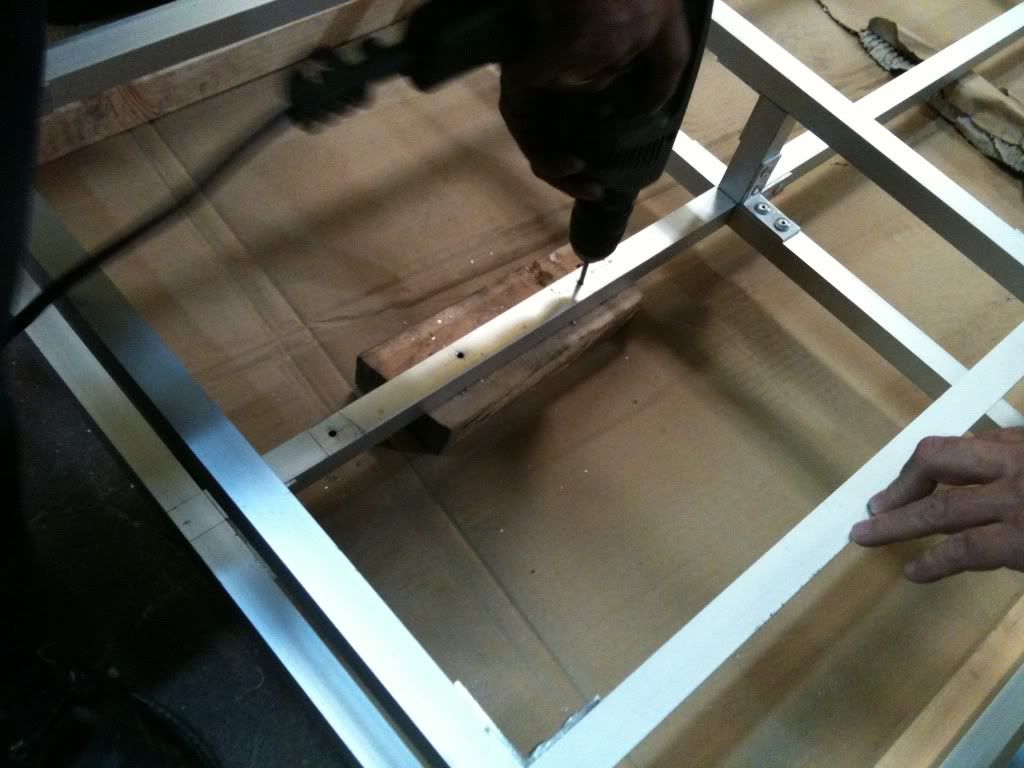
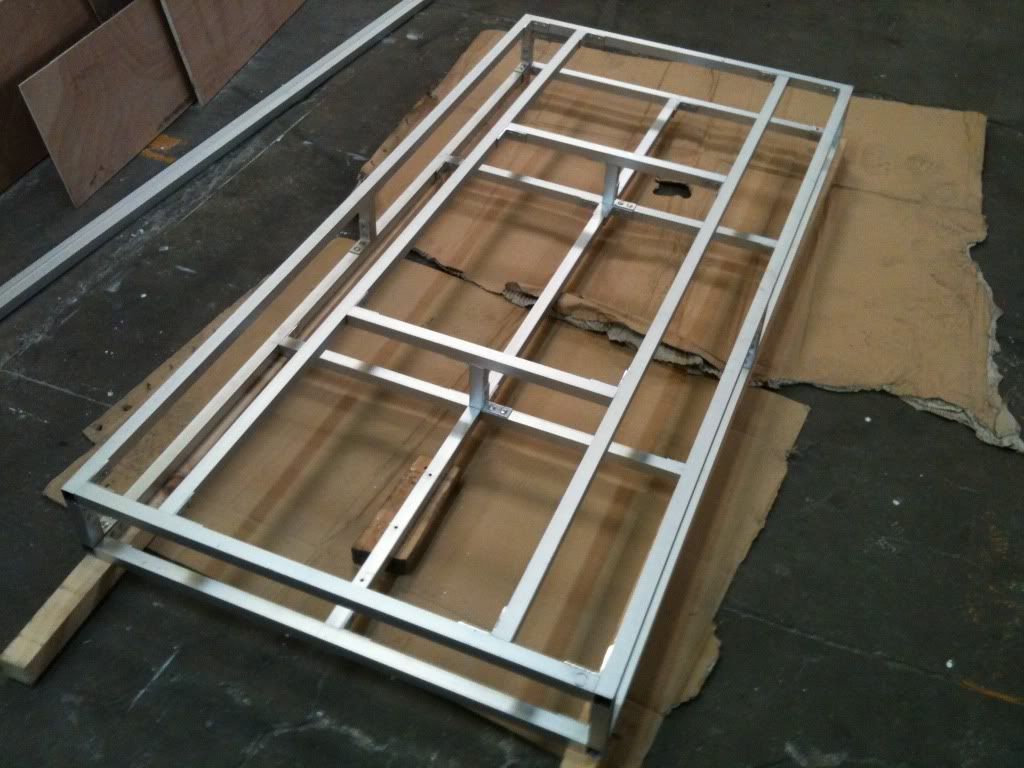
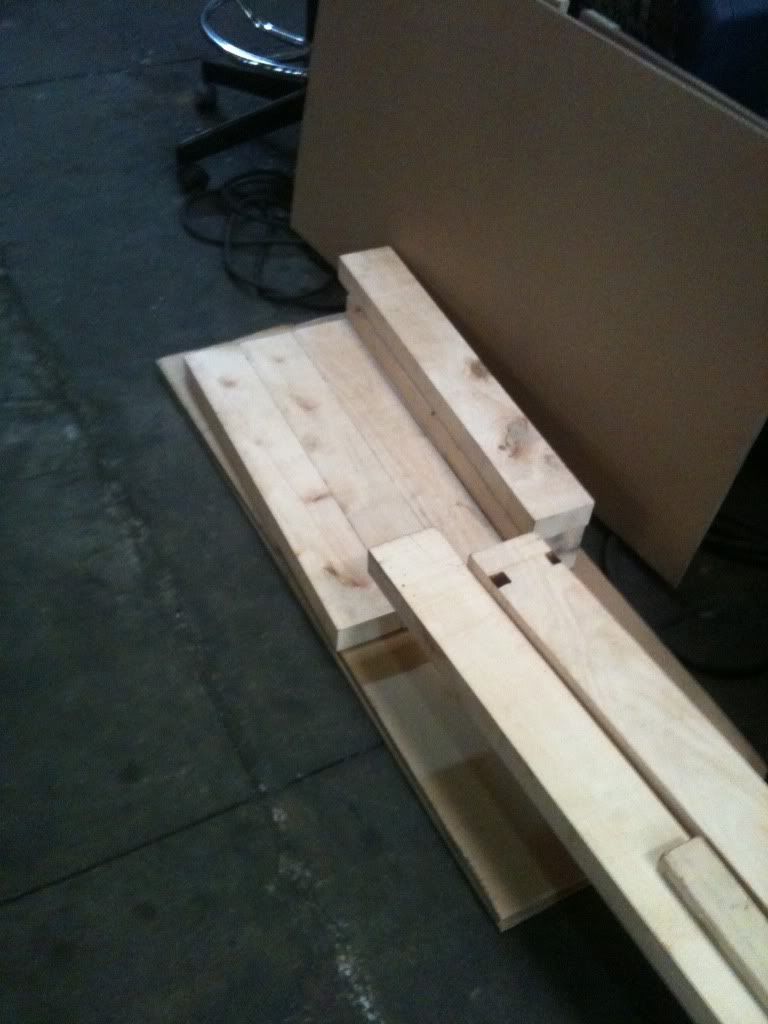
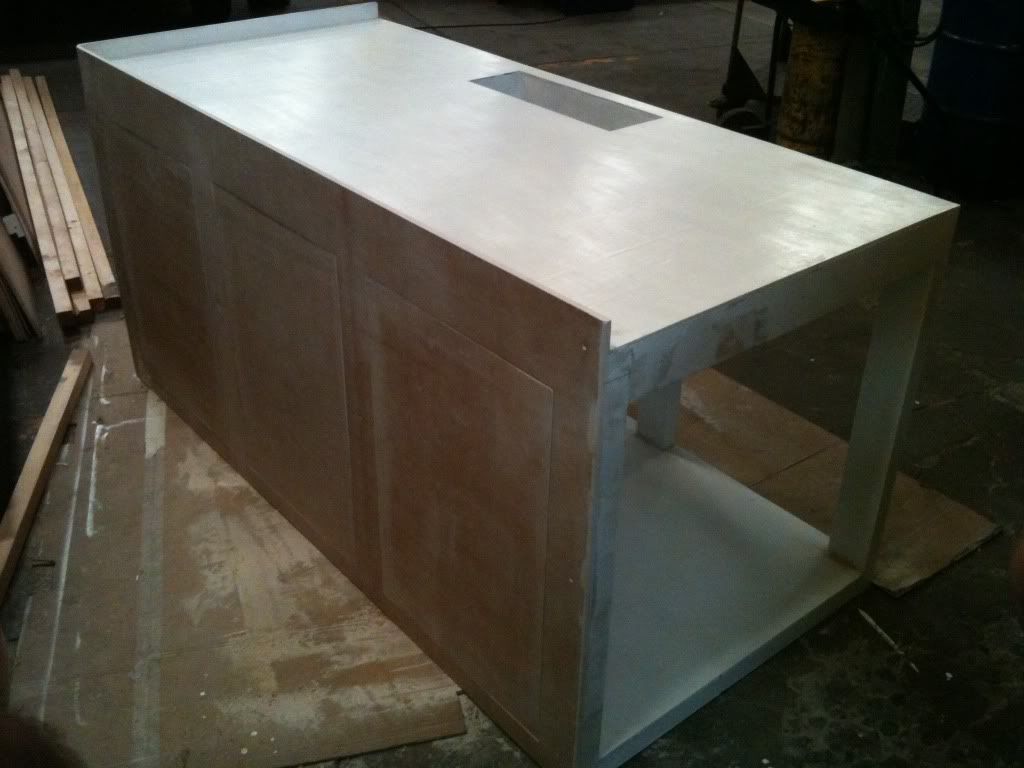
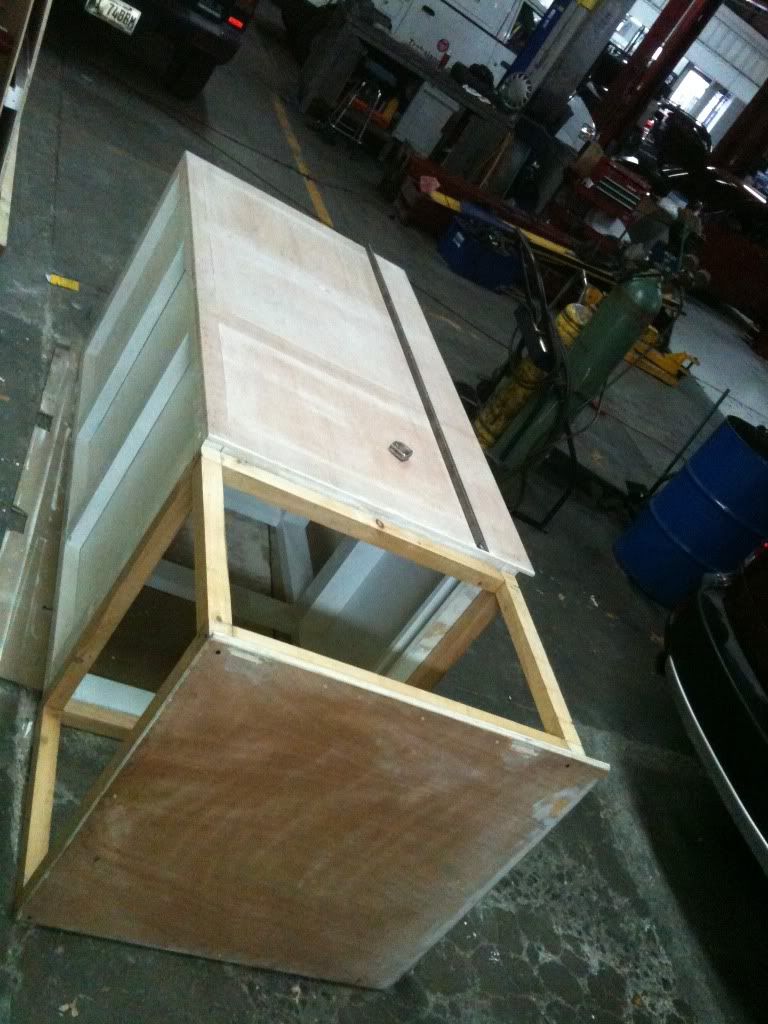
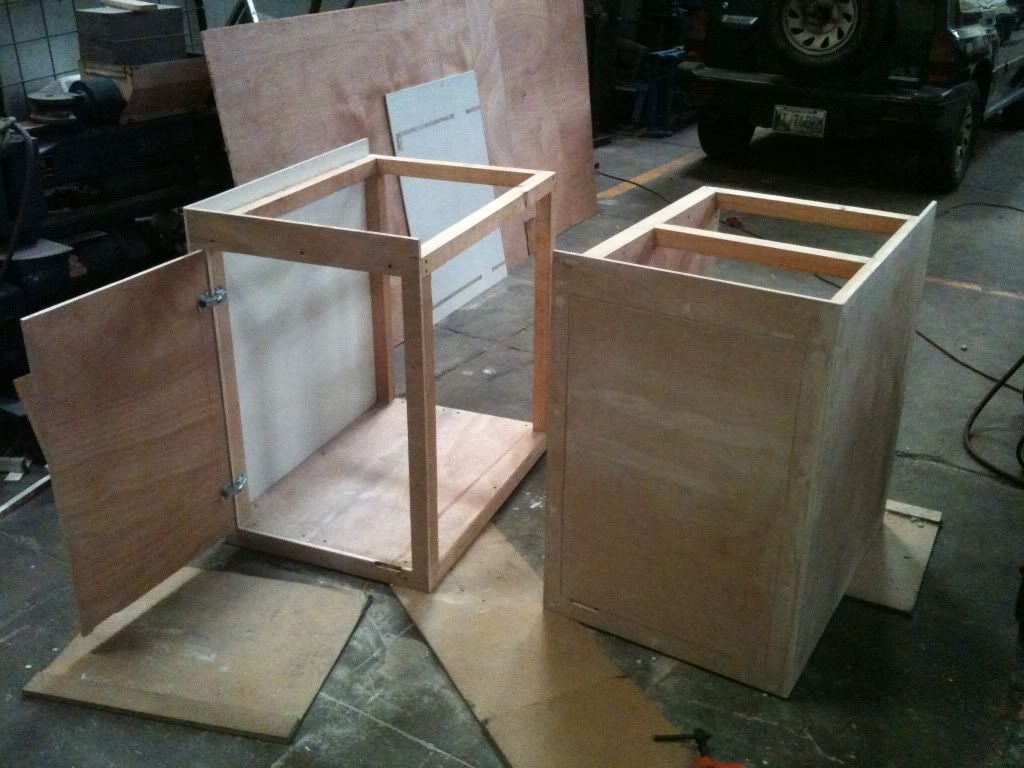
Real Mode: (Sorry for the bad qual. pictures, used my iphone for the majority of them).
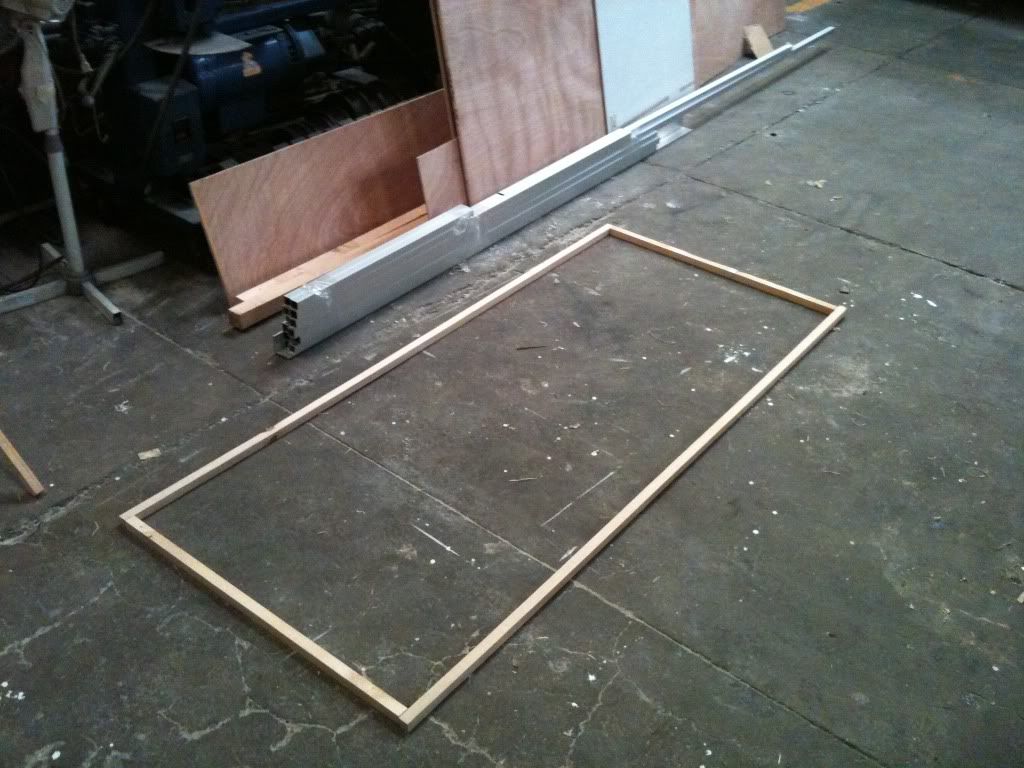
1. Planks Ready:
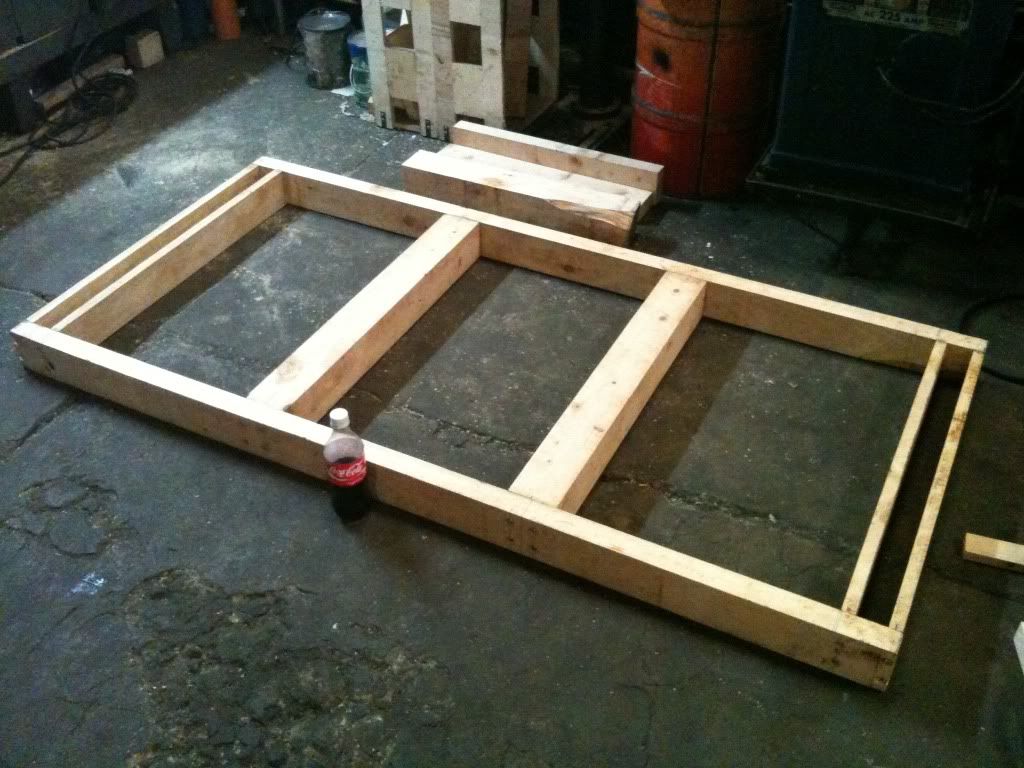
2. Making a quick layout:
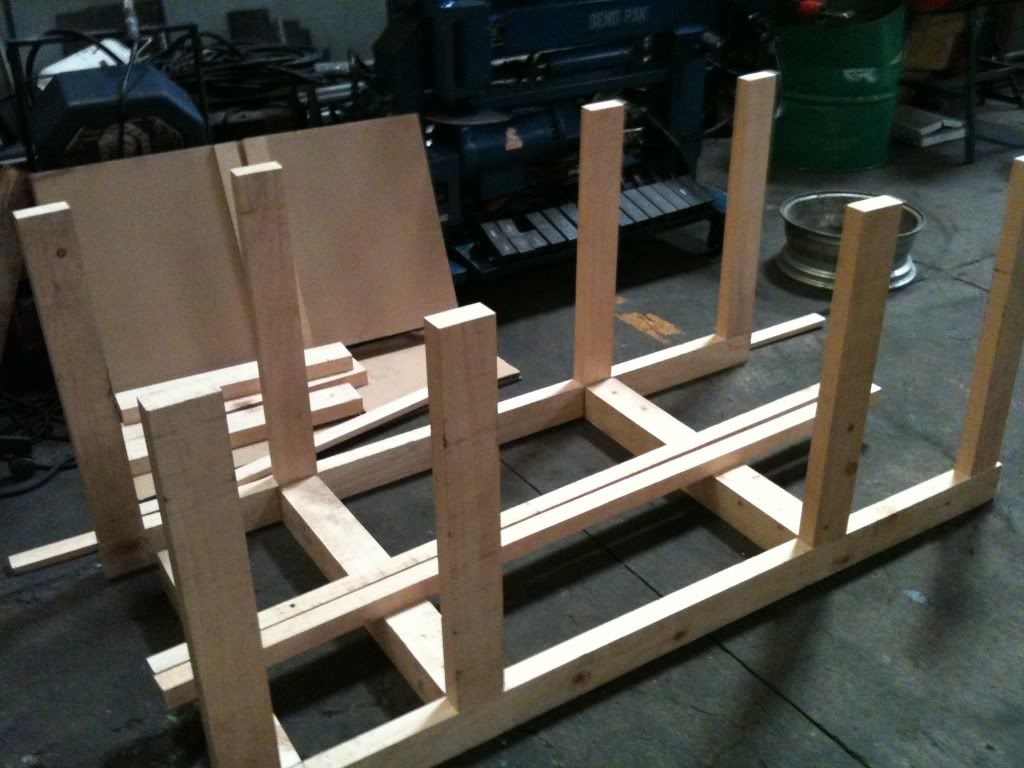
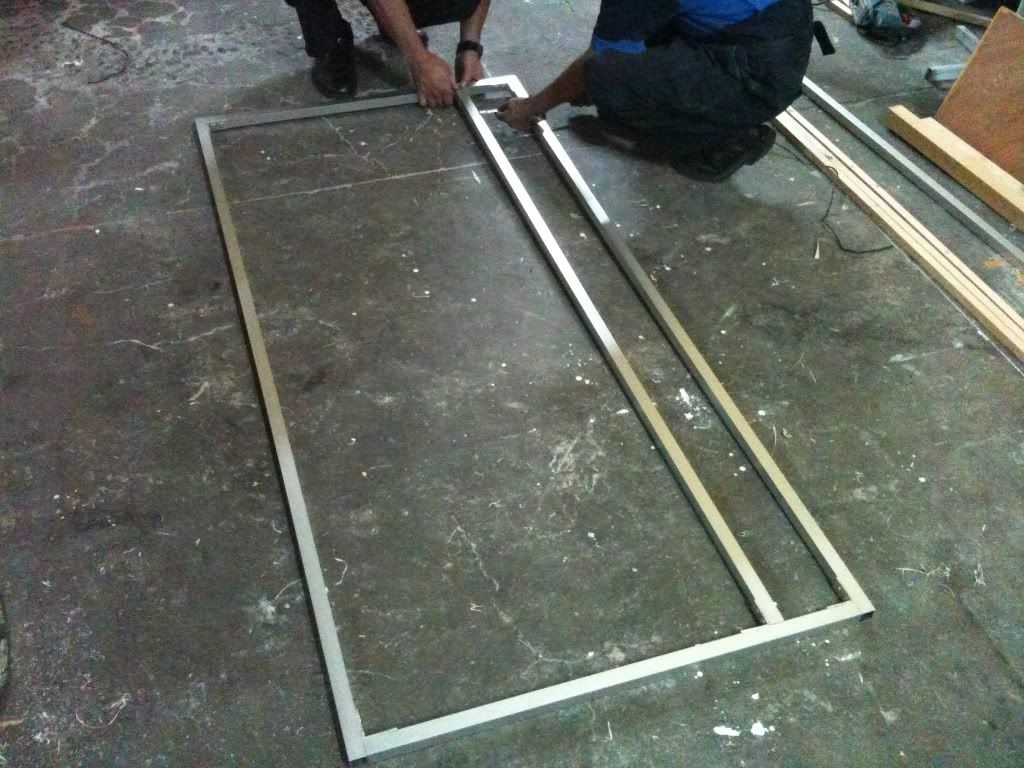
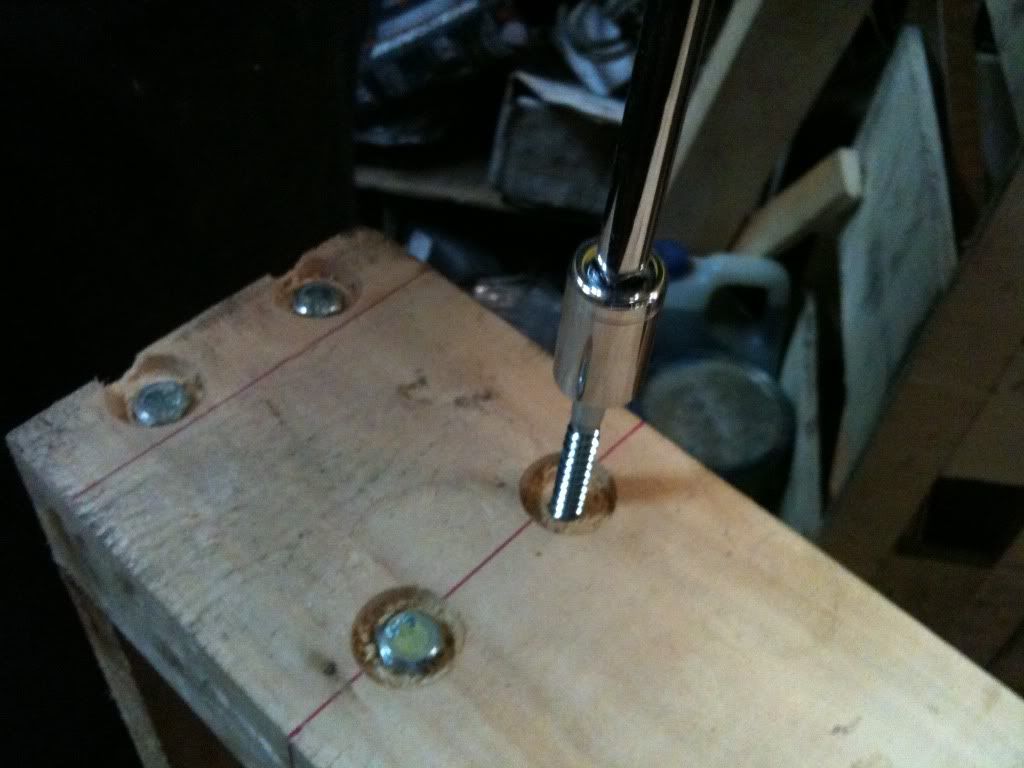
3. Big screws for ultimate support:
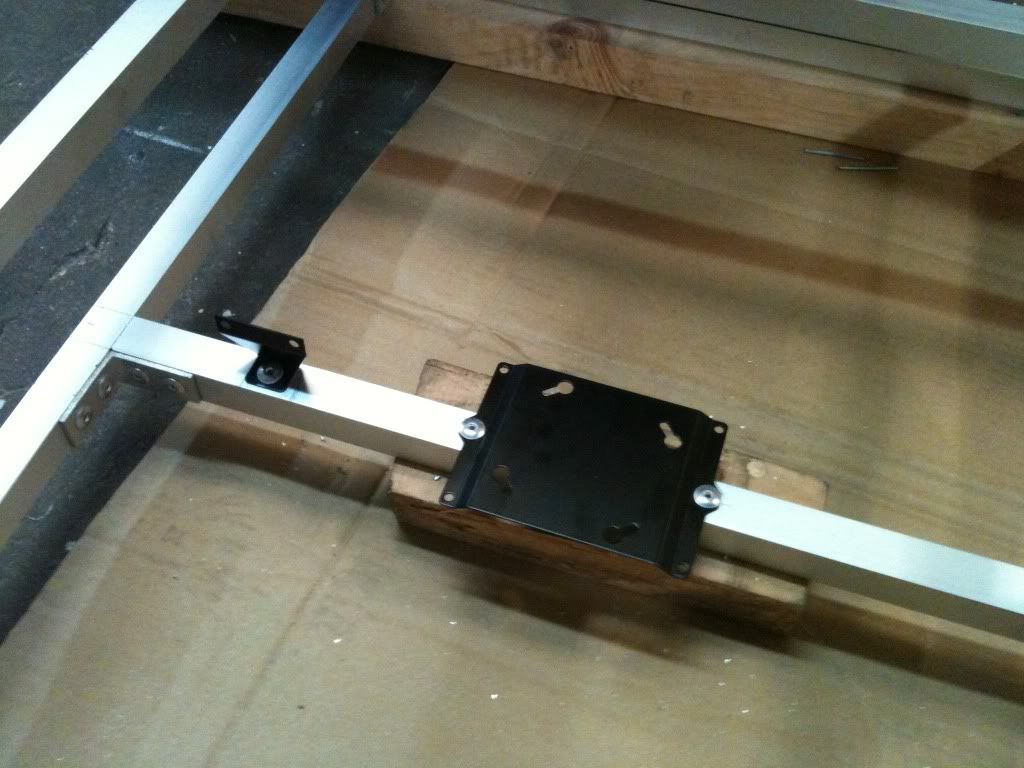
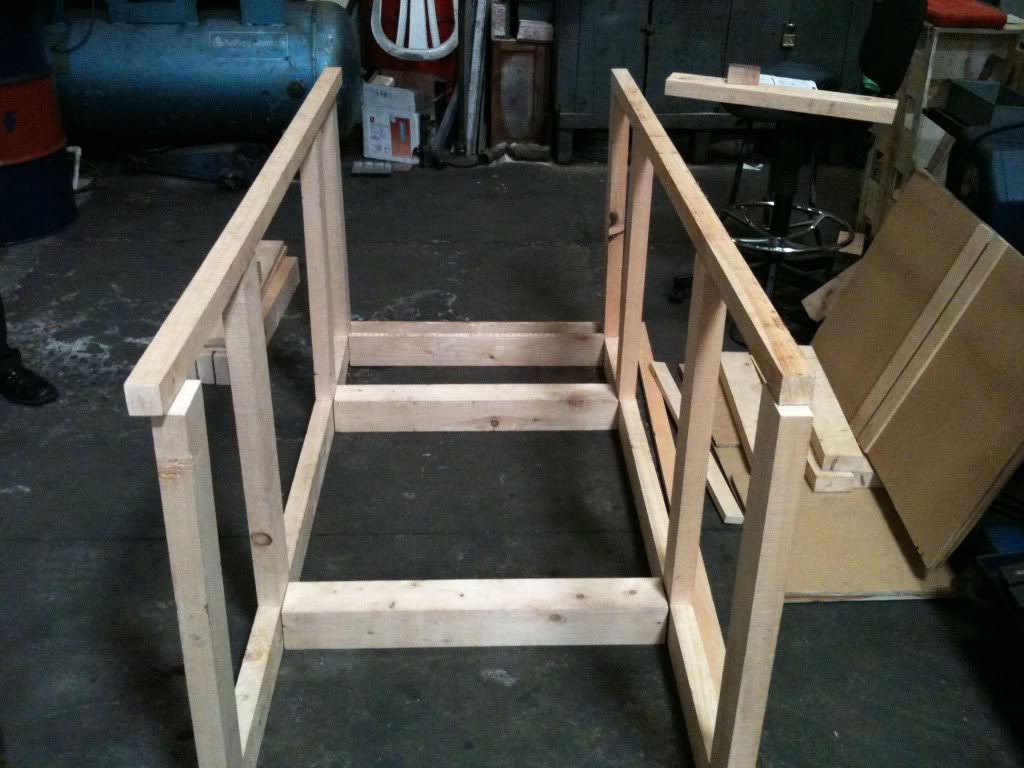
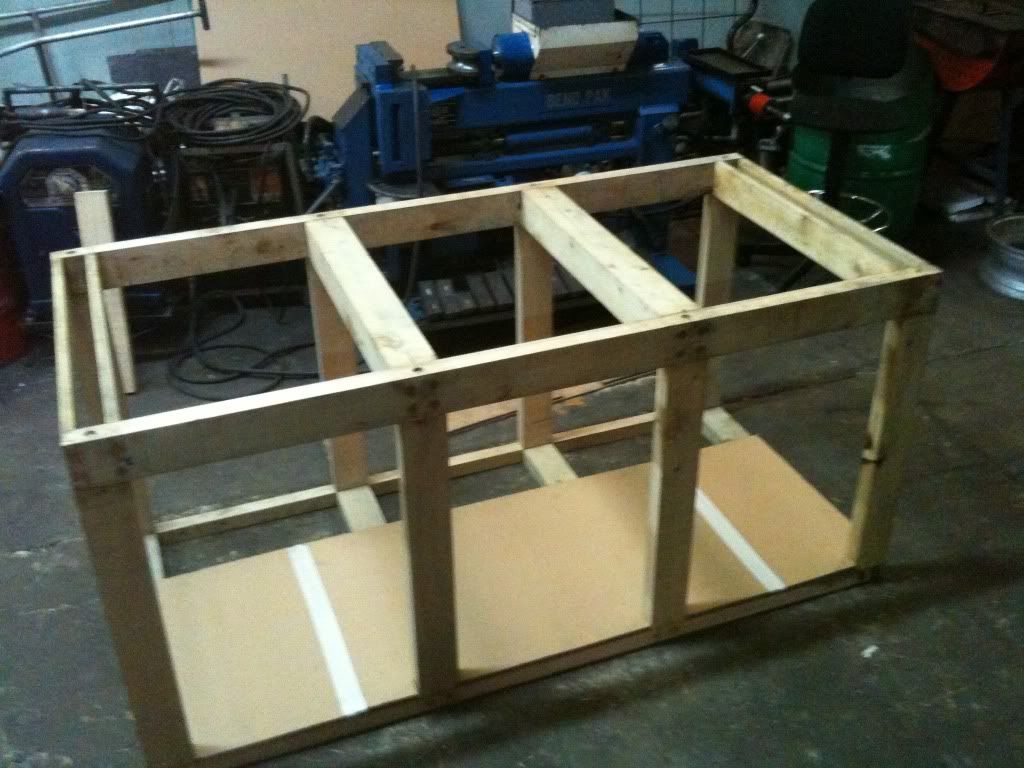
4. Assembling the middle section:
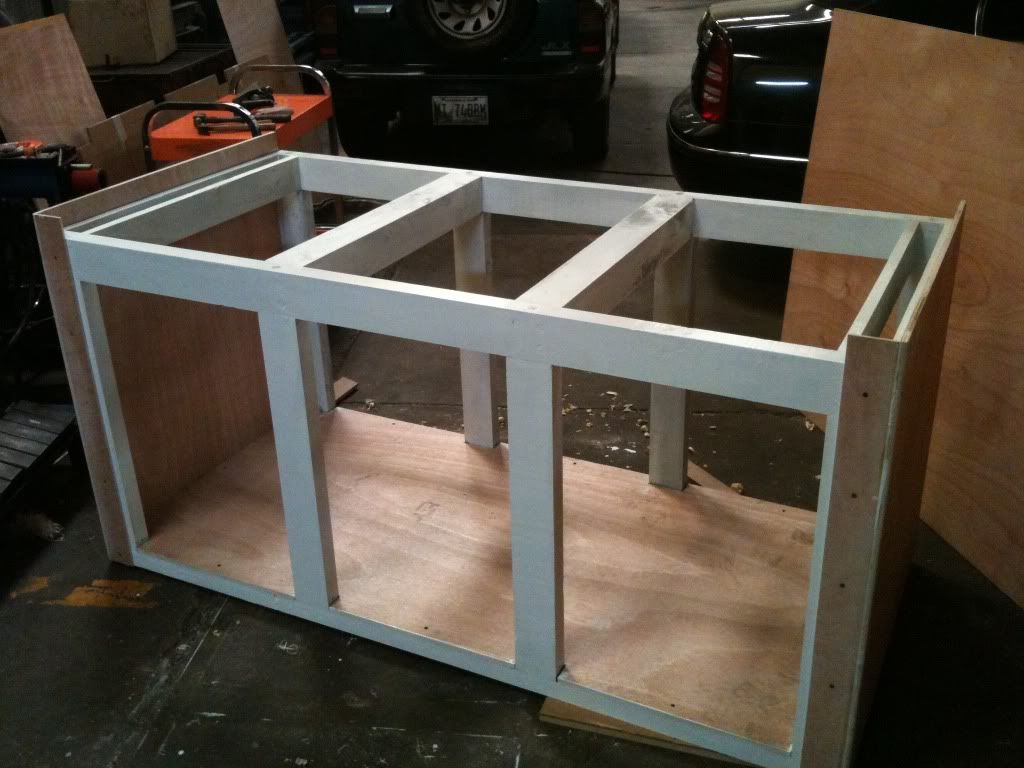
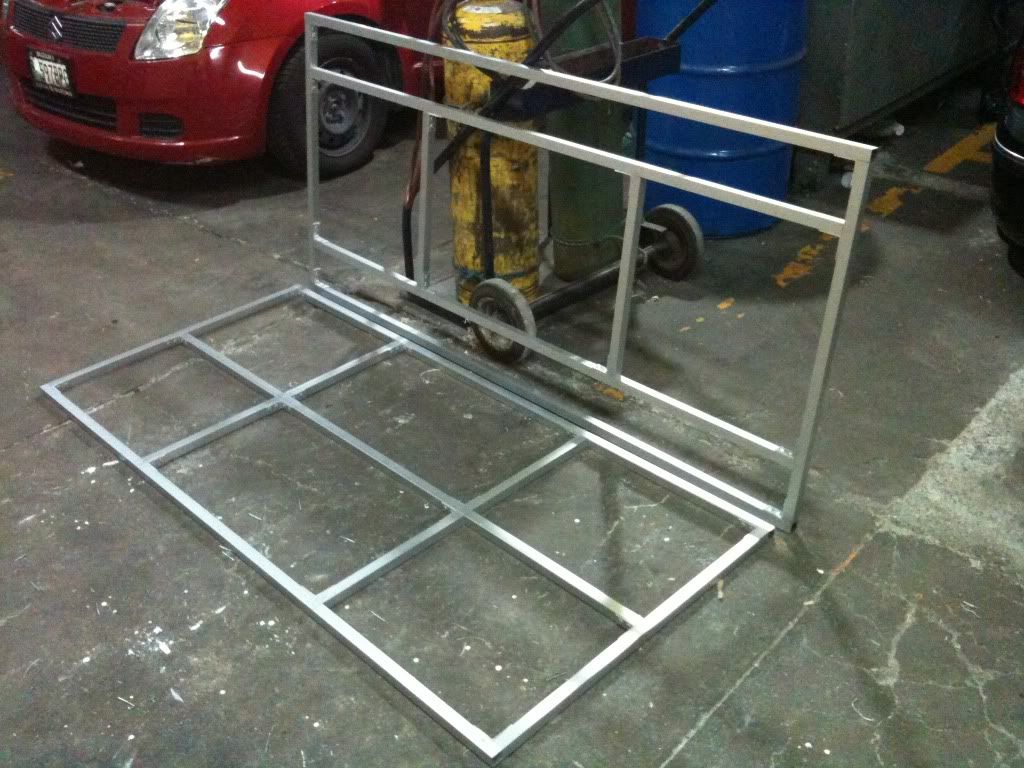
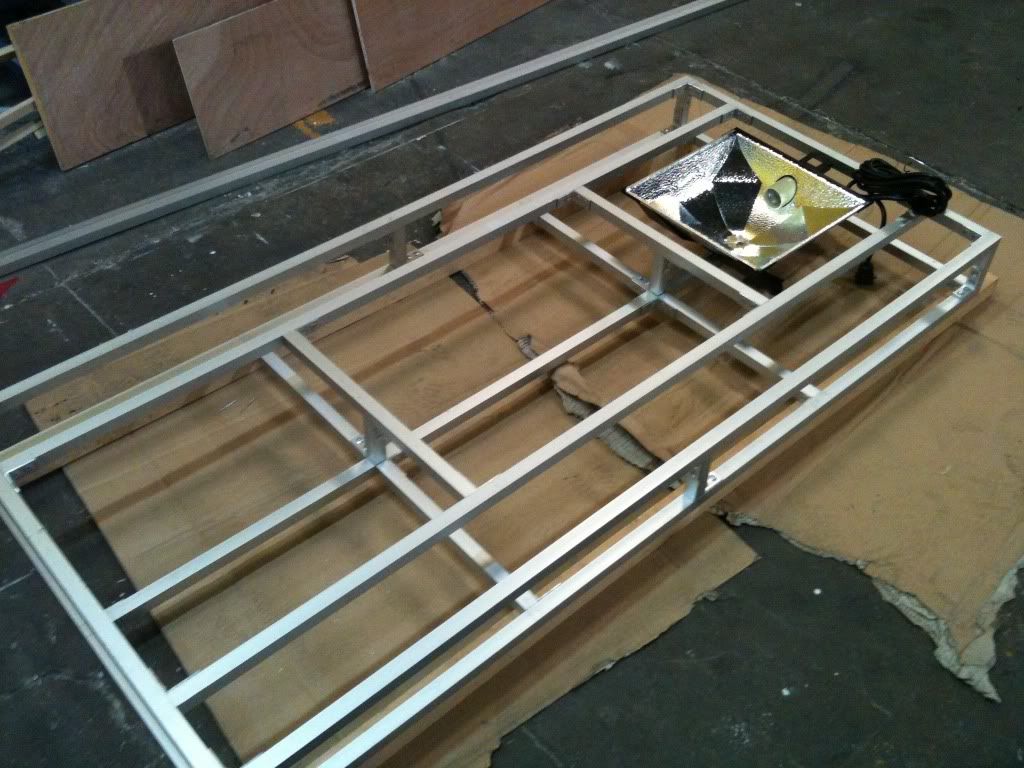
5.Began building the lateral sections:
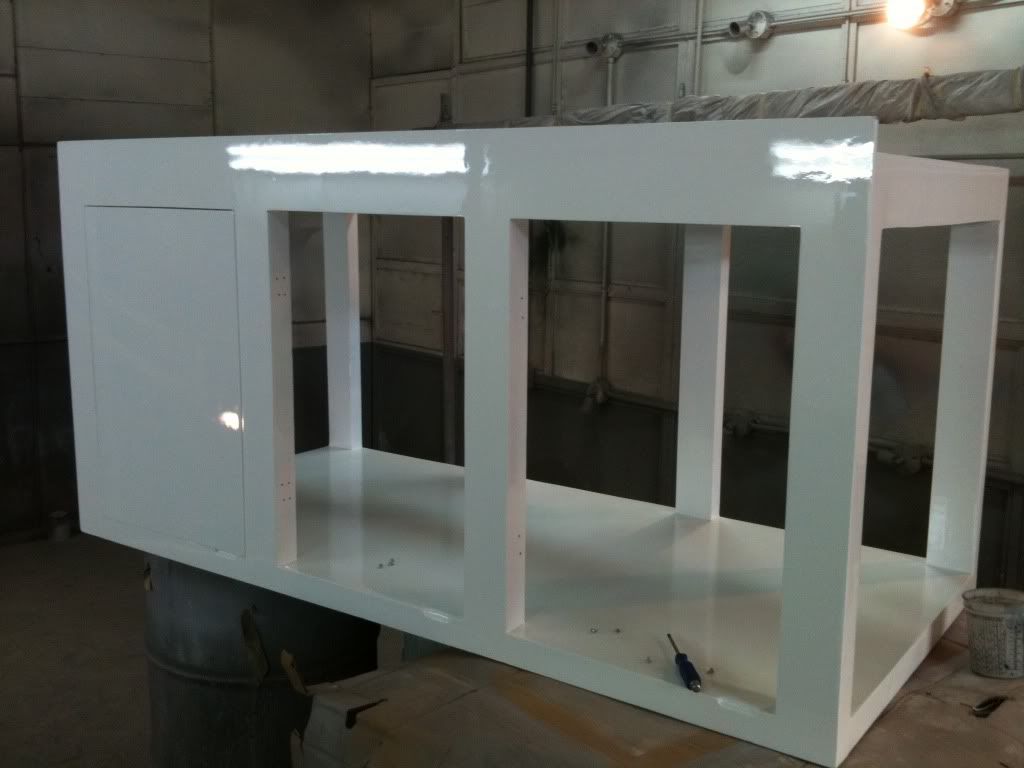
6. Painted cabinet, the outer section has a glossy finish:
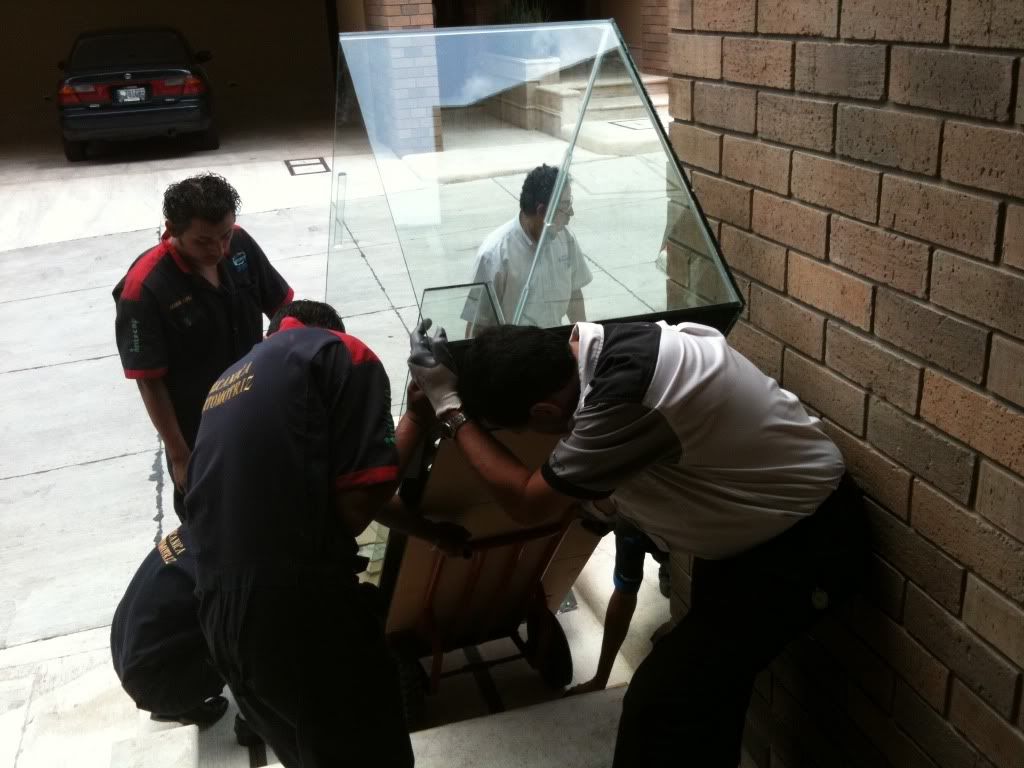
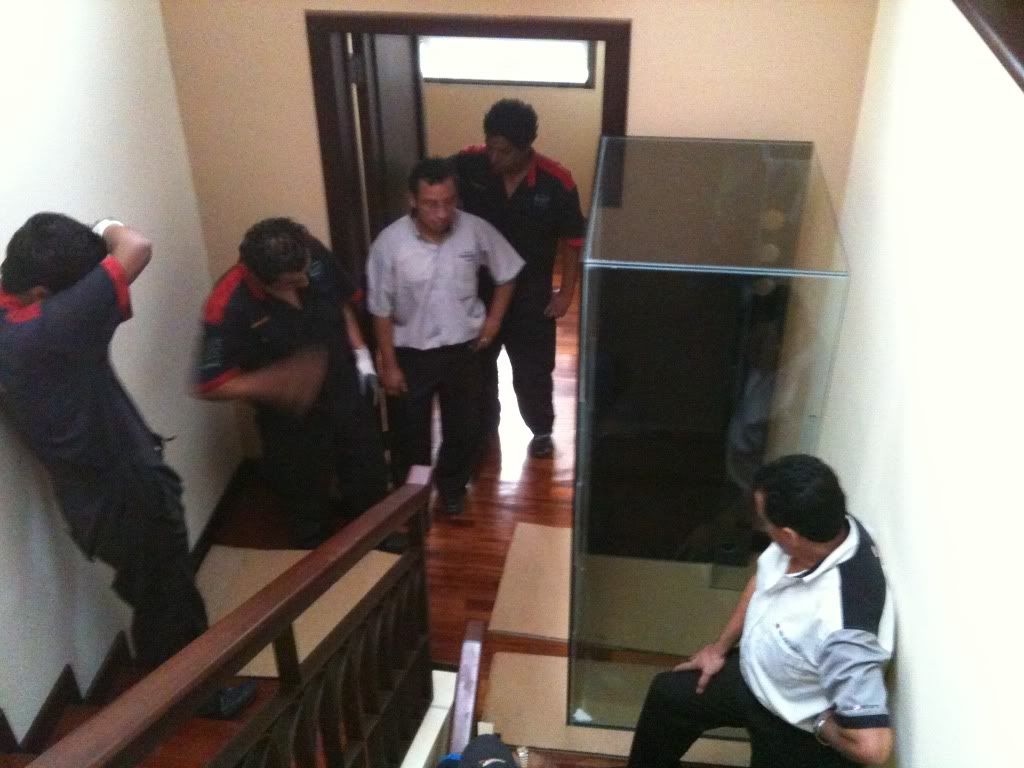
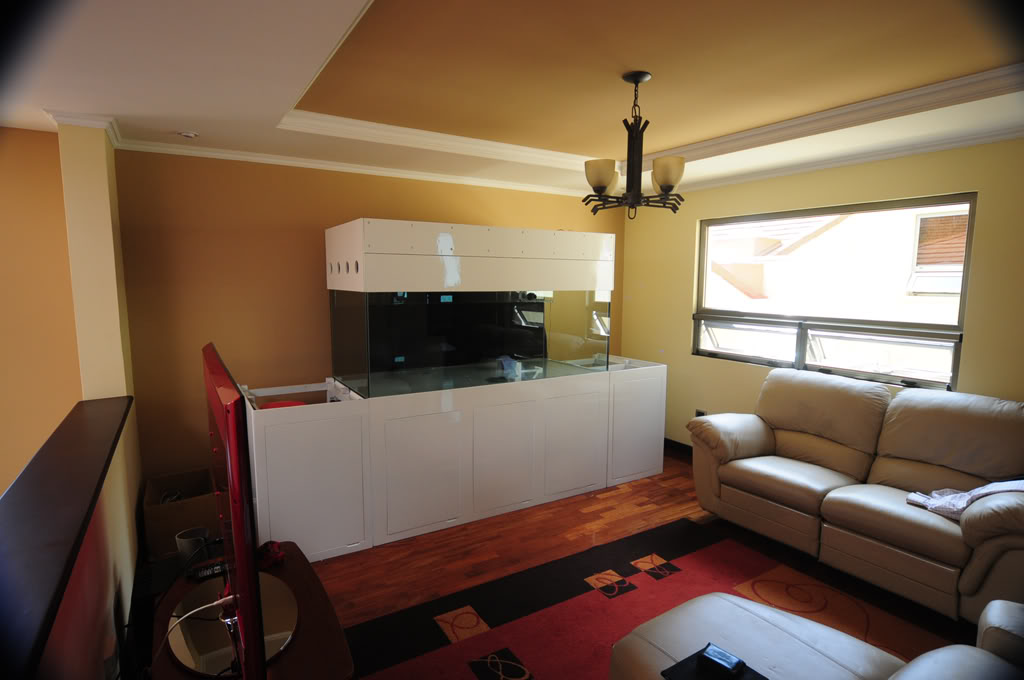
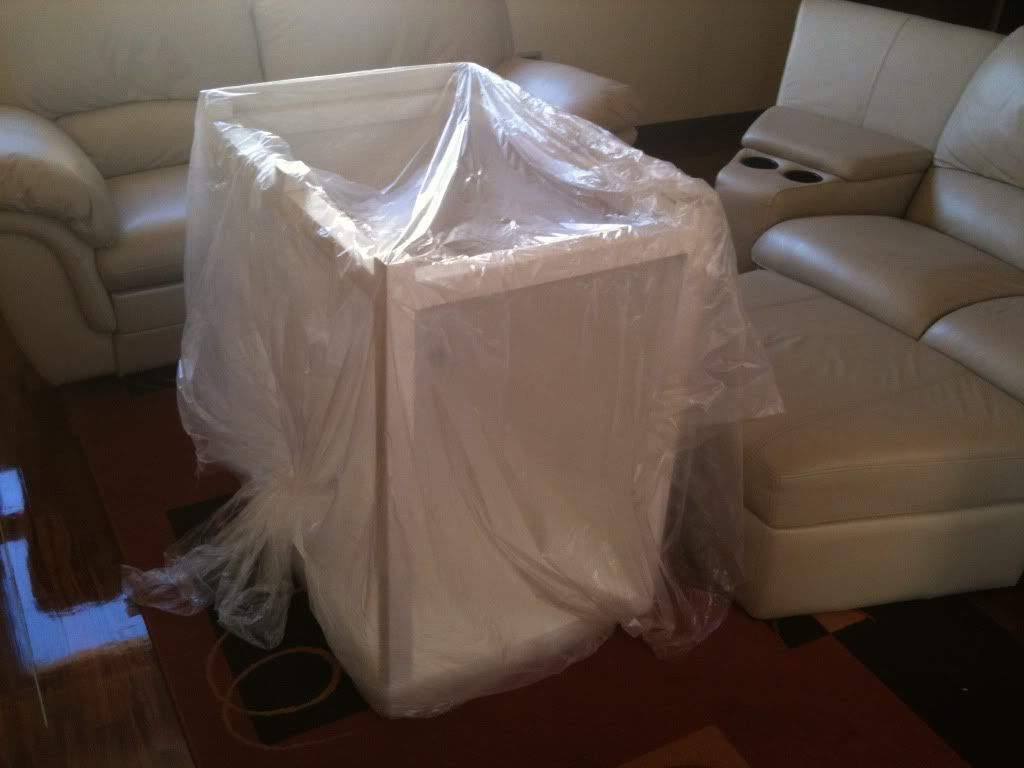
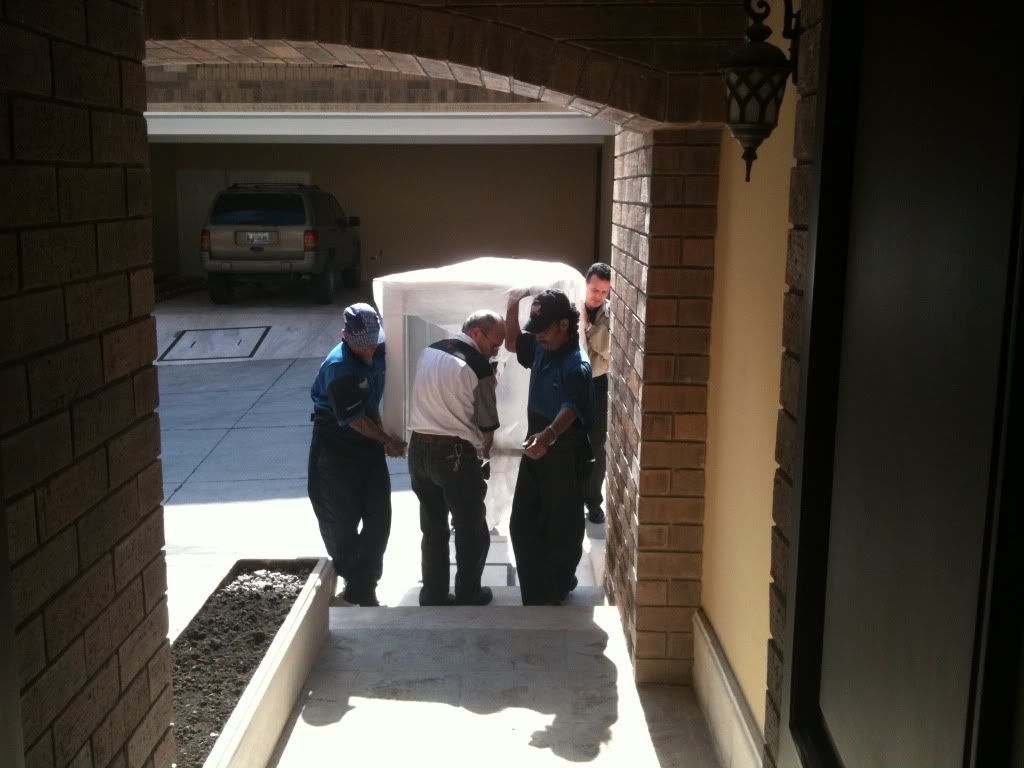
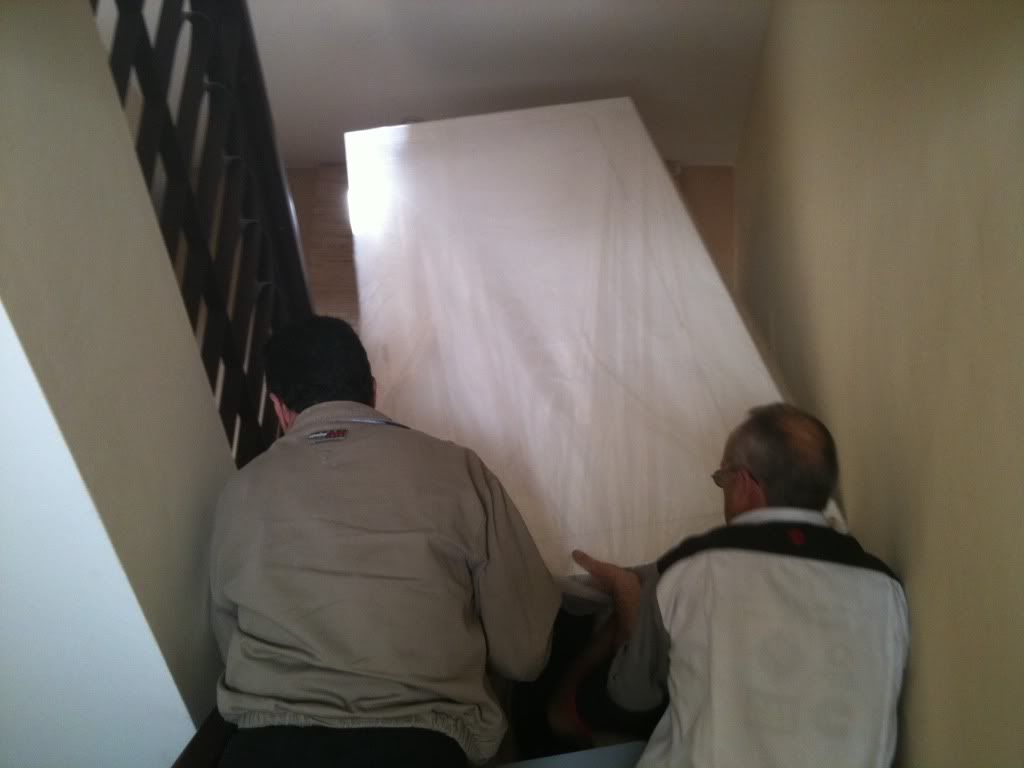
7. Now the challenging part, moving in the cabinet (As you can appreciate, someone had to take the pictures :D)
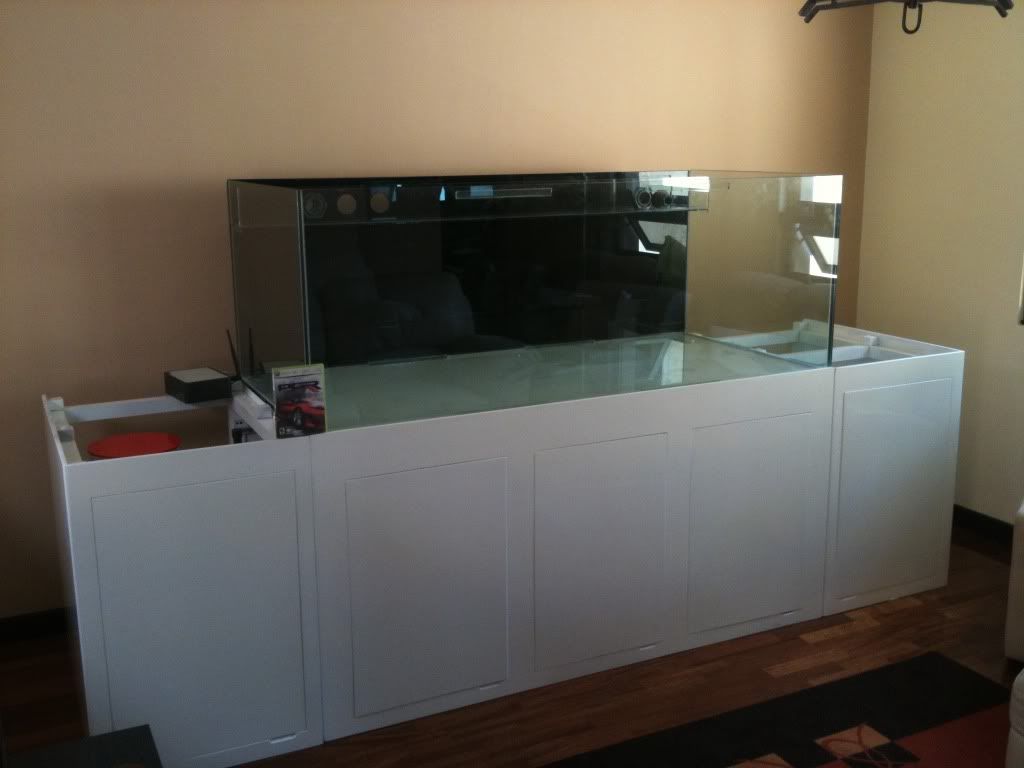
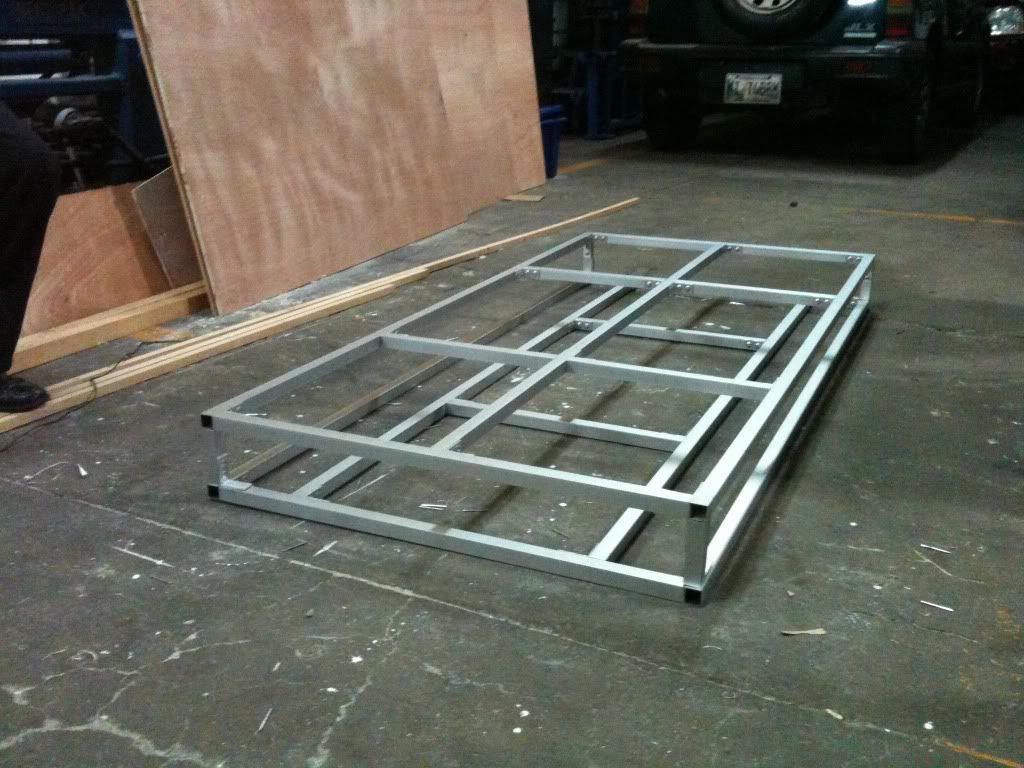
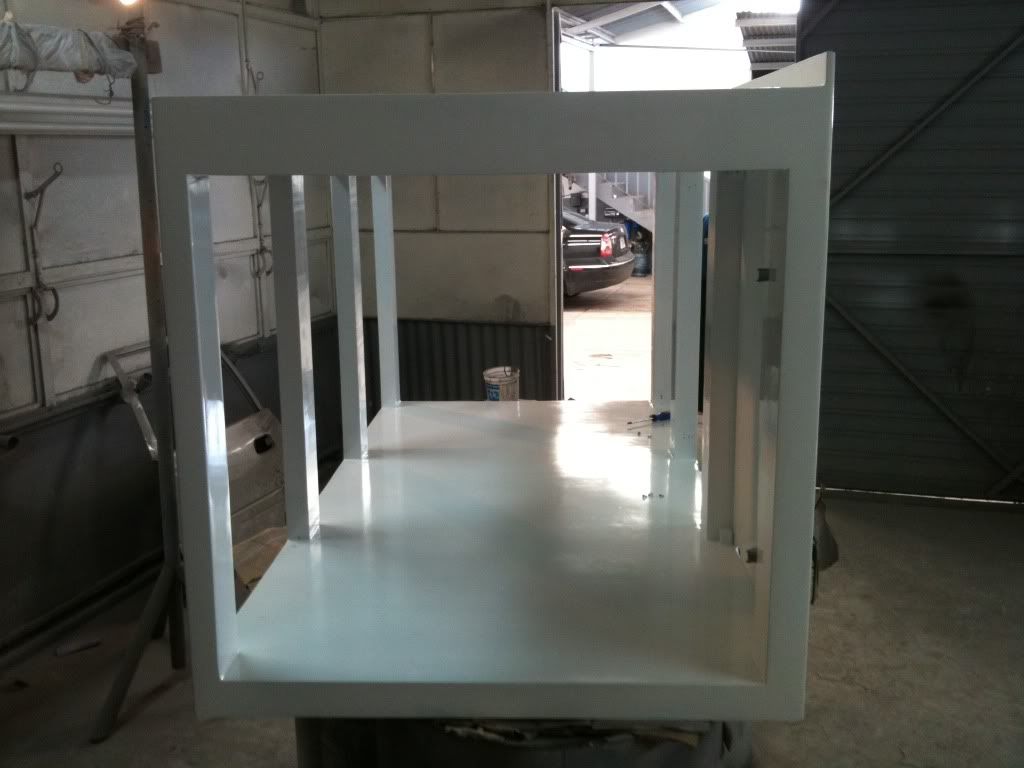
8. Screwing lateral sections to middle section and finished cabinet in position:

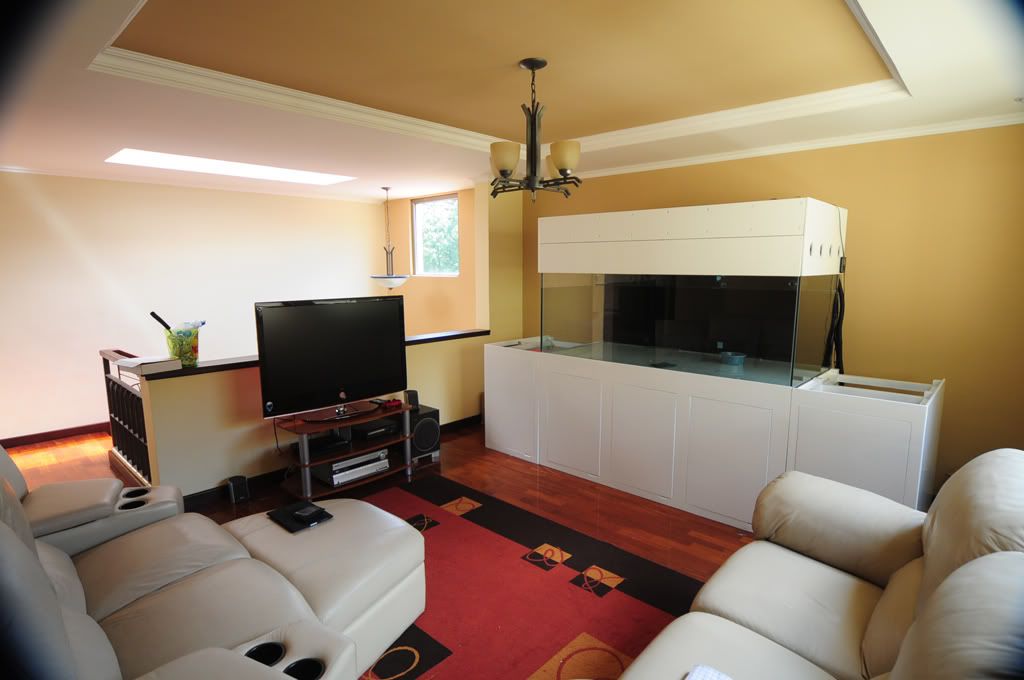
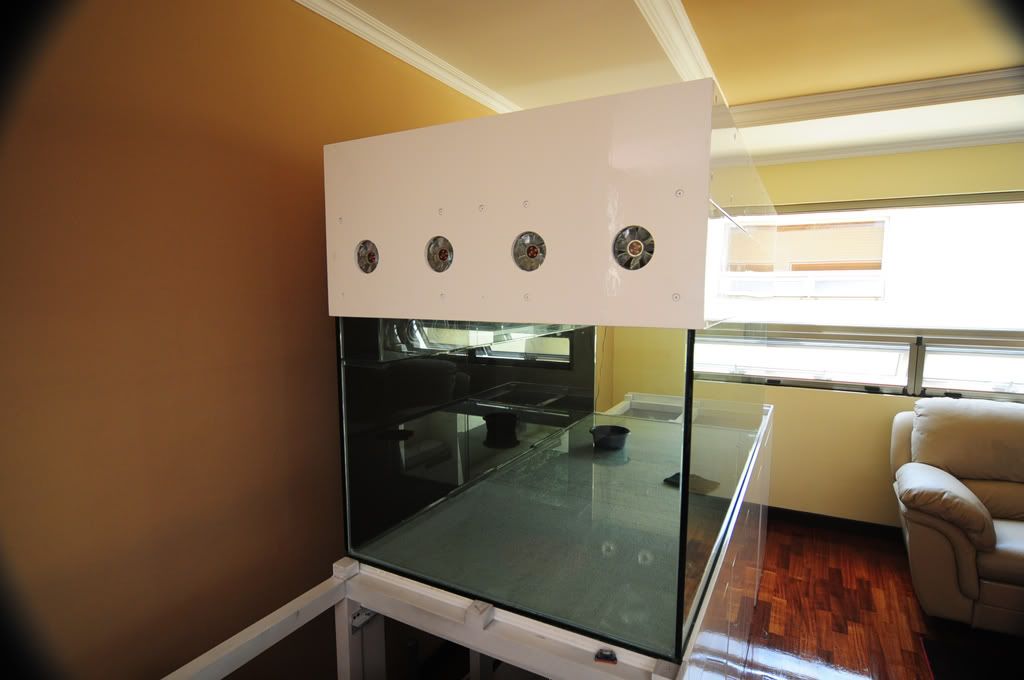
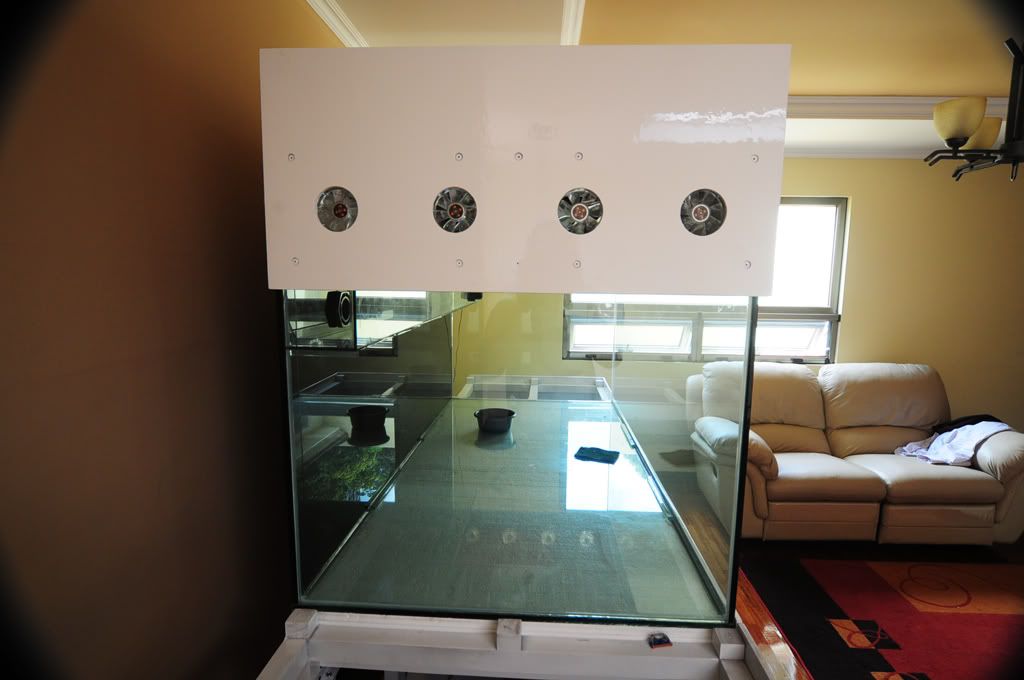
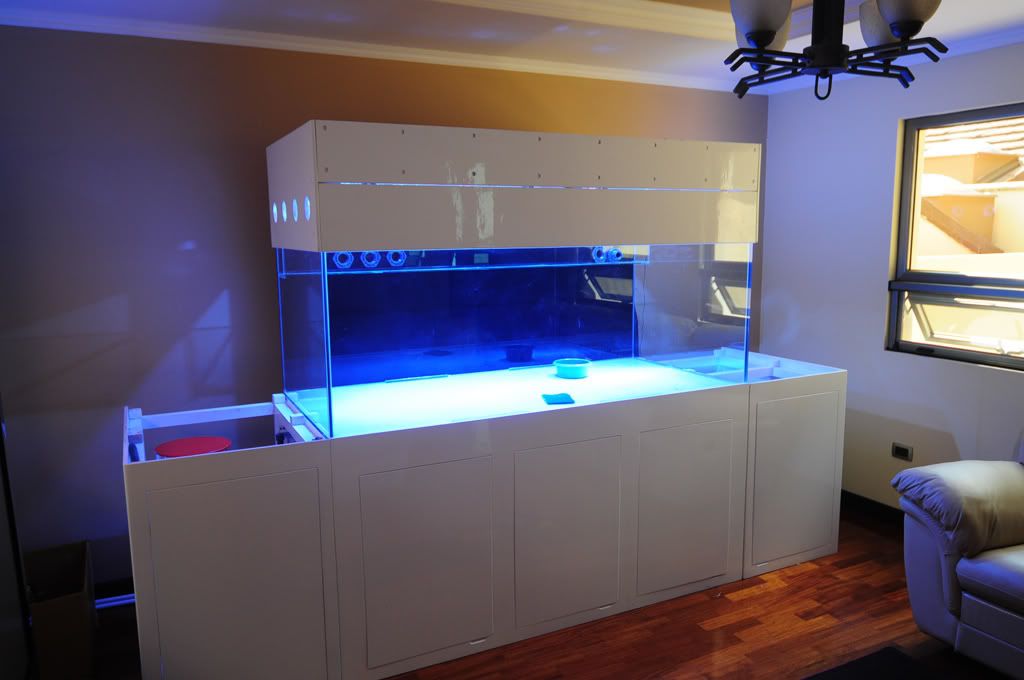
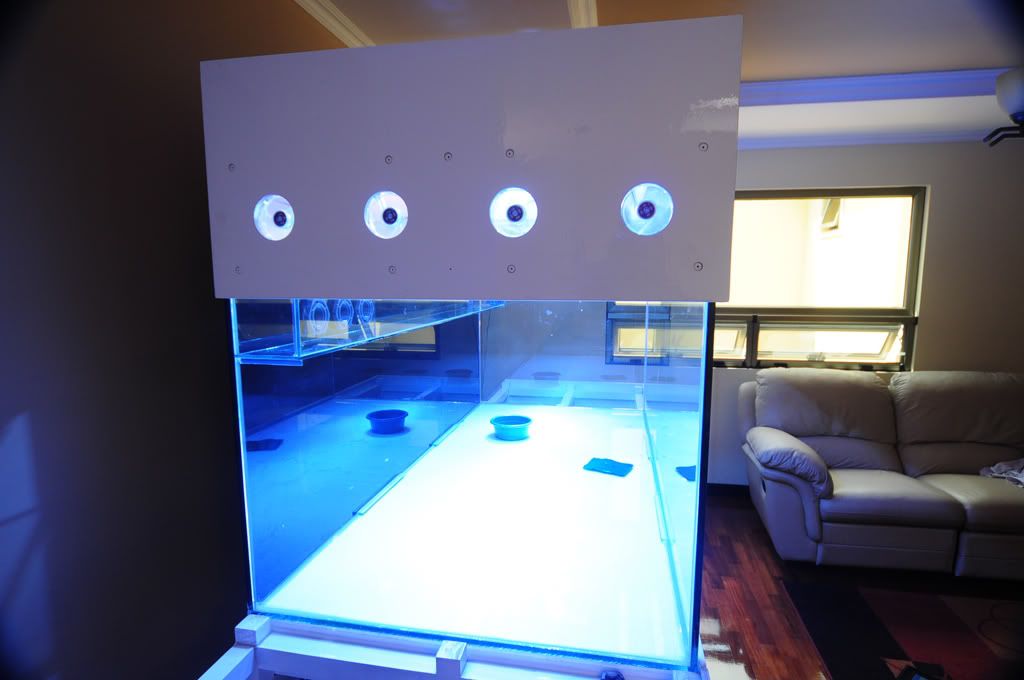
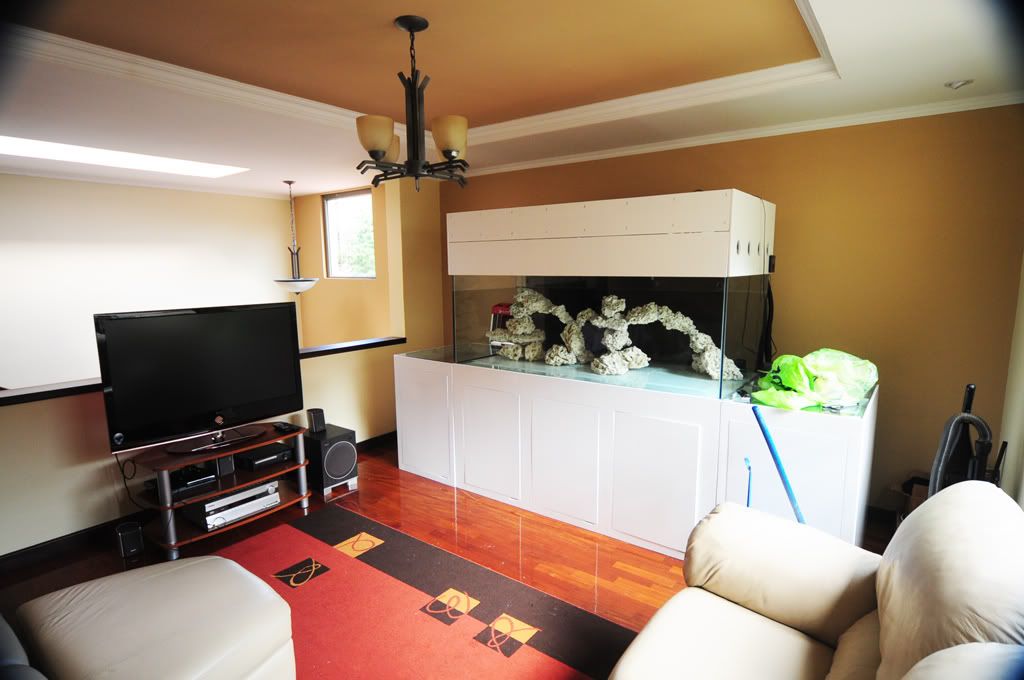
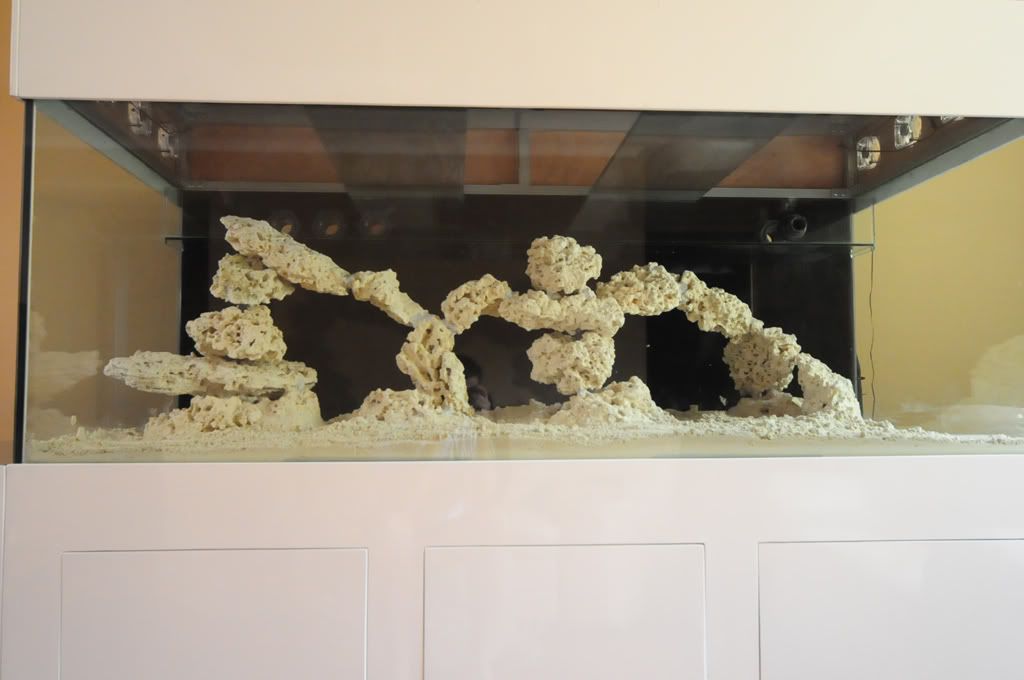
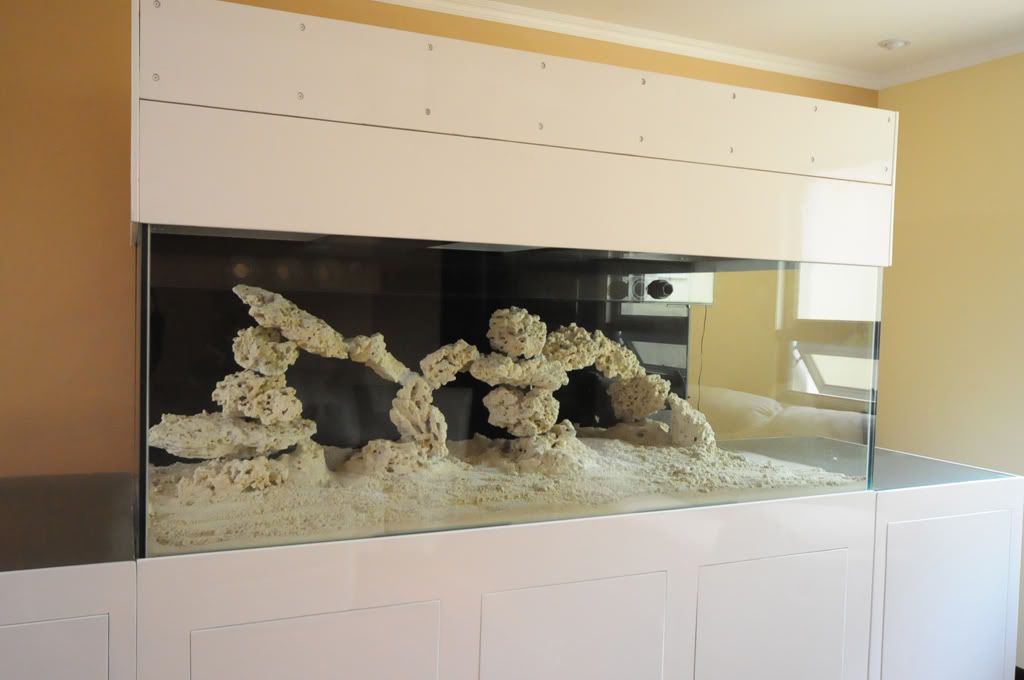
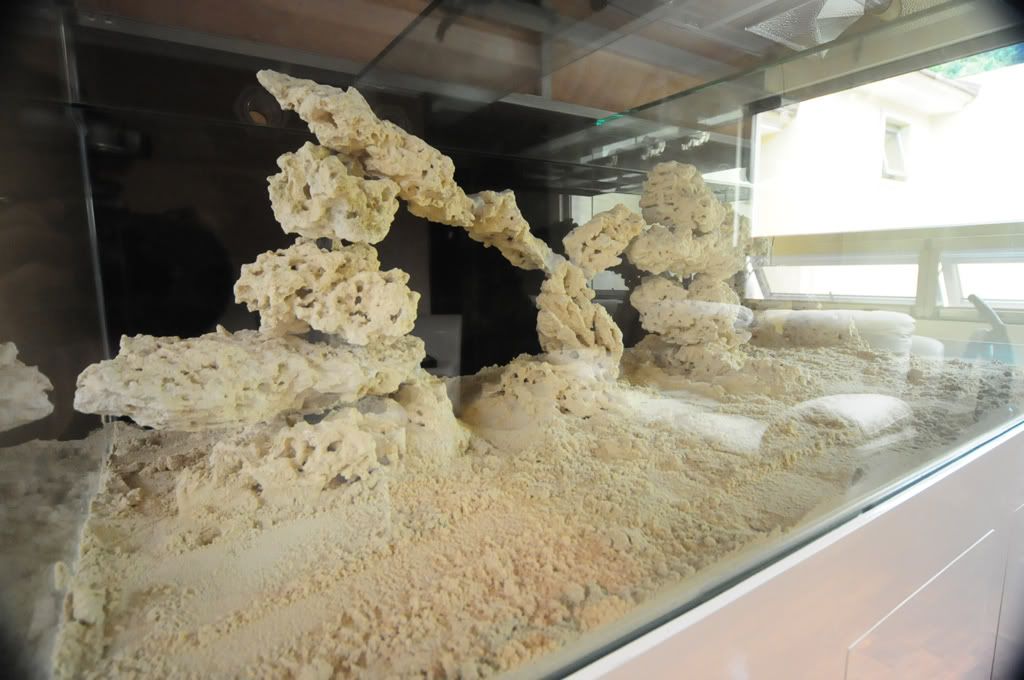
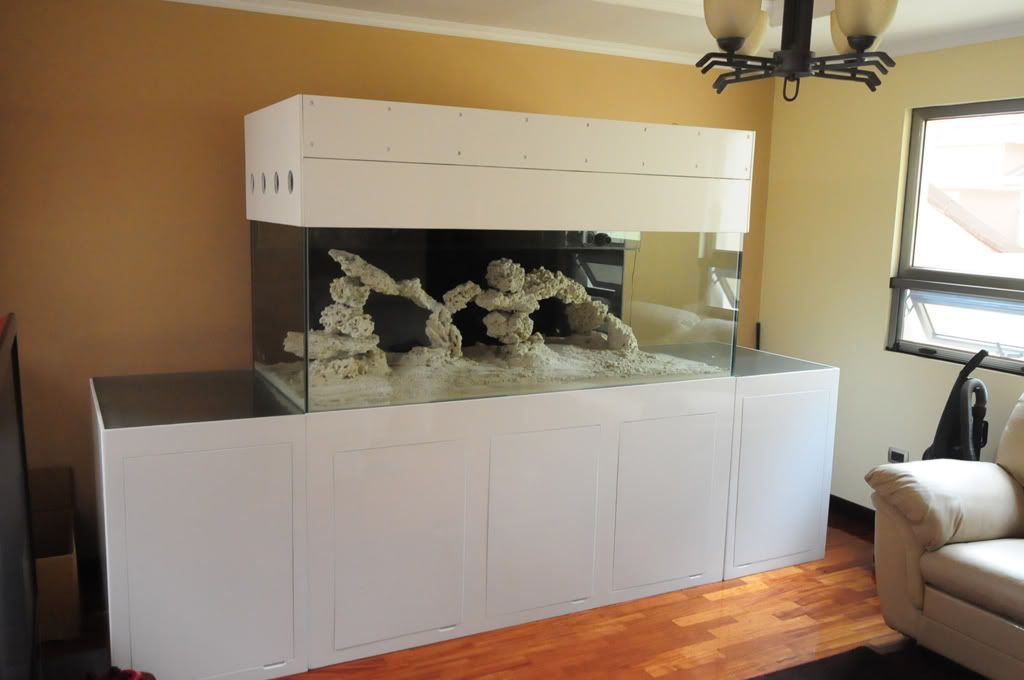
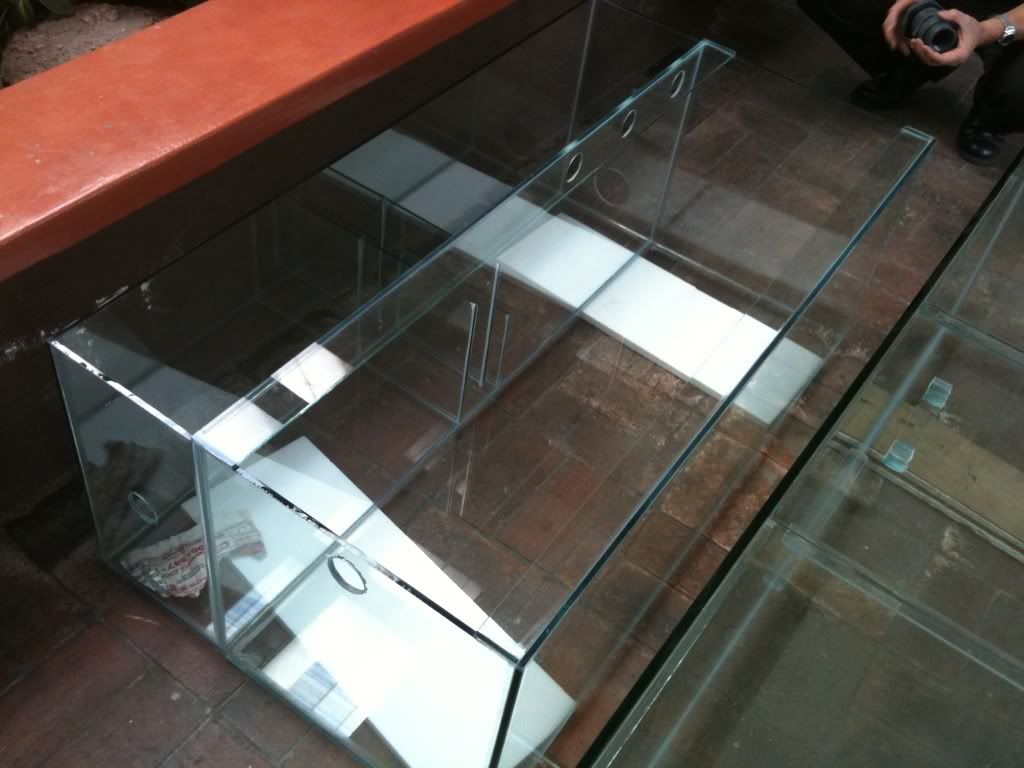
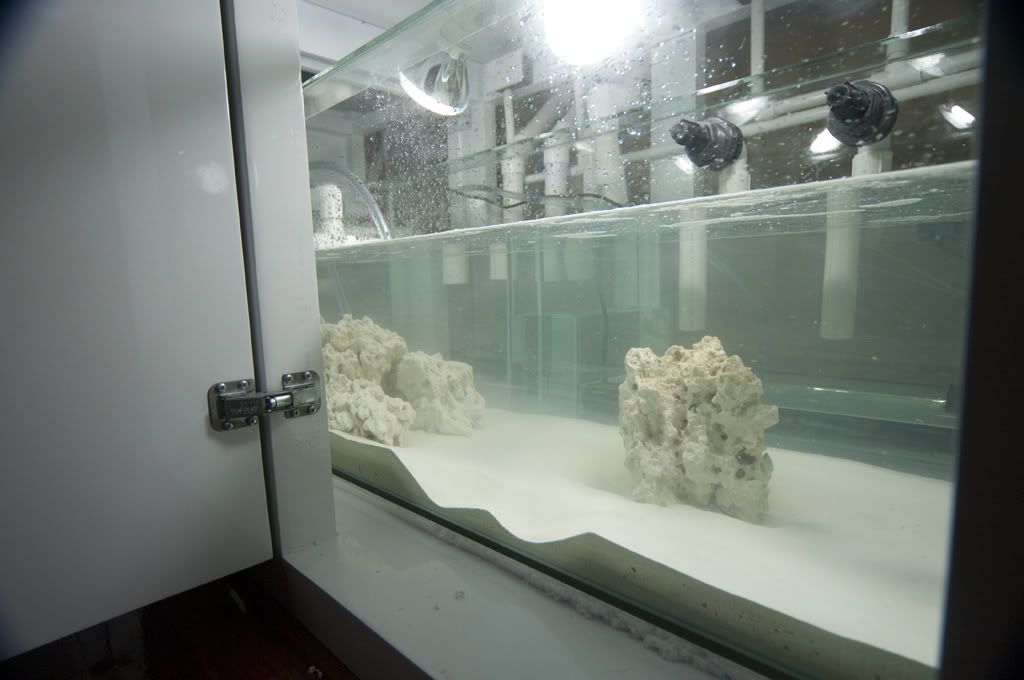
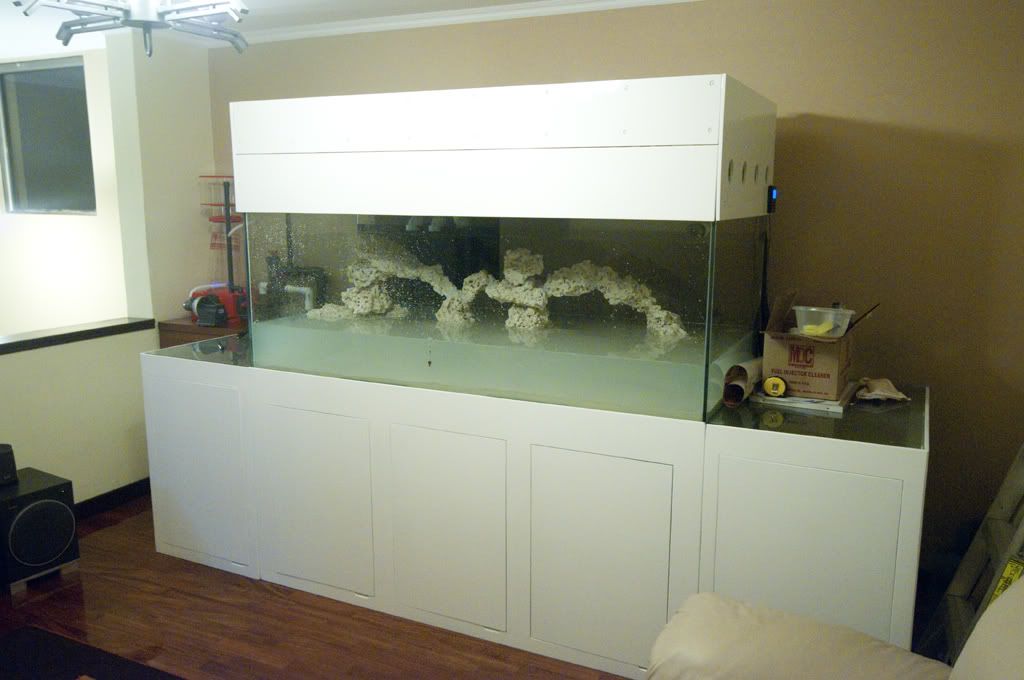
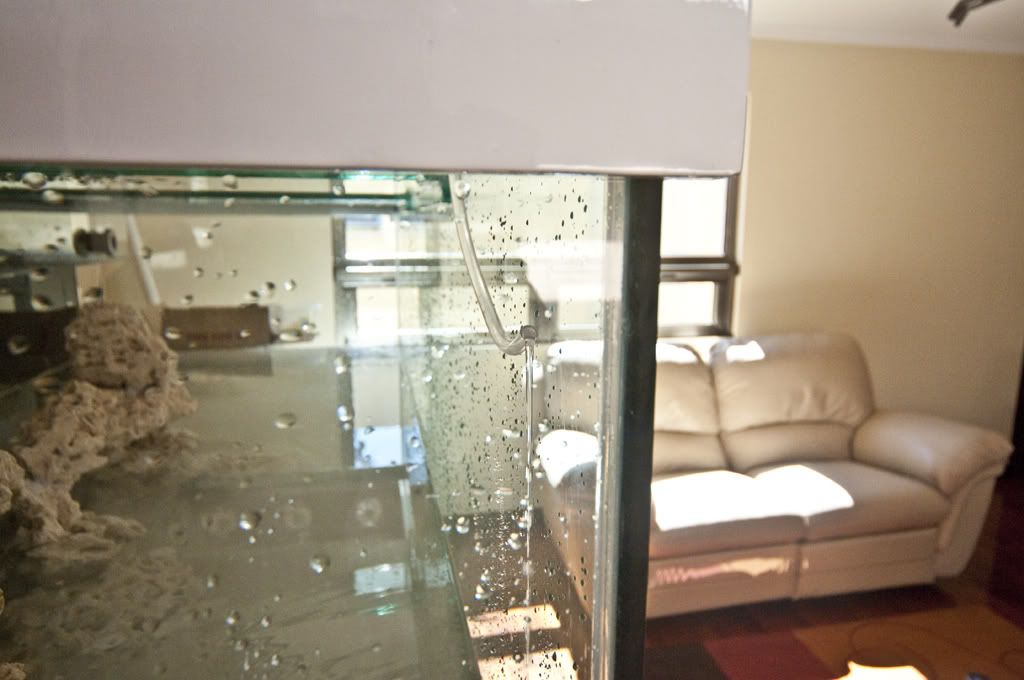
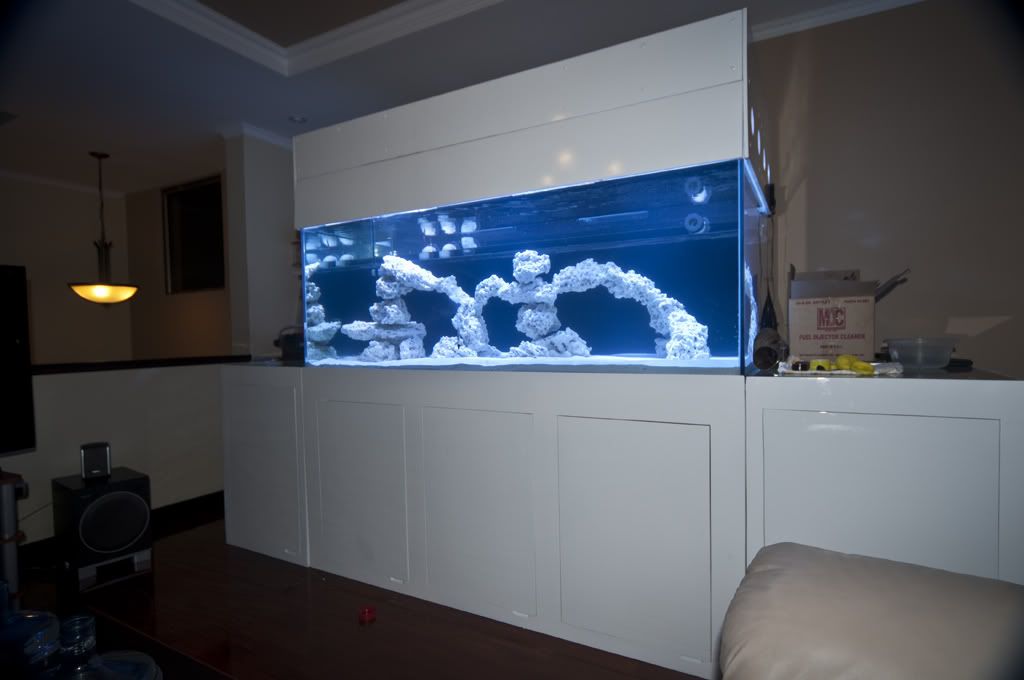
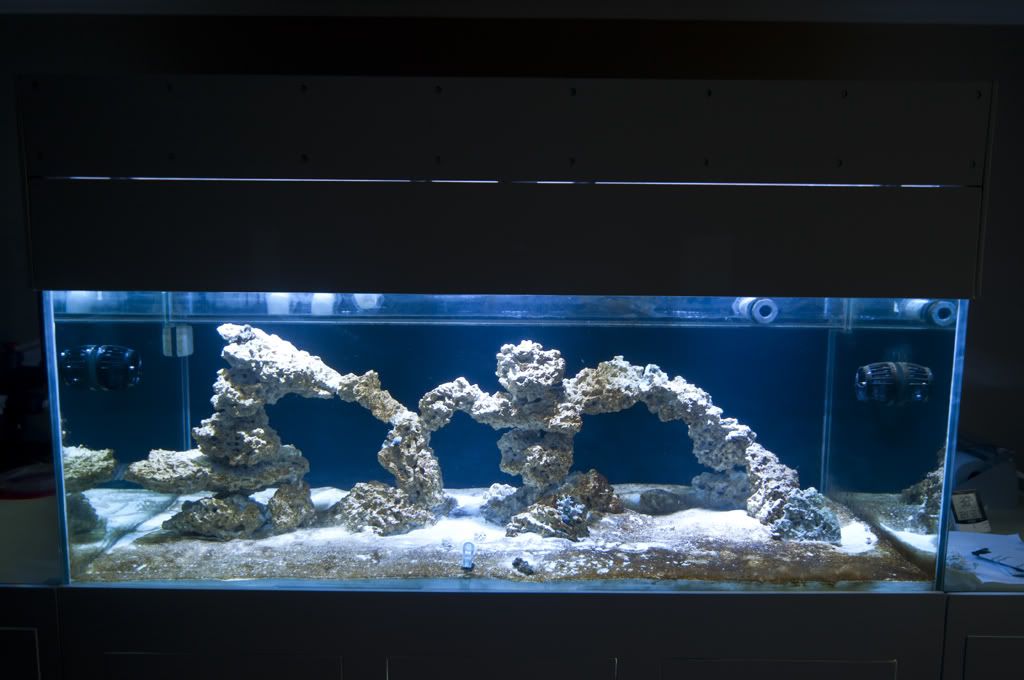
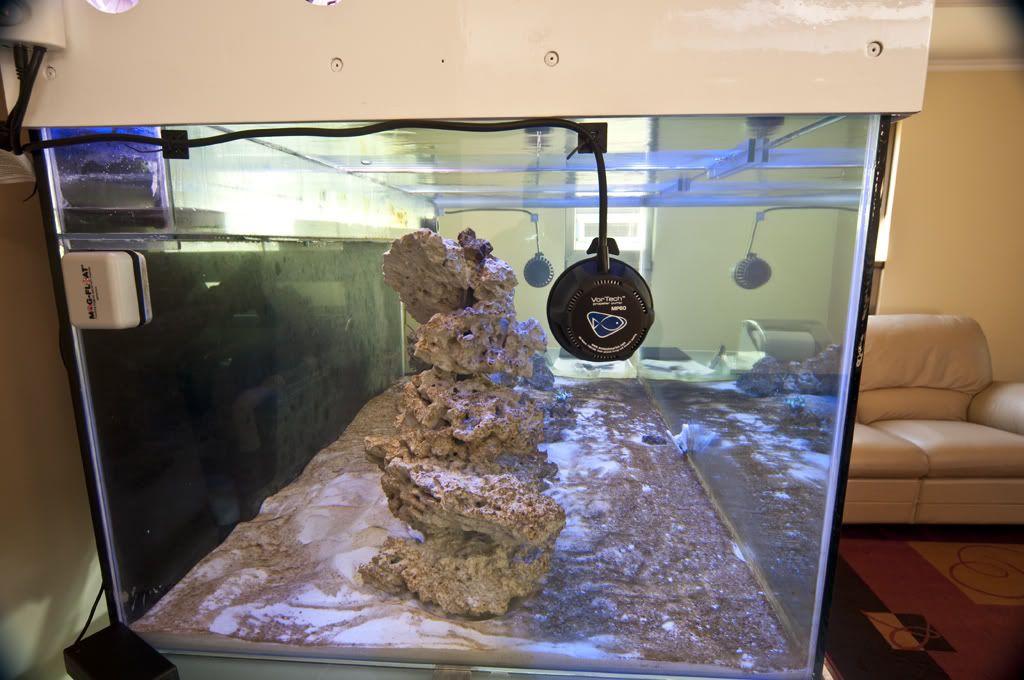
Display Tank
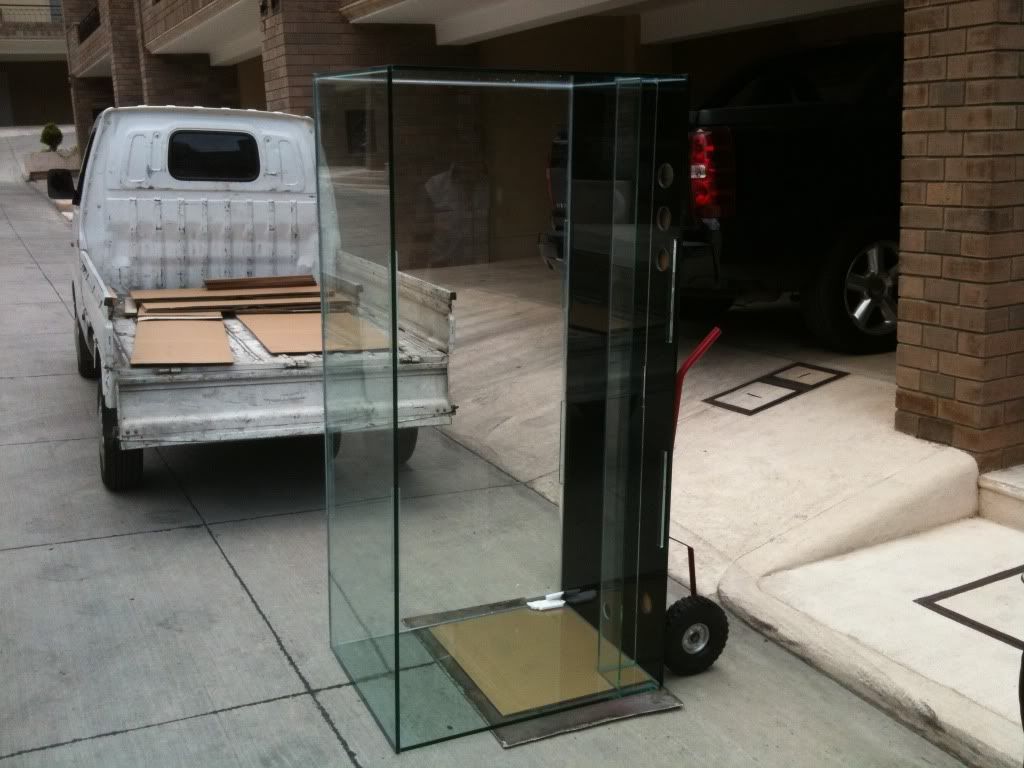
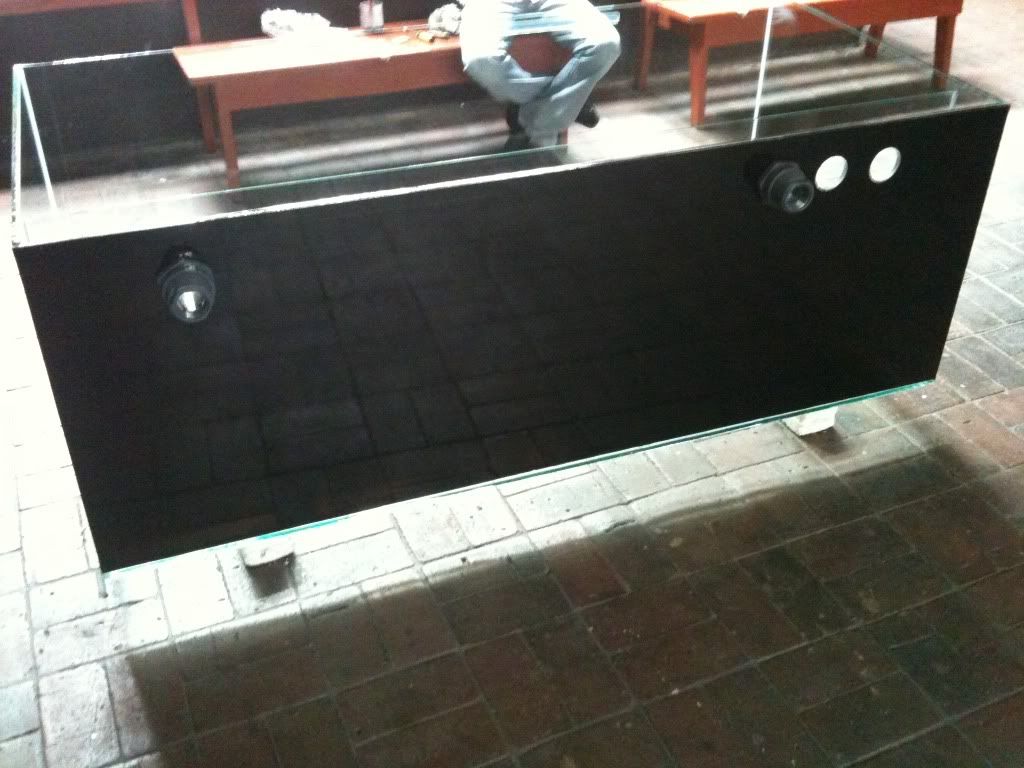
The DT is made of glass, really can't say I like acrylic (I have two small children as stated before).
Sadly in my country there is no starfire yet so the tank is made out of normal 1/2" glass.
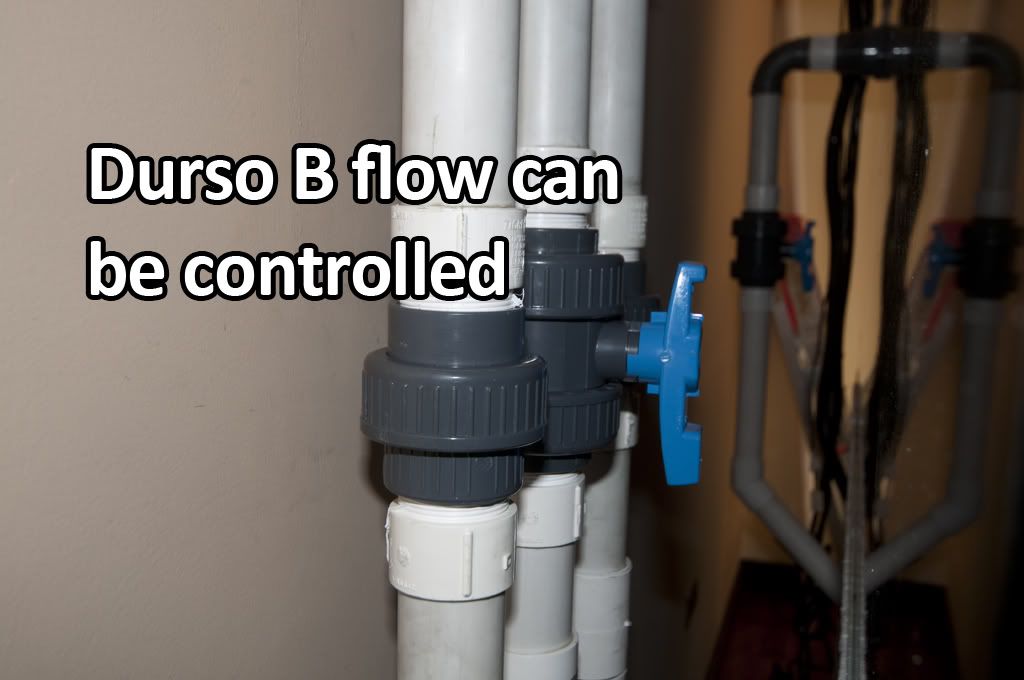
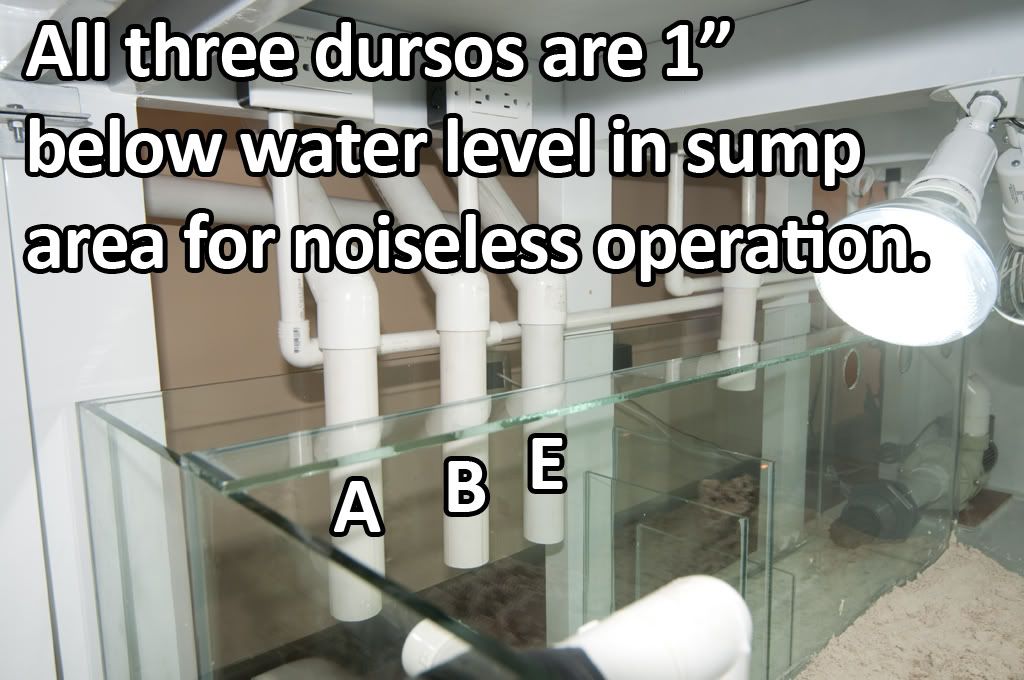
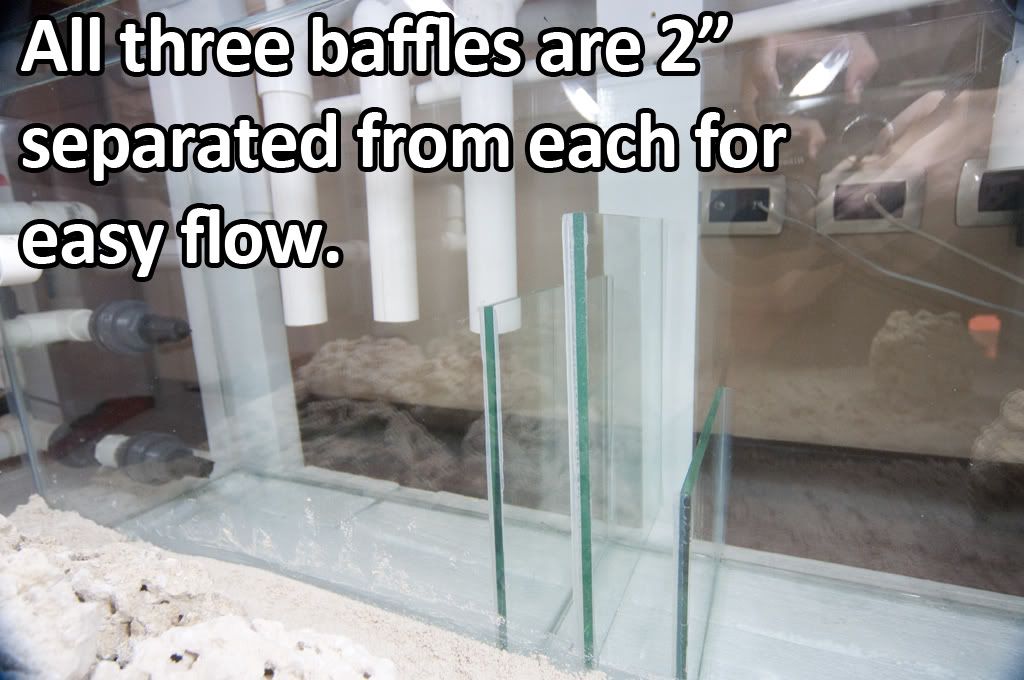
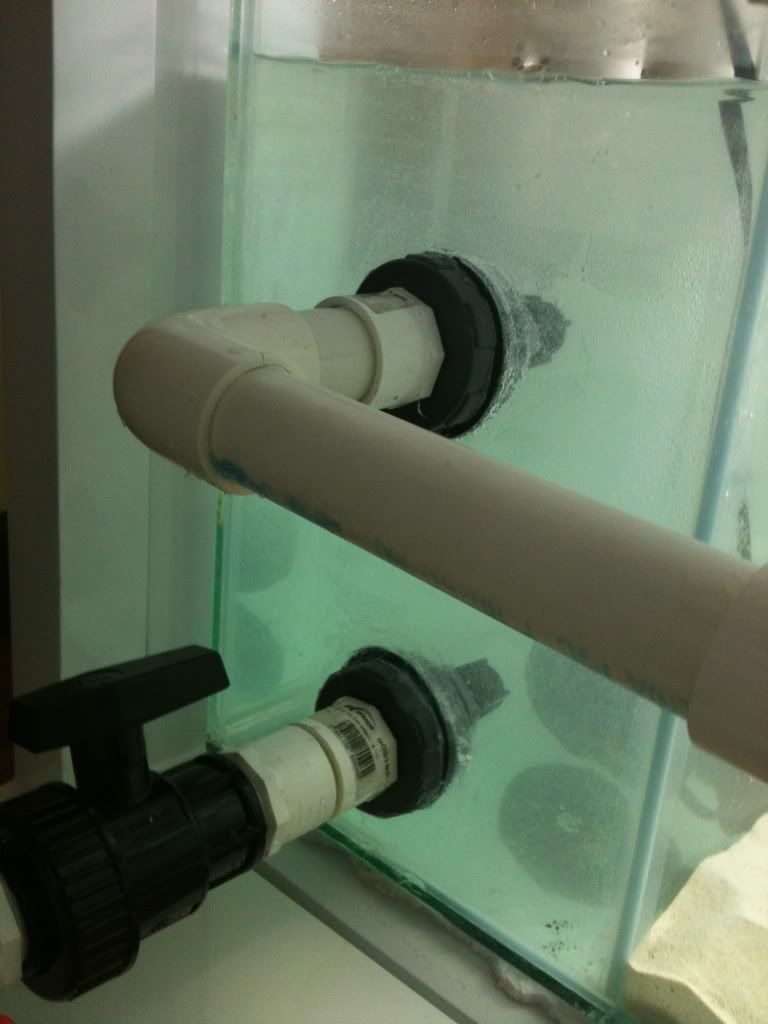
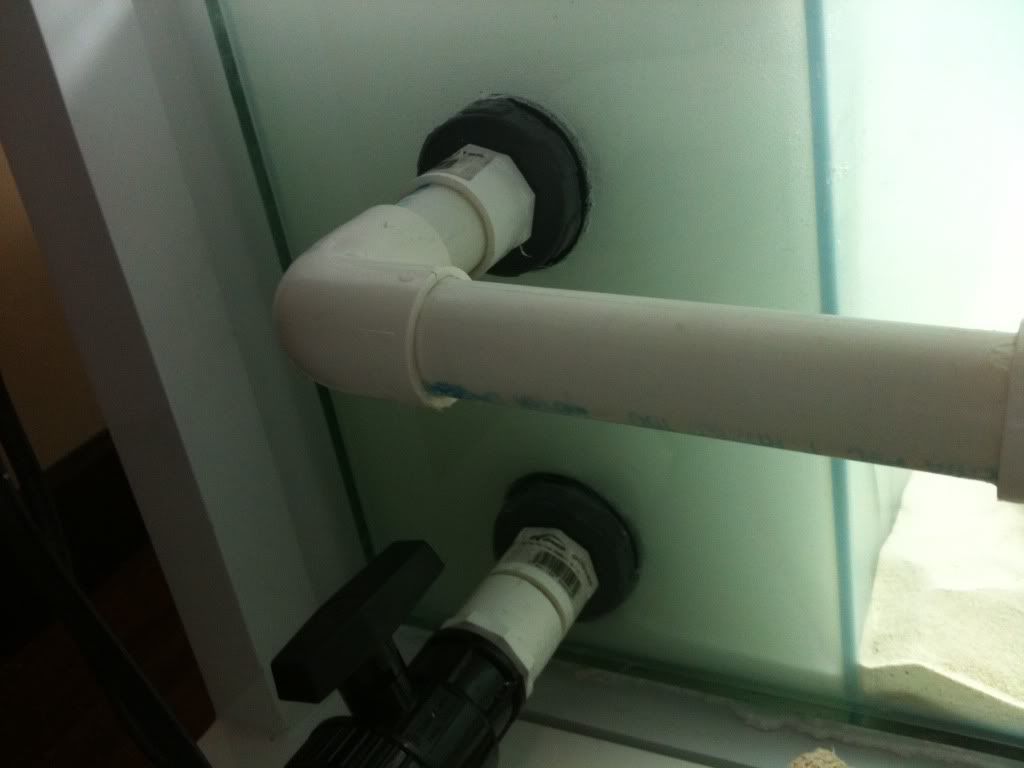
I have decided to go with a coast to coast overflow and BeanAnimal's system for siphon/Return.
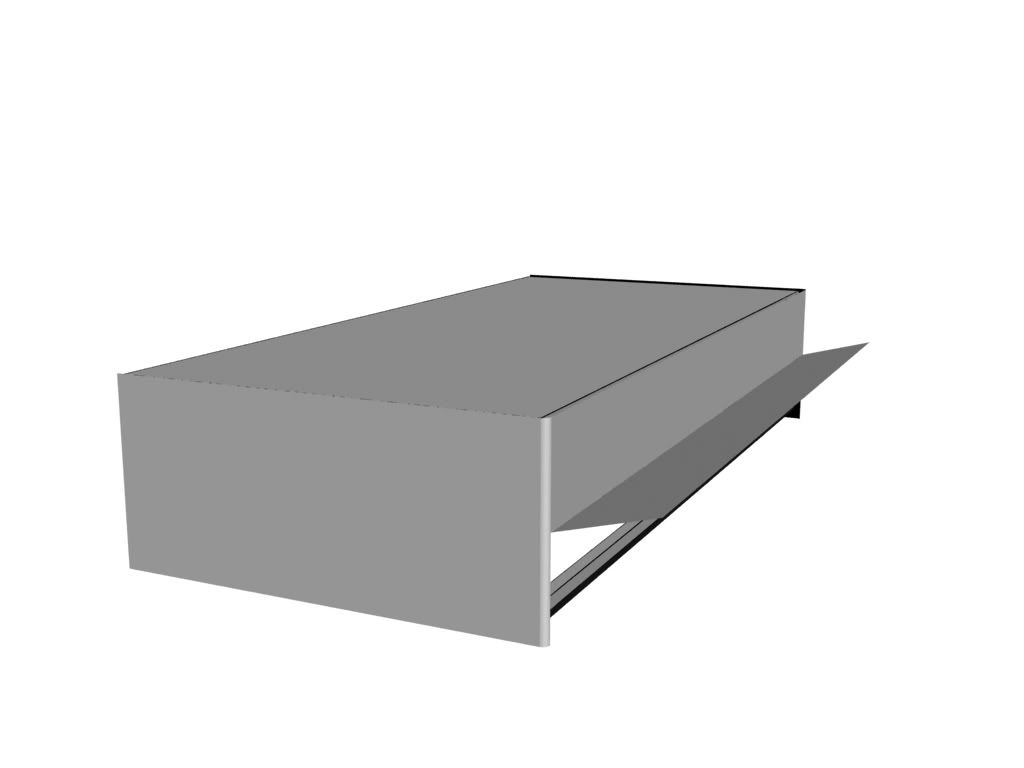
Render Mode:
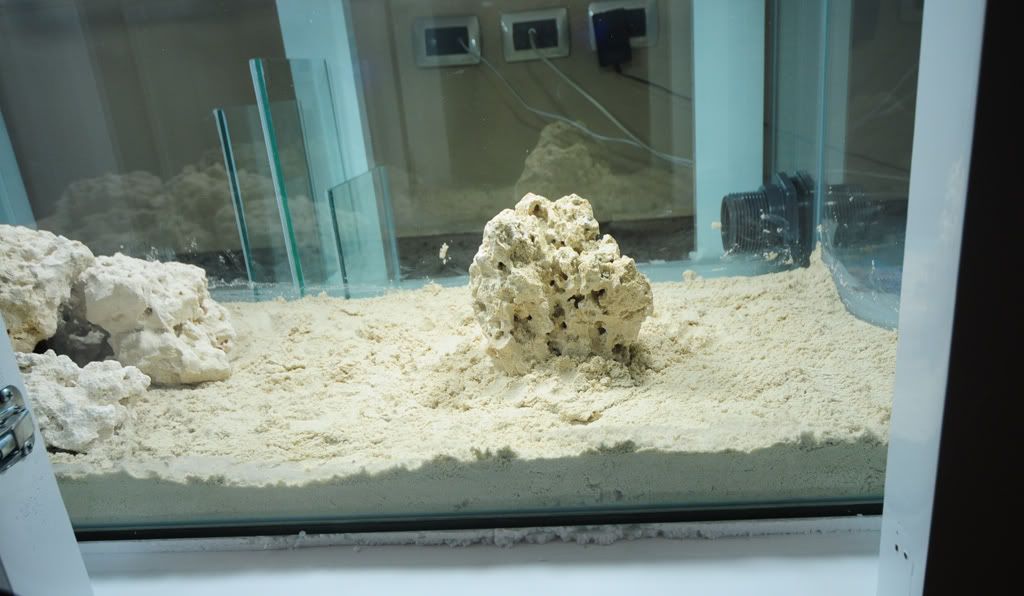
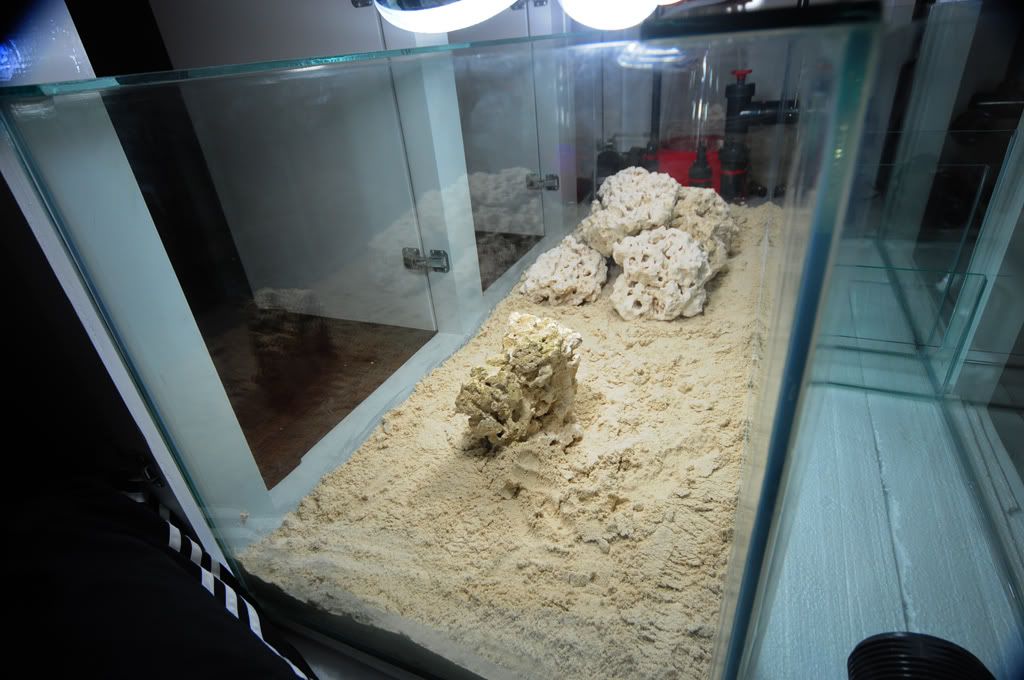
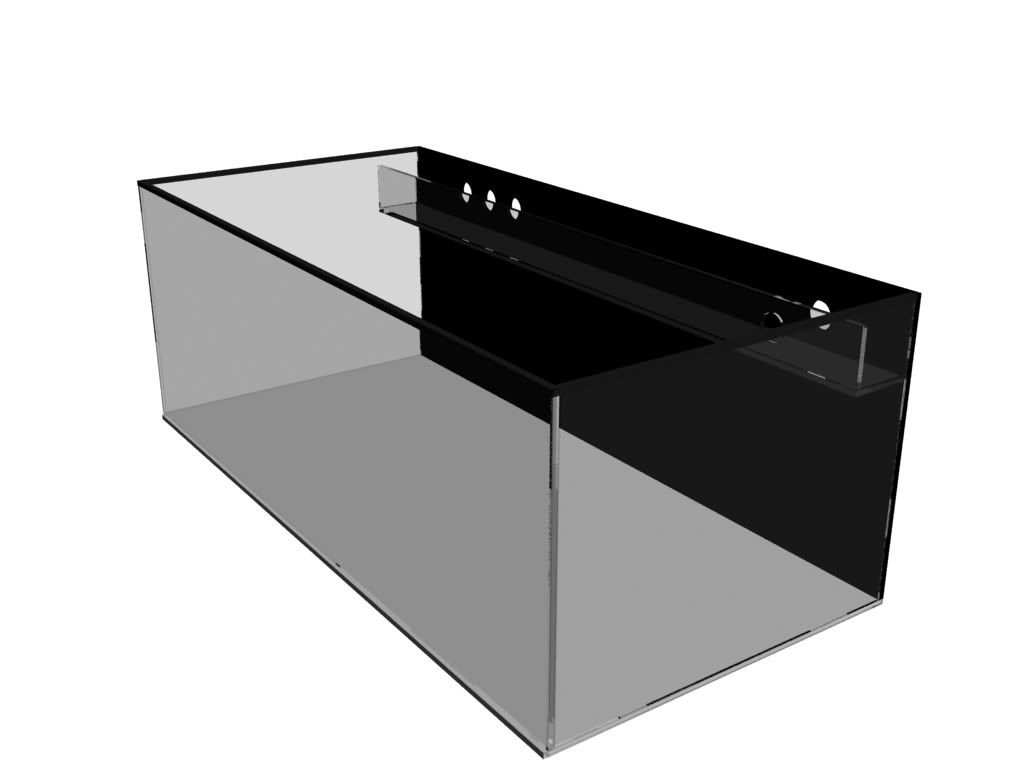
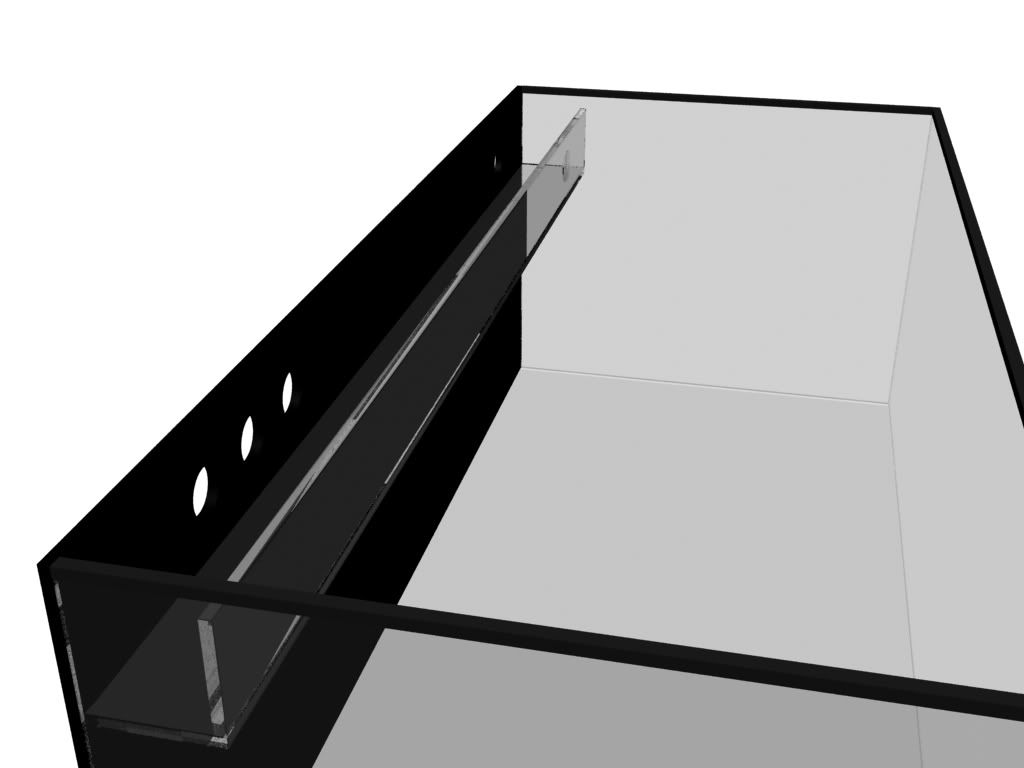
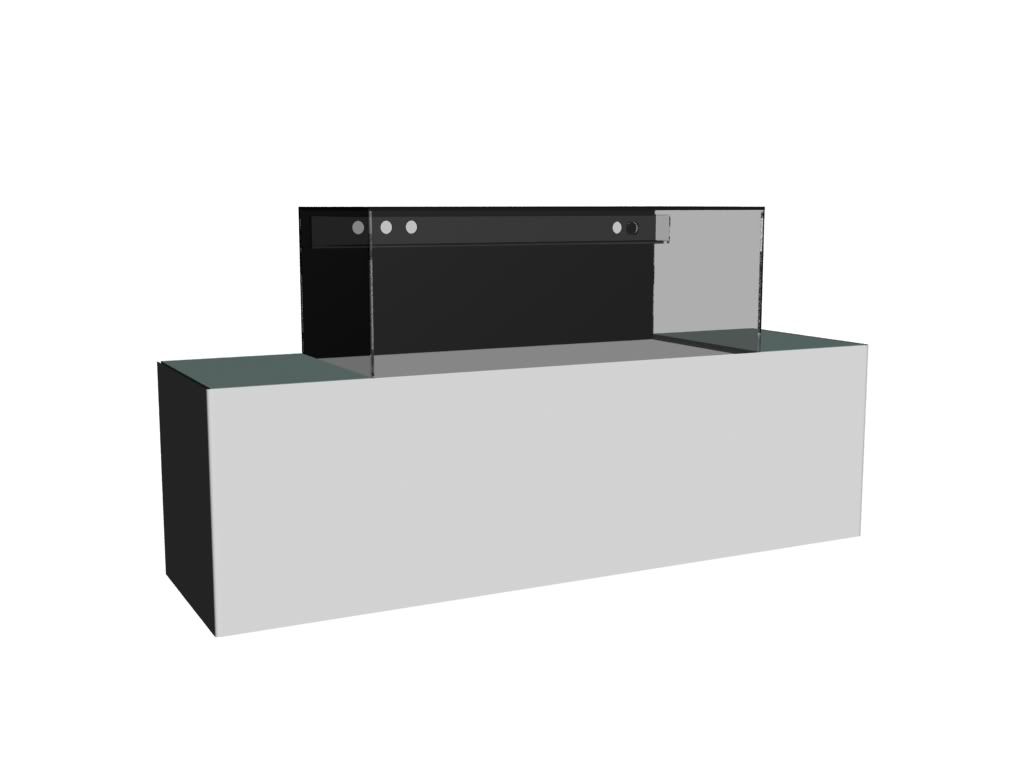
Display Tank:

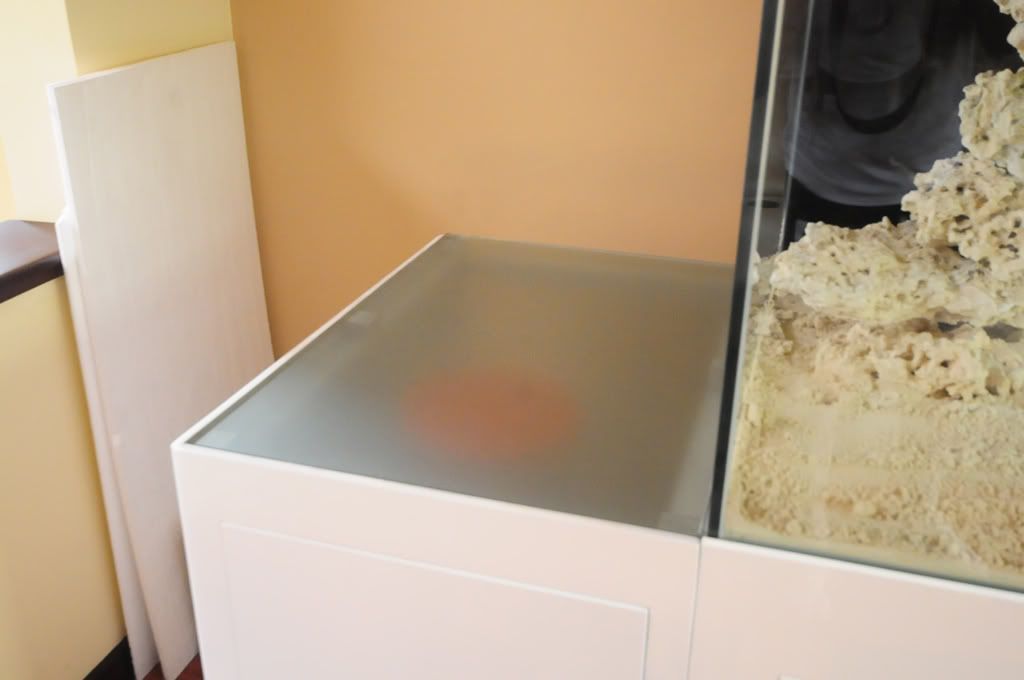
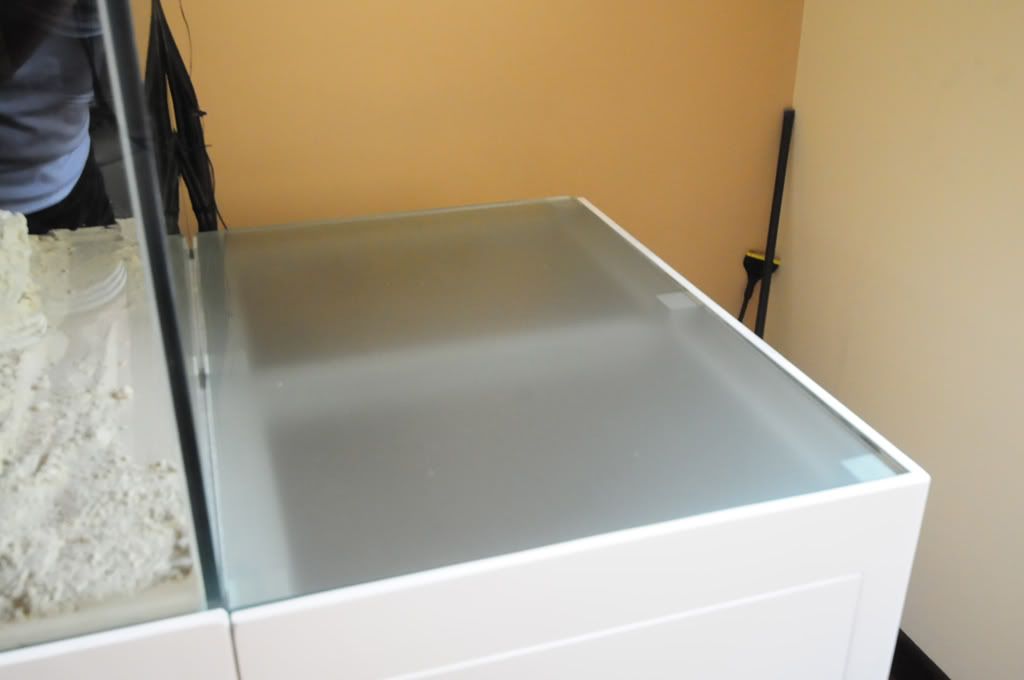
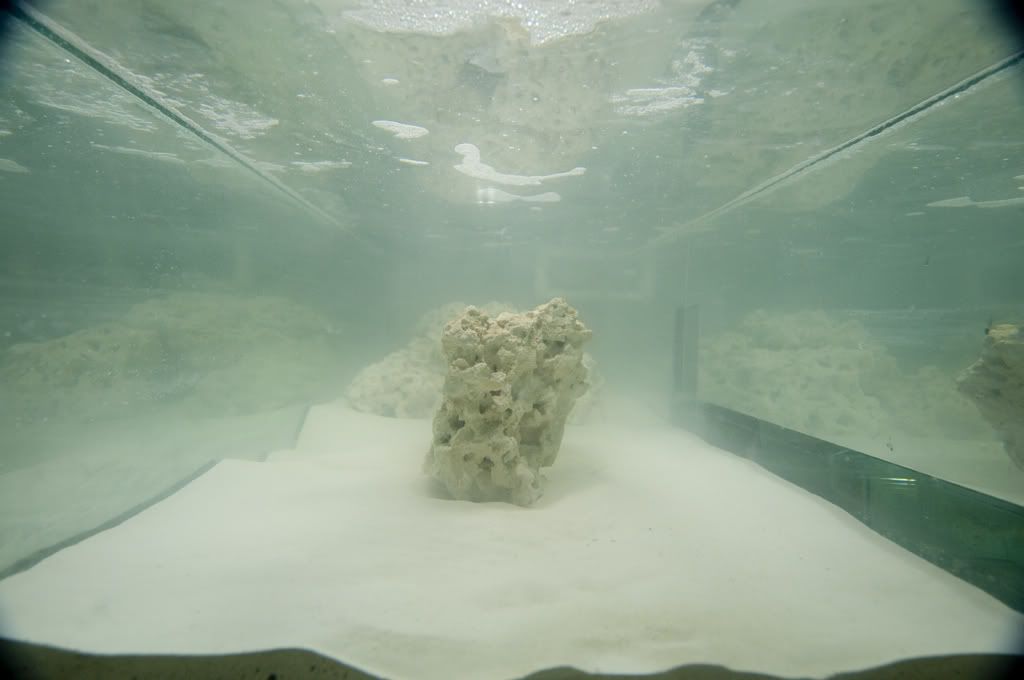
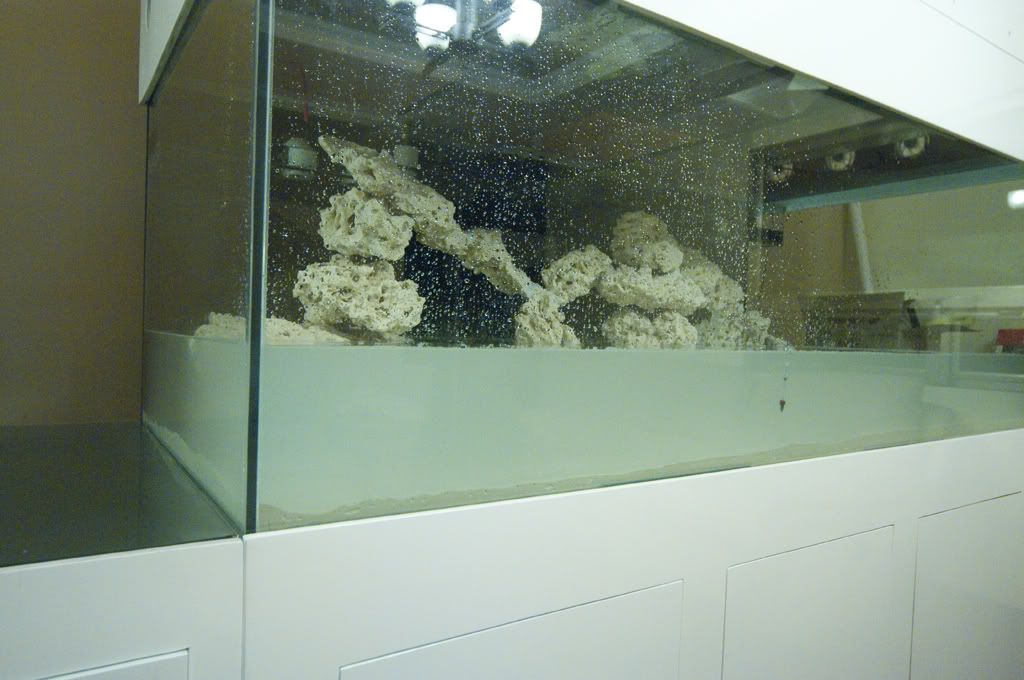
Real Mode:
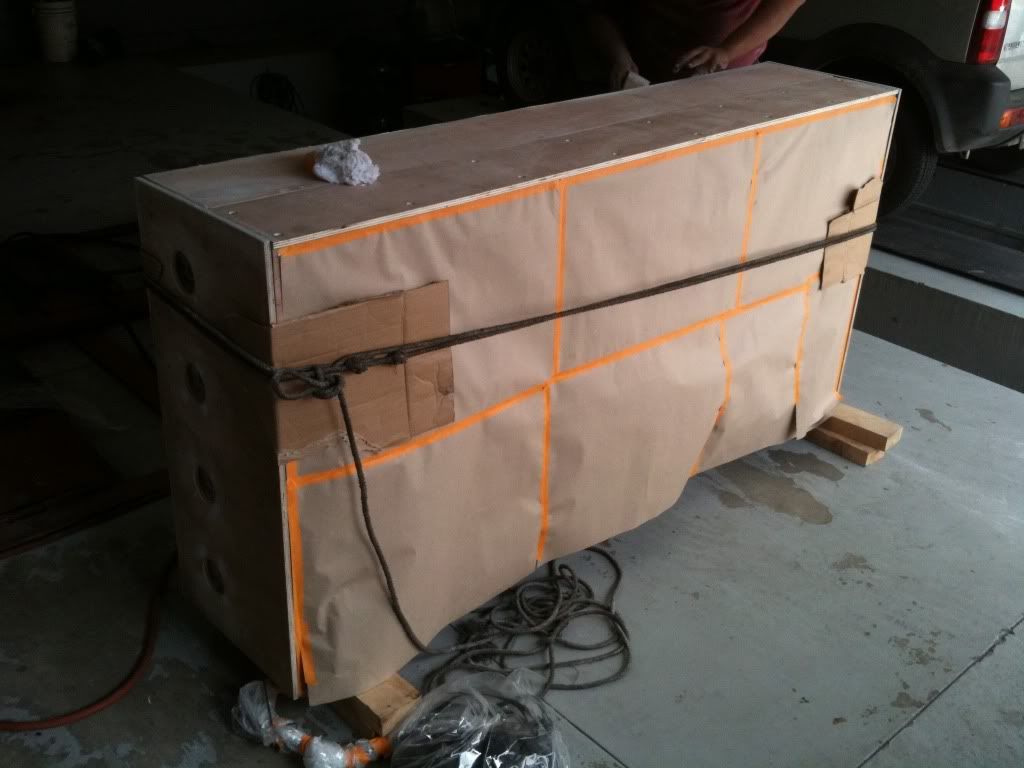
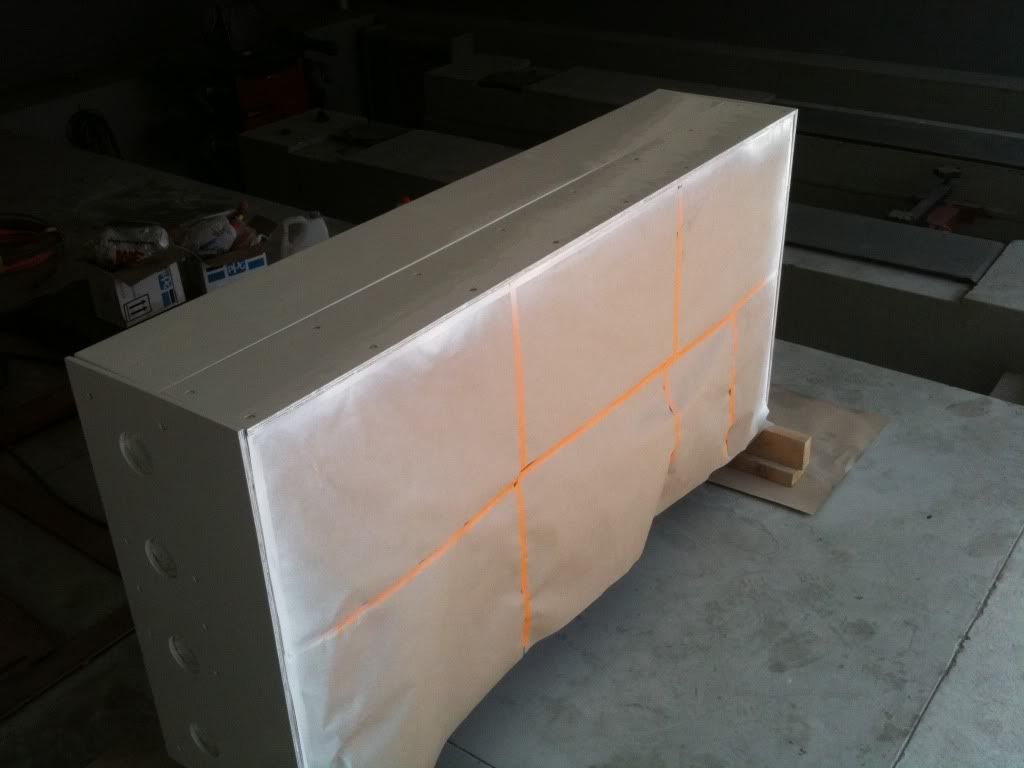
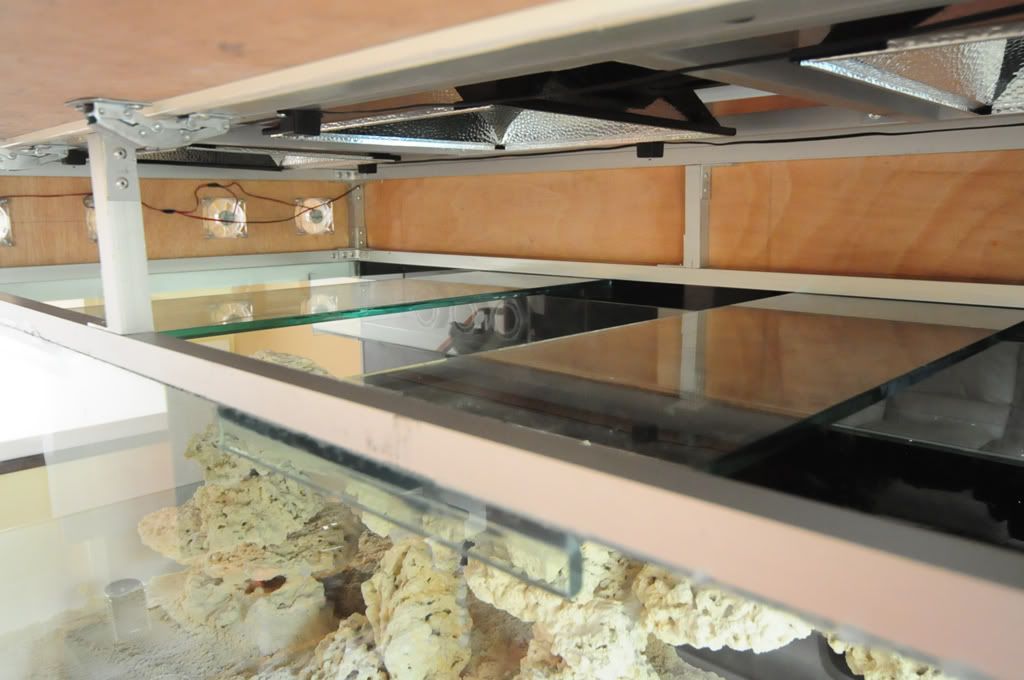
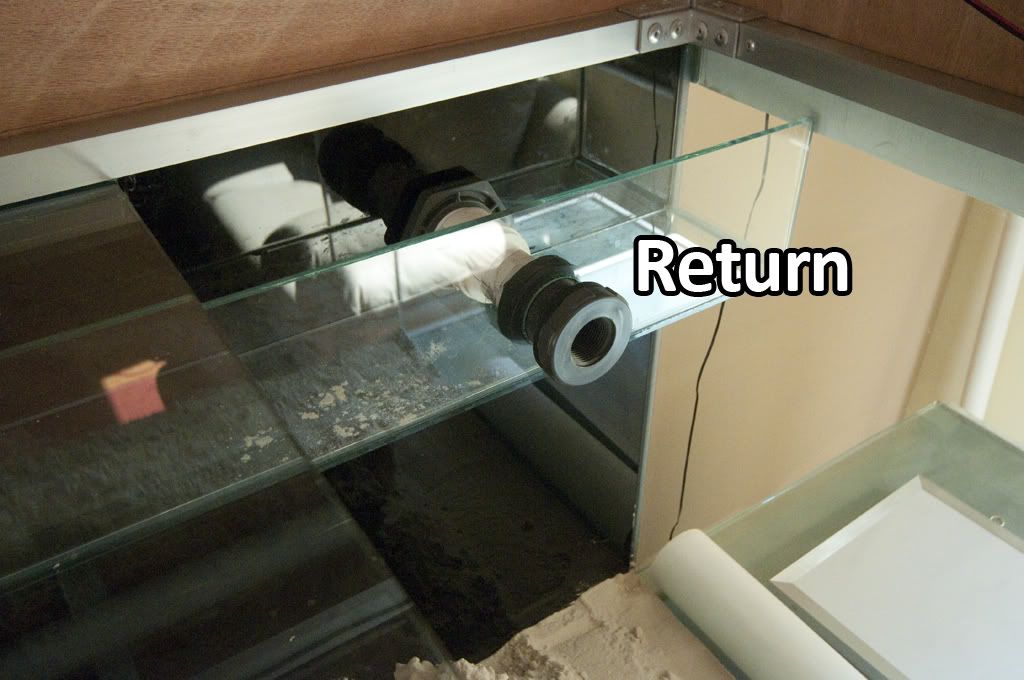
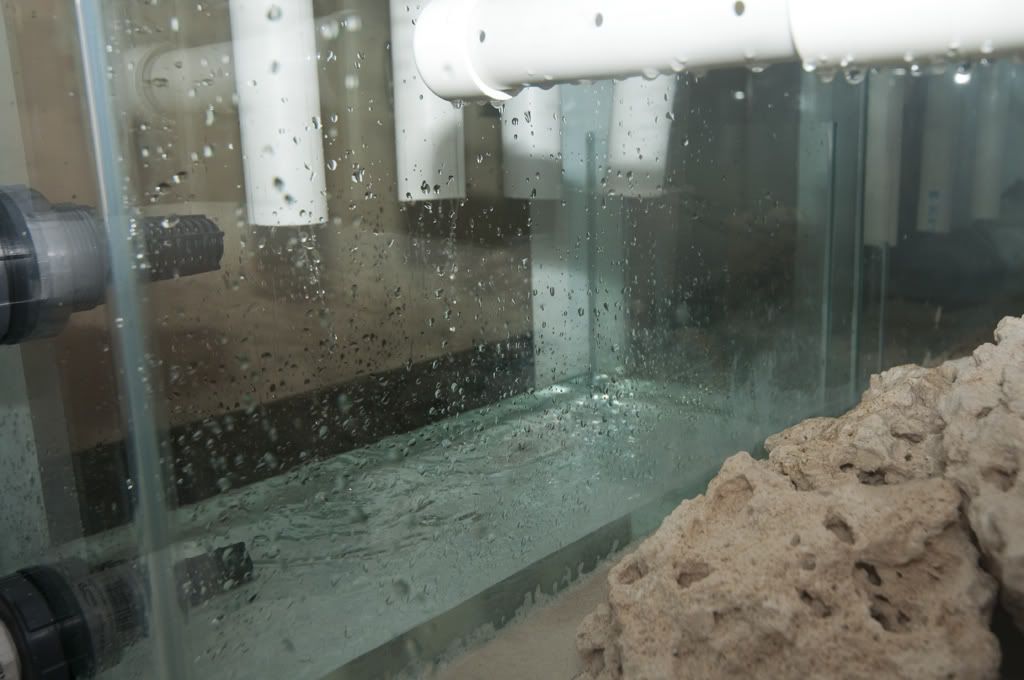
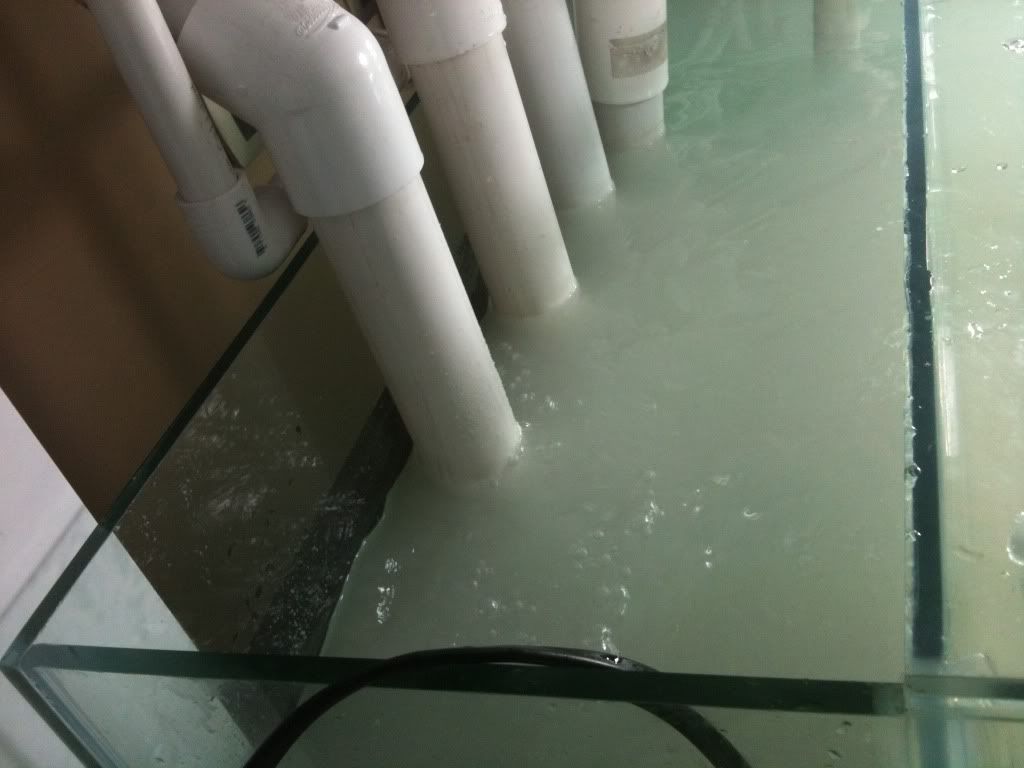
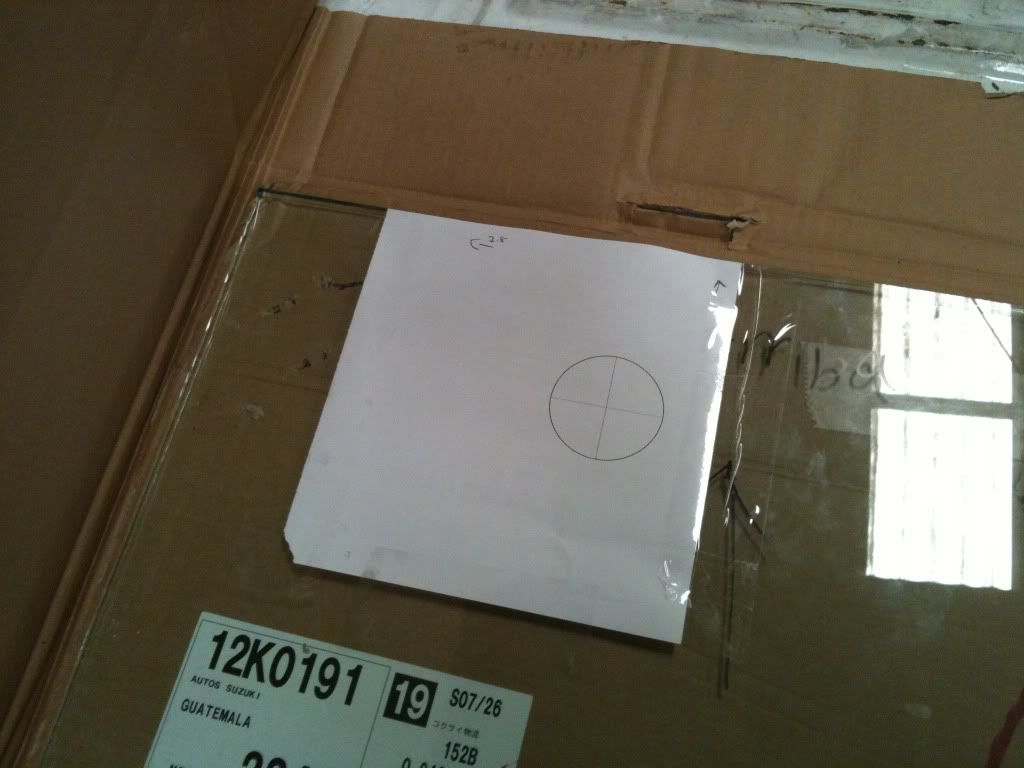
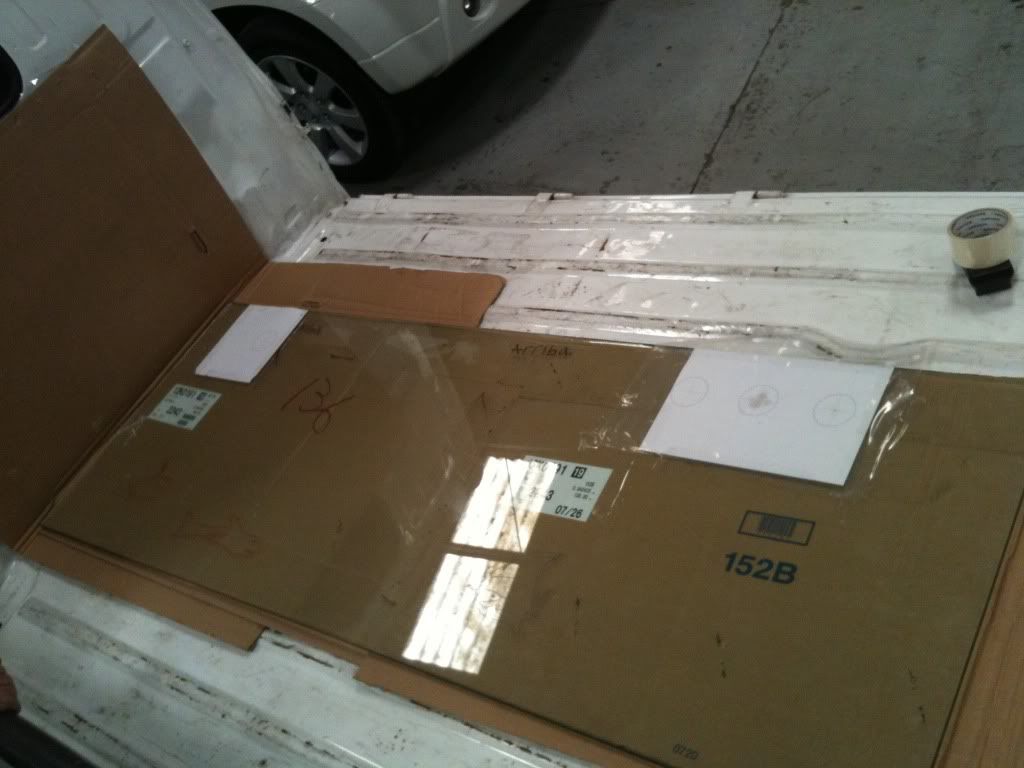
Measuring the tank back wall holes for siphon and return:
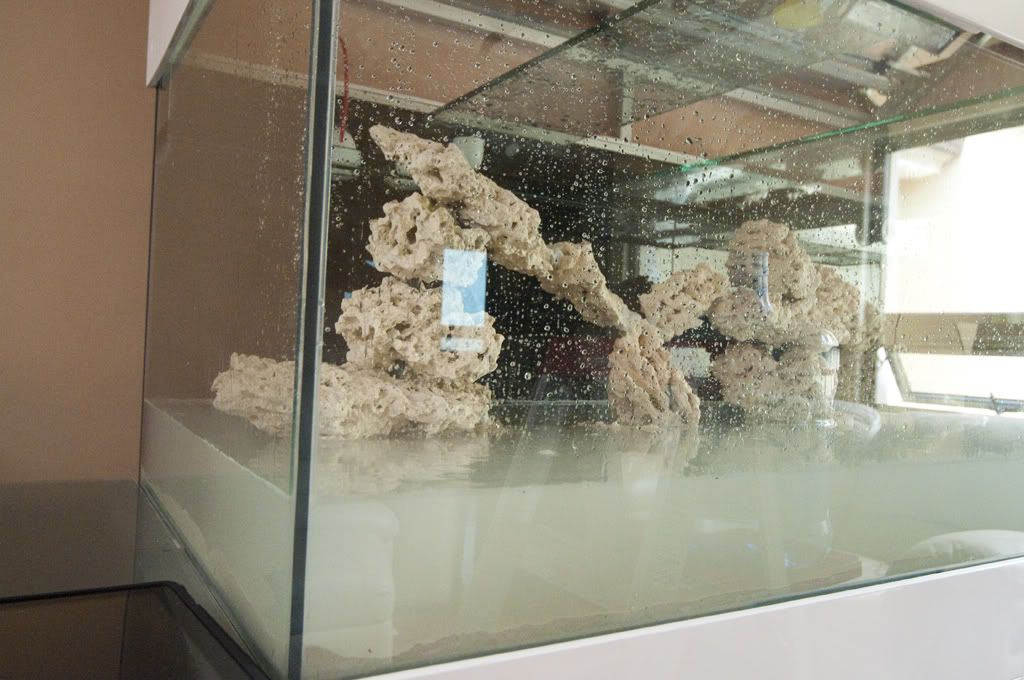
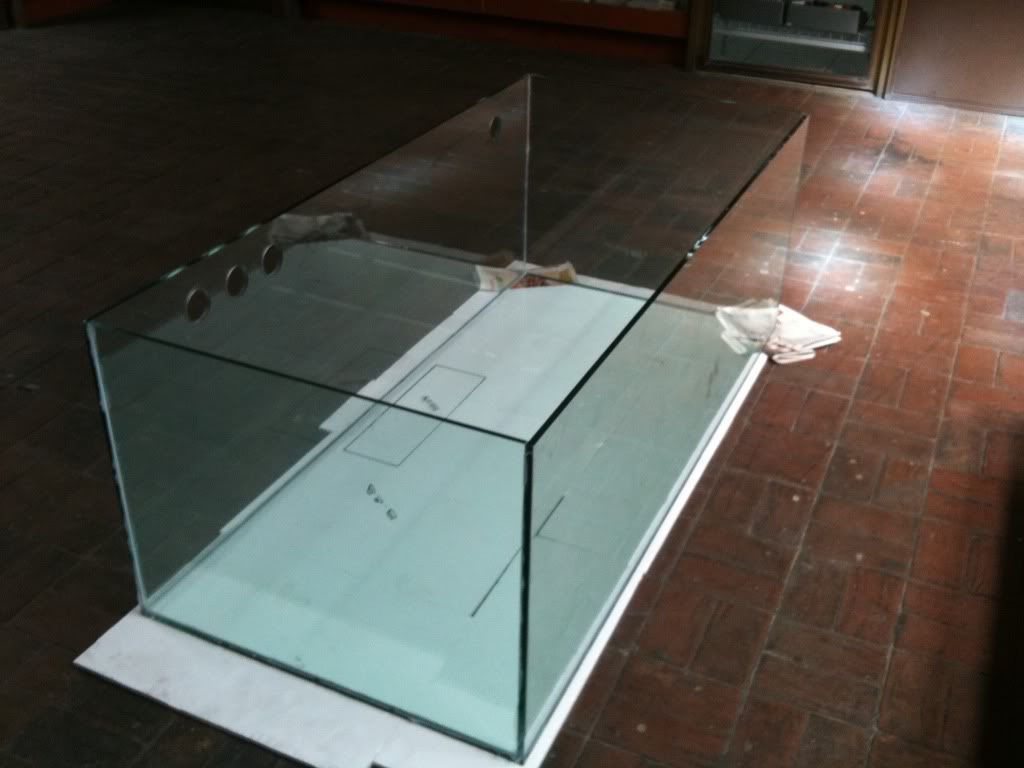
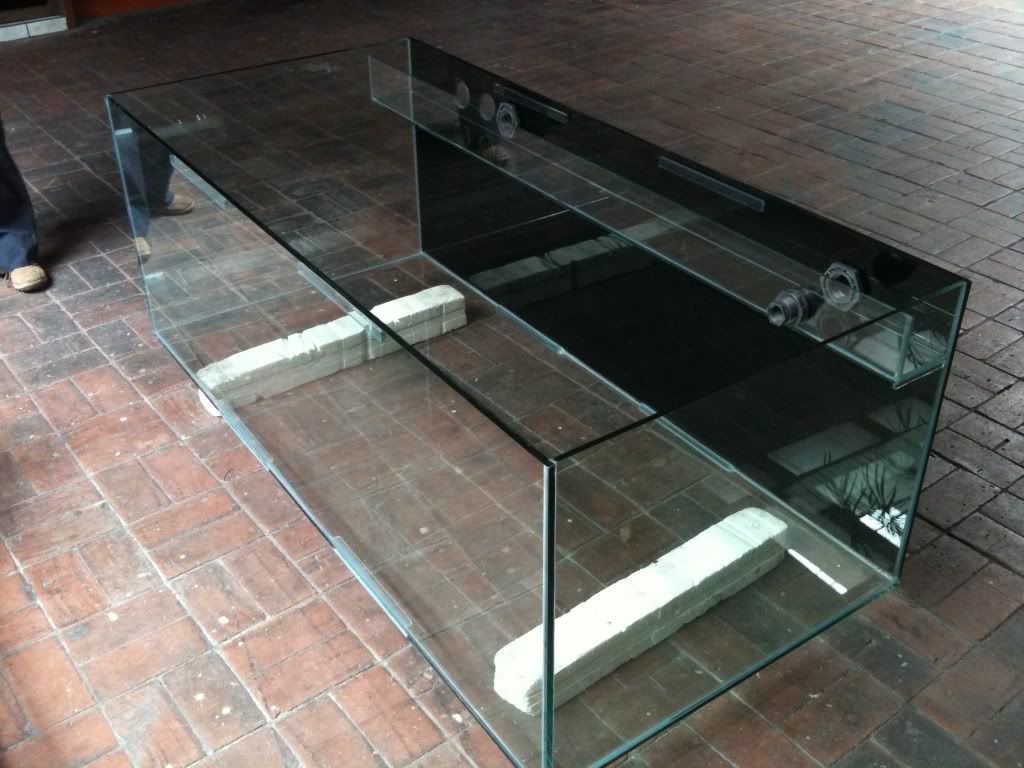
Almost finished tank:
Red Sea Monster 1420 System Index (Former Tank)
1. Cabinet sketches, building and Placement | DT Sketches and Building
2. DT Placement | Light Fixture Sketches | Light Fixture Building Part 1 |
3. Light Fixture Building Part 2 | Complete sections in place | RO/DI Install | Skimmer Positioning
4. Light fixture testing | Rockscape Part 1
5. Rockscape Part 2
6. Wiring and Electrical Installation | Sand Introduction | Side Cabinet Finish
7. Filtration Sketches | Sump Build | Sump / Pumps / Skimmer setup Part 1
8. Fuge Setup, lights, sand and rocks
9. Fish Wish List
10. Sump / Pumps / Skimmer setup Part 2
11. Water in the tank Part 1
12. Water in the tank Part 2
13. Water in the tank Part 3
14. Salt mixing in Tank | Skimmer testing
15. BeanAnimal testing | Skimmer Testing 2
16. Deli Shrimp Cycle starter
17. Vortech MP60 Install Part 1
18. Vertex Media Reactor Installation
19. FTS of the tank with lights on (No Stocking)
20.System flow
21. Diatoms and first Inhabitants
22. Vortech installation Part 2 | GEO Calcium Reactor
23. Diatoms and Coral Pictures
24. Pictures of Inhabitants (Yellow Goby and Stylophora)
25. FTS and Barnacle pictures
26. Tomato clowns video
27. Pictures: Tomato clowns, Yellow Goby, Montipora
28. Vortech with WXM Wireless Neptune module Schedule
29. Vortech with WXM Wireless Neptune module, Setup review
30. Pictures: Yellow Clown Goby, Green Chromis, Diamond Goby, Six Line Wrasse and Rock Blenny
31. Pictures: Pupo Food, Six Line Wrasse, Tomato Clown, Rock Blenny and FTS
32. Pictures: Green Chromis
33. Water Depot Version 1 | Video of Water Depot in action
34. Water movement with cyano video
Most of the links above take you to pictures section which are the ones that start lots of replies on the matter, lots of great info from all of you are around these.
Index for the BIGGER tank that followed this first build:
Red Sea Monster 2000+ System Index:
1. Sketches Fishroom Version 1 |
2. Sketches Quarantine Tank
3. Sketches Fishroom Version 2
4. Sketches 400 Gallon DT
5. Beginning of project, Land movement
6. Excavation and drainage layout
7. Cement flooring
8. Fishroom Walls construction Part 1
9. Fishroom Wall Construction Part 2
10. Tank Support Beams | DT Building
11. Fishroom Roof construction
12. New Sump Sketches
13. Fishroom Grey Construction Finished | Tank Support building
14. Tank Delivery Part 1
15. Tank Delivery (With Crane Video)
16. Fishroom Painting cleaning | Water Depot Build
17. Light fixture Modification Part 1
18. Apex Connections | RO/DI Install | Workbench placement
19. Fishroom and Pergola finished | Water Test
20. Light Fixture Railing system
21. Rockscape Version 1
22. Light fixture Railing System (Video Explained)
23. Fishroom painted and Pergola Shots
24. Rockscape Version 2 (Final Version)
25. Salt Water in the Tank Part 1 | Electricity Connections with Apex EB8 | New Sump in Place
26. Plumbing Stand Pipes
27. Plumbing Fittings | Magical Key | Sump Foam arrangement (With Video)
28. Final Fishroom details | Tank Water filled Part 2 | First FTS
This second index will grow from time to time as the thread moves forward :)
-----------------------------------------------------------------------------------------------------------
So, recently I sold my RSM250 and decided to take the leap into a larger tank (at least large comparable to the RSM250). So, before I began planning equipment and all the systems requirements I decided to sketch it up in 3DSMax and step-by-step the project began taking shape.
I will begin by showing you the complete project, first, in render mode and then, the real project as it goes.
First off the Tank statistics:
Dimensions:
Made out of: Glass
Thickness: 1/2"
DT: 72î x 34î x 26î (275g)
Sump: 48îx10îx18î (40 gal)
Fuge: 48îx16îx18î (60g)
Total system: 375 gallons
Rock and Sand:
205 Pounds of Marco Rocks
200 Aragonite sand
Lightning:
3x LumenMax Elite Reflectors with Hamilton M80 HQI Metal Halide Ballasts and Radium 20k Bulbs
2x VHO 72î Retrofit kit with IceCap 660 Ballast.
2x Neptune Systems Lunar Sim (3LED/each) Total 6 LEDS with real moon cycles.
Skimmer:
Super Reef Octopus XP-5000 External Skimmer
Pumps:
1x Reeflo Dart Gold for Return
1x PanWorld 100PX-X for Skimmer and Fuge feed.
1x Vortech MP60w Powerheads (When released)
Controller / Monitor:
Neptune systems APEX controller
RO/DI unit:
Vertex Puratek 100GPD RO/DI system w/booster pump.
Plumbing and overflow and water connectivity:
- Internal coast to coast overflow system.
- BeanAnimal siphon system
- Hayward Bulkheads
All plumbing has 1.5" tubing.
--------------------------------------------------------------------
Cabinet:
All cabinet was made out of cypress wood.
Most of the cabinet's wood planks dimensions are 4x2 inches.
Because I live within an earthquake area, to hold the cabinet together I used screws instead of nails.
Once finished it was completely painted with G77 Epoxy for water protection and then painted white for visual purposes.
Render Mode:
1. Lower part of the cabinet 2x2 and 4x2 planks used:
2. Support columns are 4x2:
3. Upper part of the cabinet and middle section completed:
4. Added lateral sections to hold skimmer and electronics:
5. Completed floor for the whole cabinet as well as right compairtment with wall dividing from rest so electronics can be kept safely without salt or water damage:
6. Finished cabinet with lateral sections, the green glasses on each side are sandblasted for visual purposes, also, these will be removable for skimmer maintenance:
7. Lots of access for easy maintenance:
Real Mode: (Sorry for the bad qual. pictures, used my iphone for the majority of them).
1. Planks Ready:
2. Making a quick layout:
3. Big screws for ultimate support:
4. Assembling the middle section:
5.Began building the lateral sections:
6. Painted cabinet, the outer section has a glossy finish:
7. Now the challenging part, moving in the cabinet (As you can appreciate, someone had to take the pictures :D)
8. Screwing lateral sections to middle section and finished cabinet in position:
Display Tank
The DT is made of glass, really can't say I like acrylic (I have two small children as stated before).
Sadly in my country there is no starfire yet so the tank is made out of normal 1/2" glass.
I have decided to go with a coast to coast overflow and BeanAnimal's system for siphon/Return.
Render Mode:
Display Tank:
Real Mode:
Measuring the tank back wall holes for siphon and return:
Almost finished tank: